
How to plan the room before you buy
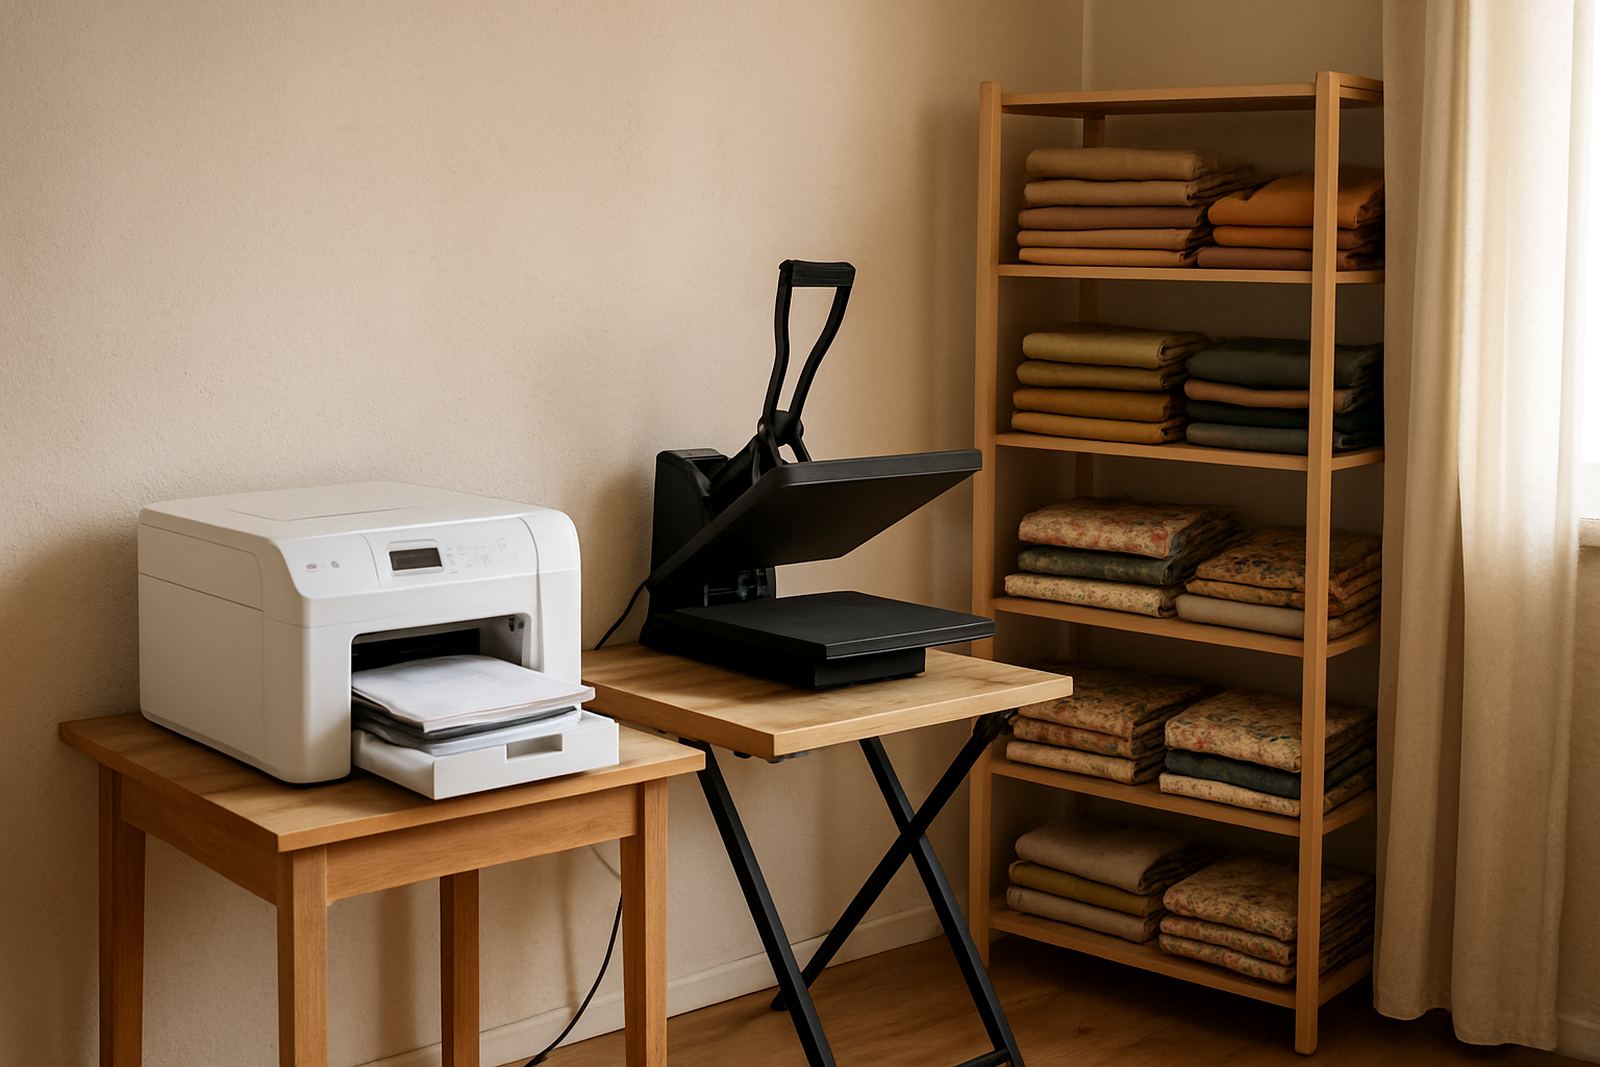
Layout matters because a school room has traffic. Students walk in and out, sample pieces get handled too often and tools go missing if storage is not thought through. Keep the printer on a level surface, away from open windows, direct sun and dusty traffic lanes. In coastal areas such as Durban or Cape Town, humidity control is important as well because damp air can affect fabric handling and drying times.
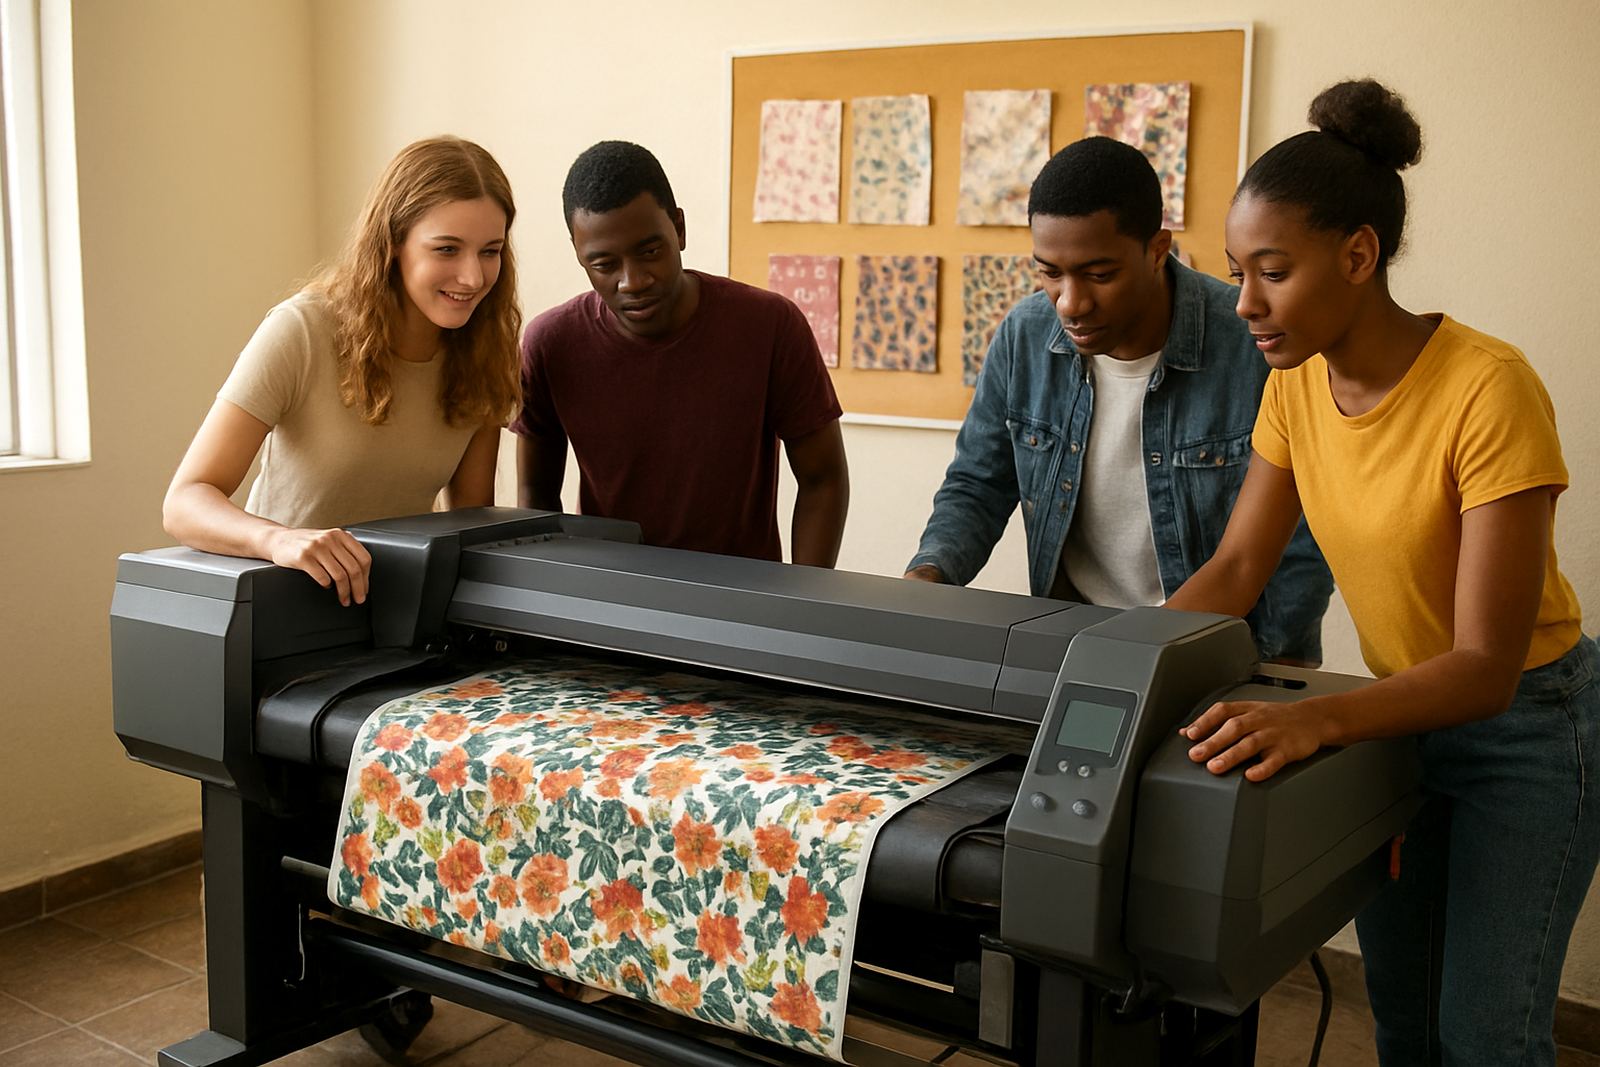
Leave enough room for supervision. A trainer should be able to stand beside the printer and still see the class, while one student can load media and another can check colour files. If the room is in Germiston, Boksburg or Midrand, make sure there is stable power, enough sockets and a plan for backup during outages. A small UPS can help with controlled shutdowns, but it should not be seen as a substitute for proper power planning.
- Place the machine close to power and away from vibration
- Allow space for drying, finishing and safe movement around the press
- Keep ink, cloth and cleaning materials separate from general student storage
- Plan for ventilation and dust control before installation day
Training methods that work well in a classroom
For schools, operator training has to be practical and repeatable. We usually recommend a step-by-step programme that covers machine start-up, basic maintenance, colour profiling, fabric handling and safe shutdown. A trainer should be able to show the process once, then let students repeat it without creating a queue at the machine.
It also helps to build assignments around real tasks. For example, students can print a repeat pattern, test how the colour changes on two different fabrics and then compare the final result after heat setting. That makes the class more useful than a purely theory-based lesson.
- Start with one workflow and repeat it until students know it well
- Use sample jobs on cotton, poly blends and other common training fabrics
- Keep cleaning routines short and scheduled, not random
- Assign one student as machine lead for each practical session
Common mistakes schools make with fabric printing
The biggest mistake is buying on price only. A machine that looks fine in a showroom may not suit a busy class where different students use it each week. Another mistake is underestimating consumables. If a school has no regular supply plan for inks, media and cleaning items, the machine gets parked while the course waits for stock.
Schools also get into trouble when they skip planning for repairs. Printhead cleaning, ink system flushing and preventive servicing are not optional if the machine is going to be used by groups. Another common issue is poor file preparation. Students often send files in the wrong colour mode or with low resolution, then blame the machine when the artwork comes out soft or dull.
- Buying equipment that is too large for the room
- Ignoring ventilation, dust and humidity
- Skipping operator training for the first class
- Not budgeting for spare parts and routine service
Budget ranges for schools and training centres
Budget depends on whether you are setting up a small classroom demo unit or a fuller training room. As a rough guide, a basic entry package for a sewing school can start from around R85,000 to R150,000, depending on machine size, heat press choice and the amount of training needed. A more complete setup with stronger output, colour control and extra support can run from about R180,000 to R350,000.
It is wise to keep a reserve for installation, media, starter inks and the first servicing cycle. A school with campuses or satellite rooms in Johannesburg, Pretoria, Durban, Cape Town or Bloemfontein should also consider transport and relocation support if equipment needs to move between sites.
For most schools, the sensible approach is to start with one reliable printer, one heat press and a proper maintenance plan rather than trying to fill the room on day one.