
What a fabric prep table does in daily production
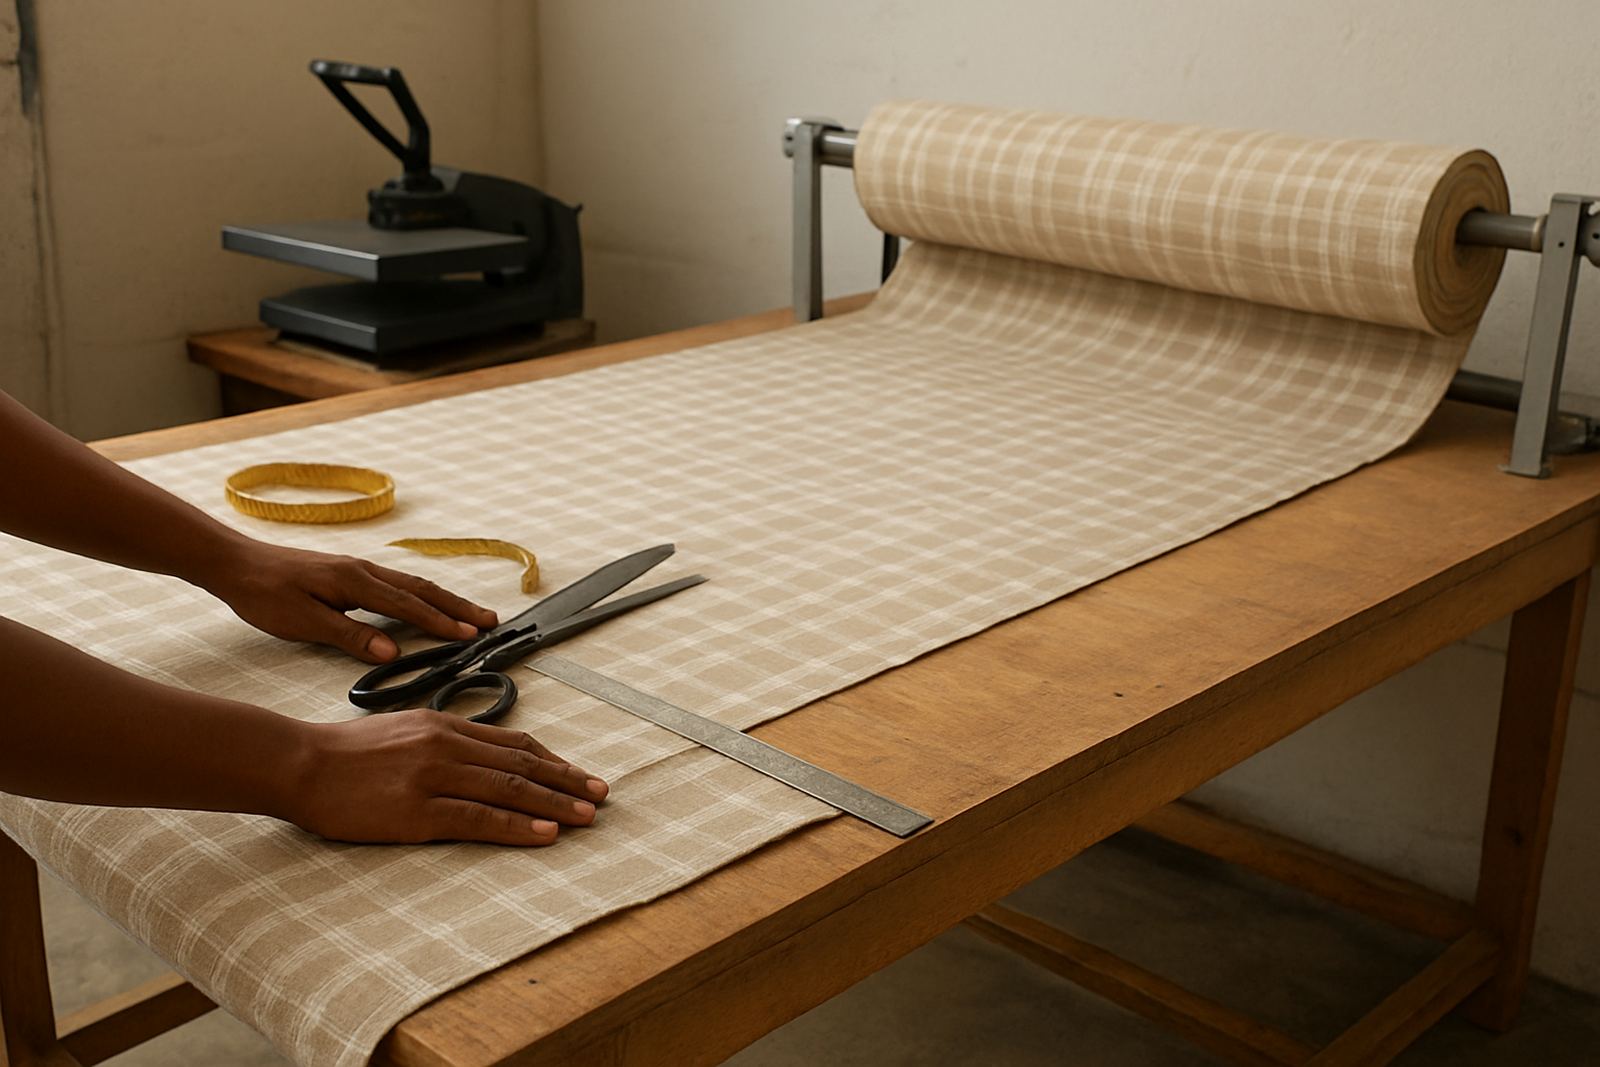
A fabric prep table is the staging point before printing, cutting or heat pressing. It gives you a flat surface for checking fabric grain, spotting faults, measuring lengths and keeping rolls organised by job number. In a busy workshop, that matters because one twist or crease can throw off a print run and waste valuable cloth.
This table is made for garment and textile work, not office use. The surface is practical for rolling out fabric, grouping panels and preparing repeat jobs. If your team works with cotton, polycotton, satin, polyester or blended fabric, the table helps keep stock neat and traceable from the first check to final packing.
For smaller South African businesses, especially those running in rented premises or shared industrial units, a dedicated prep area also keeps workflow tighter. It reduces floor handling, protects fabric from dirt, and makes it easier to train staff to follow the same process every time.
Sizes and layout options for different workshop spaces
Fabric prep tables are commonly supplied in widths from 1.2 metres to 2.4 metres, with lengths from 2.4 metres up to 6 metres, depending on your production space. Taller units can be useful for roll loading and inspection, while lower tables suit laying out longer runs and matching panels.
Typical options include:
- Single table units for compact rooms and start up workshops
- Long bench style tables for roll inspection and job sorting
- Modular sections that can be joined when your output grows
- Top surfaces with smooth, easy clean finishes for fabric handling
- Optional lower shelving for rolls, tools and job trays
If your factory is in Wadeville, Boksburg or Midrand, space often comes at a premium, so the footprint needs careful planning. A good layout allows a roll to load easily without blocking the walkway or the printer aisle. It should also leave enough room for a trolley, cutter or weigh scale if you use those in the prep process.
Where this table suits best in South African production
This table suits small garment rooms, textile sampling spaces, custom print studios and short-run production floors. It is especially helpful where teams handle mixed orders, from boutique fashion pieces to promotional textiles and home décor runs.
It works well in Johannesburg and Germiston workshops that need fast job turnarounds, and in Durban or Cape Town spaces where humidity can affect fabric handling. A clean prep surface helps limit dust, damp creases and marking issues when cloth is moving between storage and machine. For coastal areas, that extra control can make a noticeable difference.
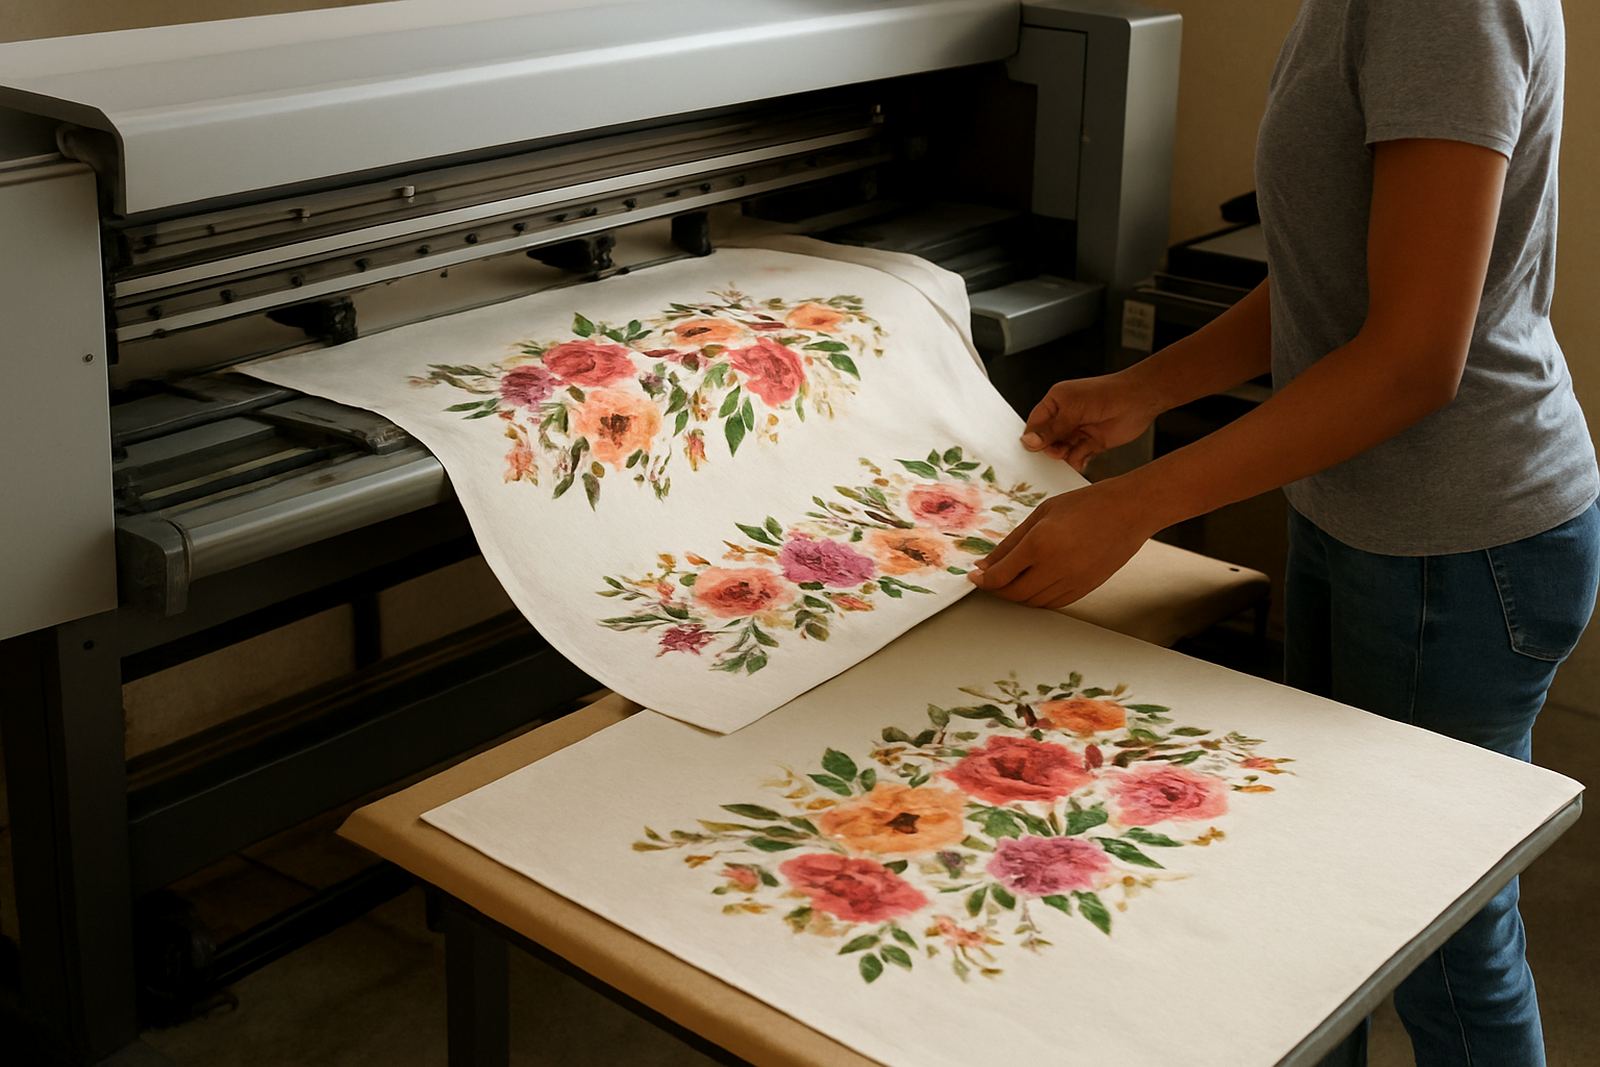
It also supports workshops that receive fabric in bulk and cut it down into smaller job lots. With a prep table in place, staff can check width, count metres and note defects before any print head sees the material. That simple step saves time later and cuts down on complaints.
Installation, floor space and power requirements
Most fabric prep tables do not need electrical power or gas. They are mechanical workshop furniture, so installation is mainly about positioning, levelling and fitting the table into your existing production flow. If the table includes integrated lights, weighing gear or powered roll holders, those extras may need a standard electrical supply, but the table itself is usually straightforward.
Before ordering, check the floor space carefully and allow for access on all sides. A table that is too close to a wall can make roll loading awkward, while a tight aisle can slow down staff movement during busy production periods. If the unit needs assembly on site, make sure the doorway, stairwell and lift access are suitable for the full size pieces.
- Confirm the finished table length, width and working height
- Check door widths, loading bay access and turning space
- Ask whether the frame is fixed or adjustable
- Plan for level flooring to avoid fabric drift
- Allow space for roll stands, cutters and packing bins
For businesses in industrial areas, it is also worth checking municipal access rules and delivery times if the table is going into a shared premises or upper floor unit. That helps prevent delays on installation day.
Care, servicing and keeping the surface in good condition
Fabric prep tables need simple but regular care. Wipe the surface daily to remove lint, dust and adhesive residue. If rolls are moved across the same area every day, check for scratches, lifted edging or uneven joints that could catch delicate cloth. A smooth table helps prevent marks, snags and tracking errors.
If the unit has wheels, locking feet or adjustable levelling points, inspect them during routine maintenance. In load-shedding conditions, many workshops adjust their production sequence around power cuts, so prep areas must stay ready when machines come back on. A stable table makes it easier to resume work quickly and without re-setting the whole job.
We also recommend including the prep table in your workshop maintenance plan. That may sound small, but it protects your output. A bent frame, loose bracket or damaged top can affect cloth alignment, and that starts showing up in the final print. A little attention now can save a lot of rework later.
What to check before you place an order
Before ordering a fabric prep table, make sure the unit matches the size of the jobs you handle and the space you have on hand. The right table should suit your fabric width, roll size and the way your team stages work. If you print short runs in a small studio, you may need a compact unit. If you run larger batches, a longer table will keep the line moving better.
- Working surface dimensions in metres
- Table height for standing work and roll loading
- Frame material and weight capacity
- Surface finish for easy cleaning
- Need for shelving, underslung storage or castors
- Delivery access and assembly requirements
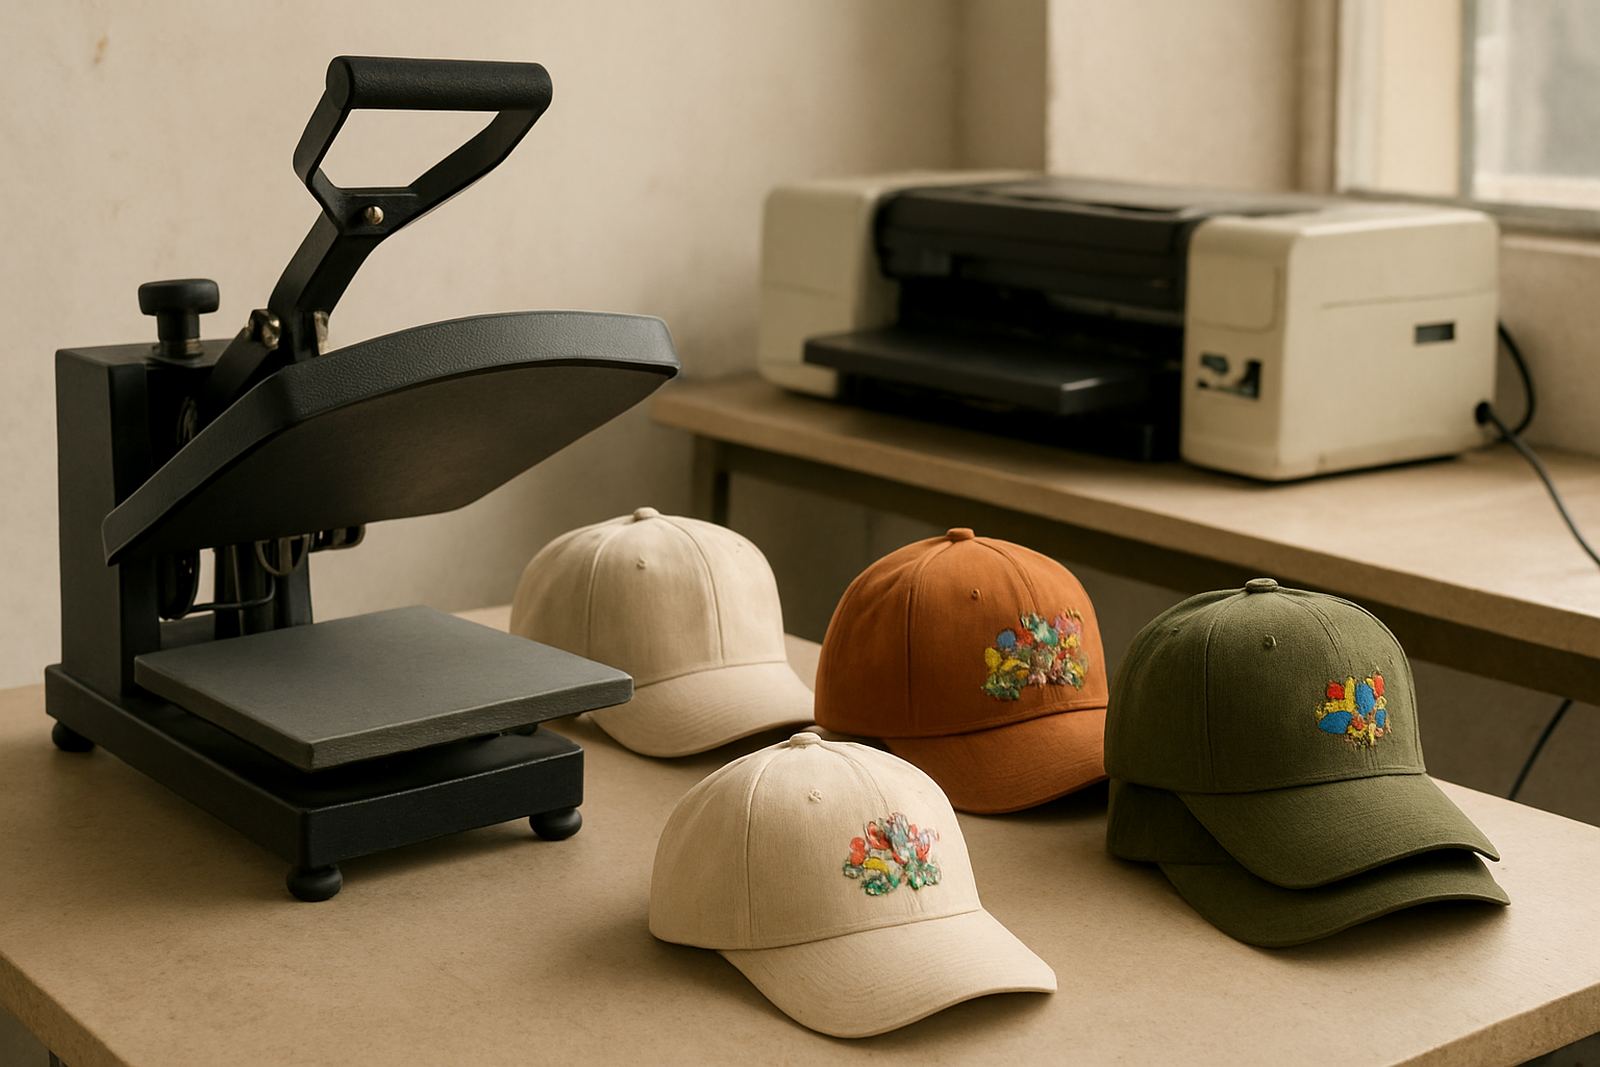
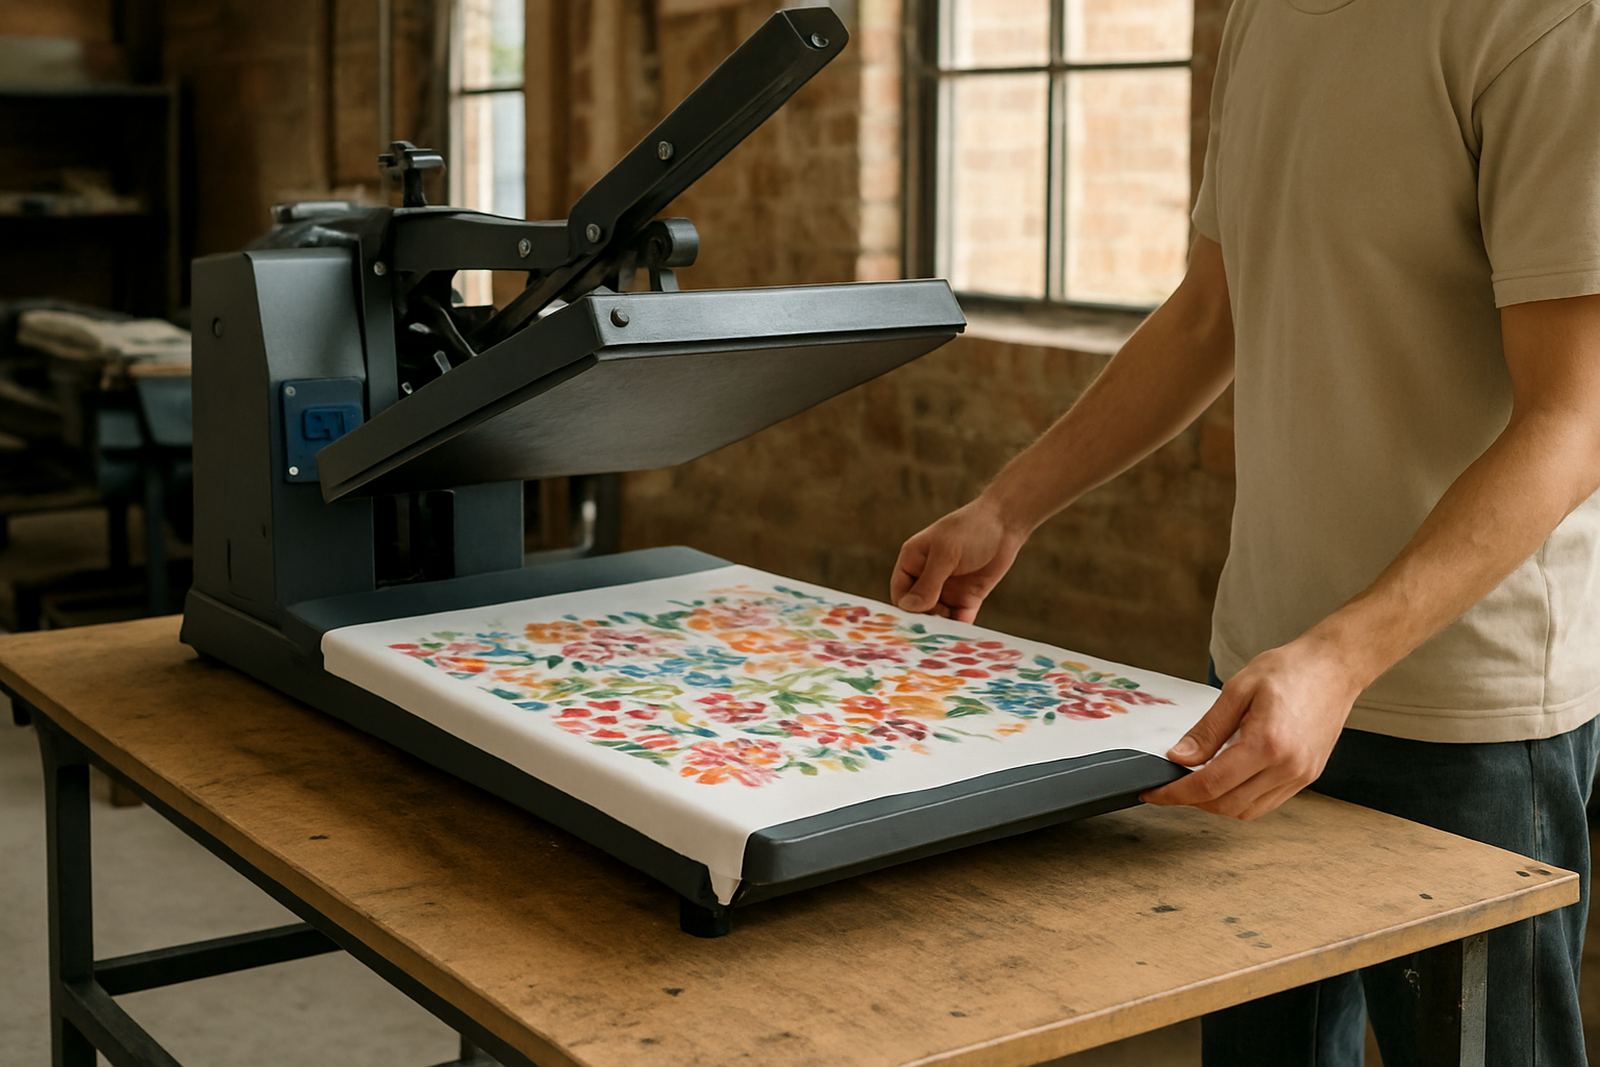
- Whether the table will sit beside printers, presses or cutting areas
It is also wise to check how the table fits into your current workflow. If staff are constantly walking around rolls or crossing between stations, a better layout can improve speed without adding another machine. That is often the practical choice for a growing workshop in Pretoria, Durban or Bloemfontein.
Key facts
| Product type | Fabric preparation table for textile and garment work |
|---|---|
| Typical widths | 1.2 m to 2.4 m |
| Typical lengths | 2.4 m to 6 m |
| Working height | Around 850 mm to 950 mm, depending on model |
| Frame | Steel frame with level feet or optional castors |
| Power / gas needs | None for standard models |