Why a small sample can save a full production run
When you print direct to fabric, the machine does not work in theory. It works on the exact cloth you bought, under the room conditions you have that day, with the inks, heat and curing settings you will use in production. A strike-off or test panel shows the true result before you commit metres of fabric and hours of labour.
That matters whether you are making fashion pieces, schoolwear trims, promotional items or boutique textile ranges. A colour that looked right on screen can dry darker or softer than expected. A print that looked sharp on a small swatch can shift once the fabric is stretched, steamed or heat set. If you only discover that after a 200 metre order, the mistake is expensive.
In our Wadeville, Germiston area, many small businesses come in with a single sample cloth from their mill or supplier and ask for a print test first. That is the sensible way to work. It lets you compare options before production starts, rather than trying to fix the job after garments have been cut.
What a proper strike-off should tell you
A useful sample is more than a pretty square. It should answer practical questions about colour, detail, fabric behaviour and final finish. If you are printing for customers in Johannesburg or Durban, where humidity and temperature can change from one week to the next, those details matter even more.
- Colour accuracy on the chosen fabric
- Line sharpness on small text or fine detail
- Ink absorption and drying time
- Handle or hand feel after curing
- Any show-through on lighter or thinner cloth
- Wash behaviour if the item will be laundered often
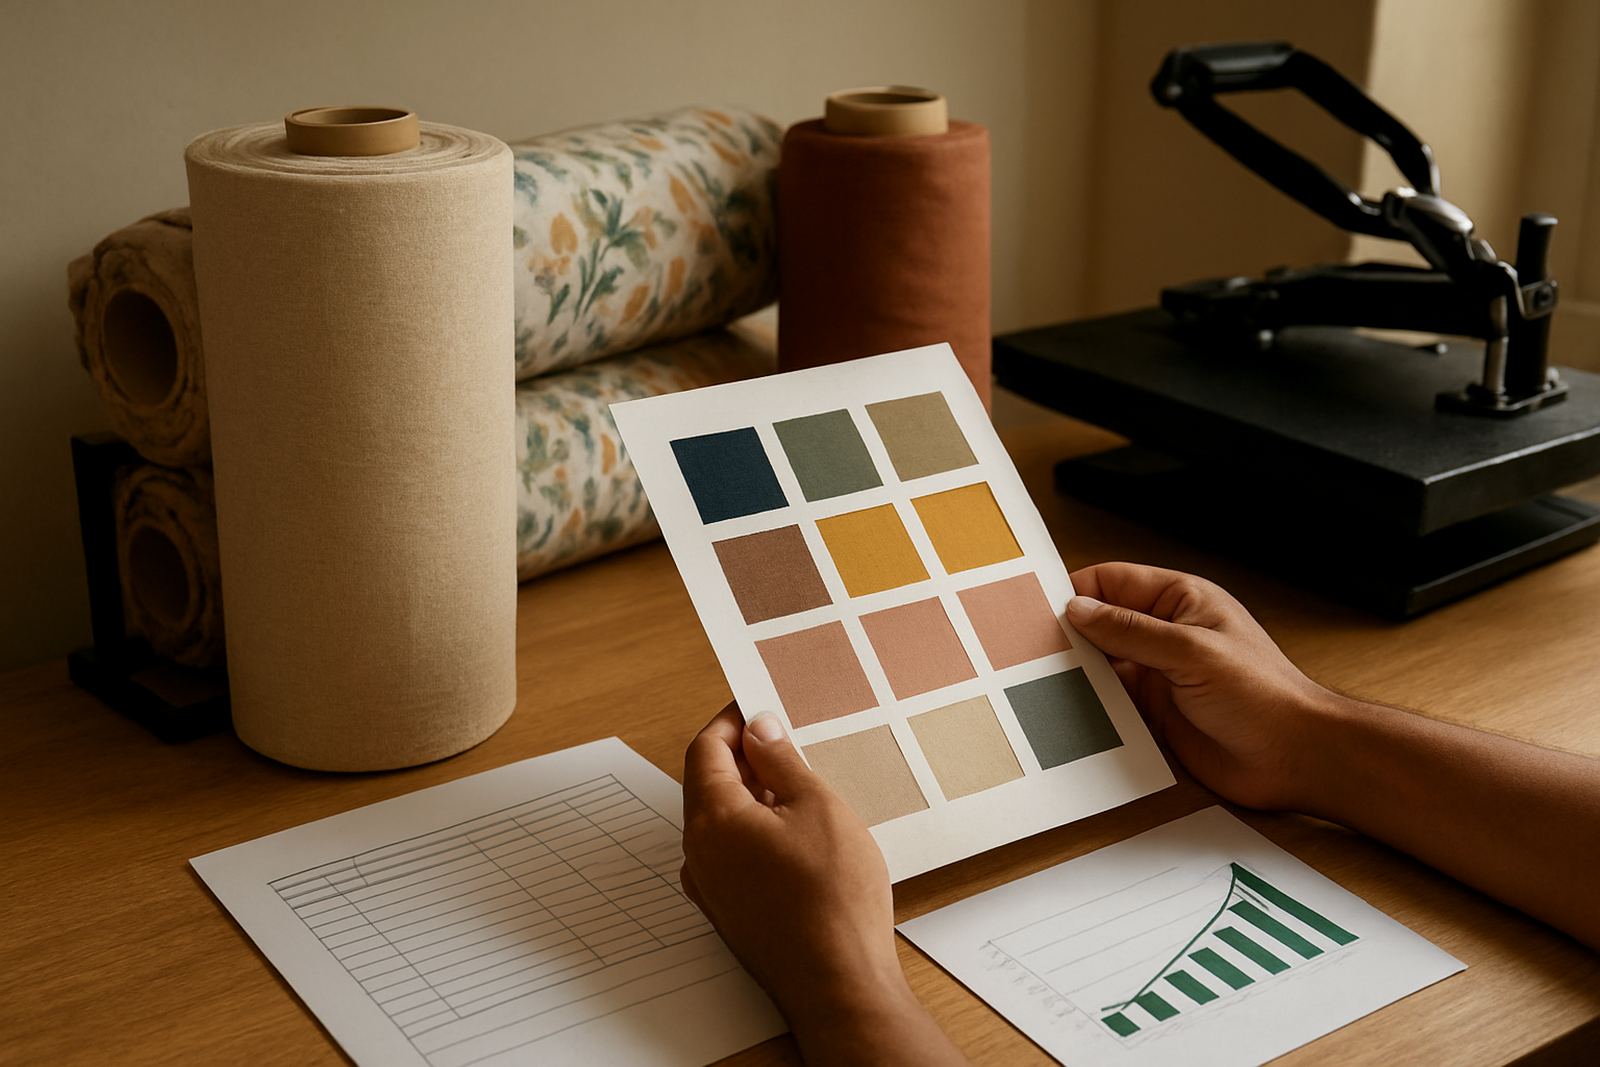
If the sample is for a repeat order, keep a record of the fabric type, ink setting, heat press settings and curing time. That file becomes part of your production control. It also helps if you need to reproduce the same result in Pretoria this month and again in Cape Town next season.
How to sample before production without wasting material
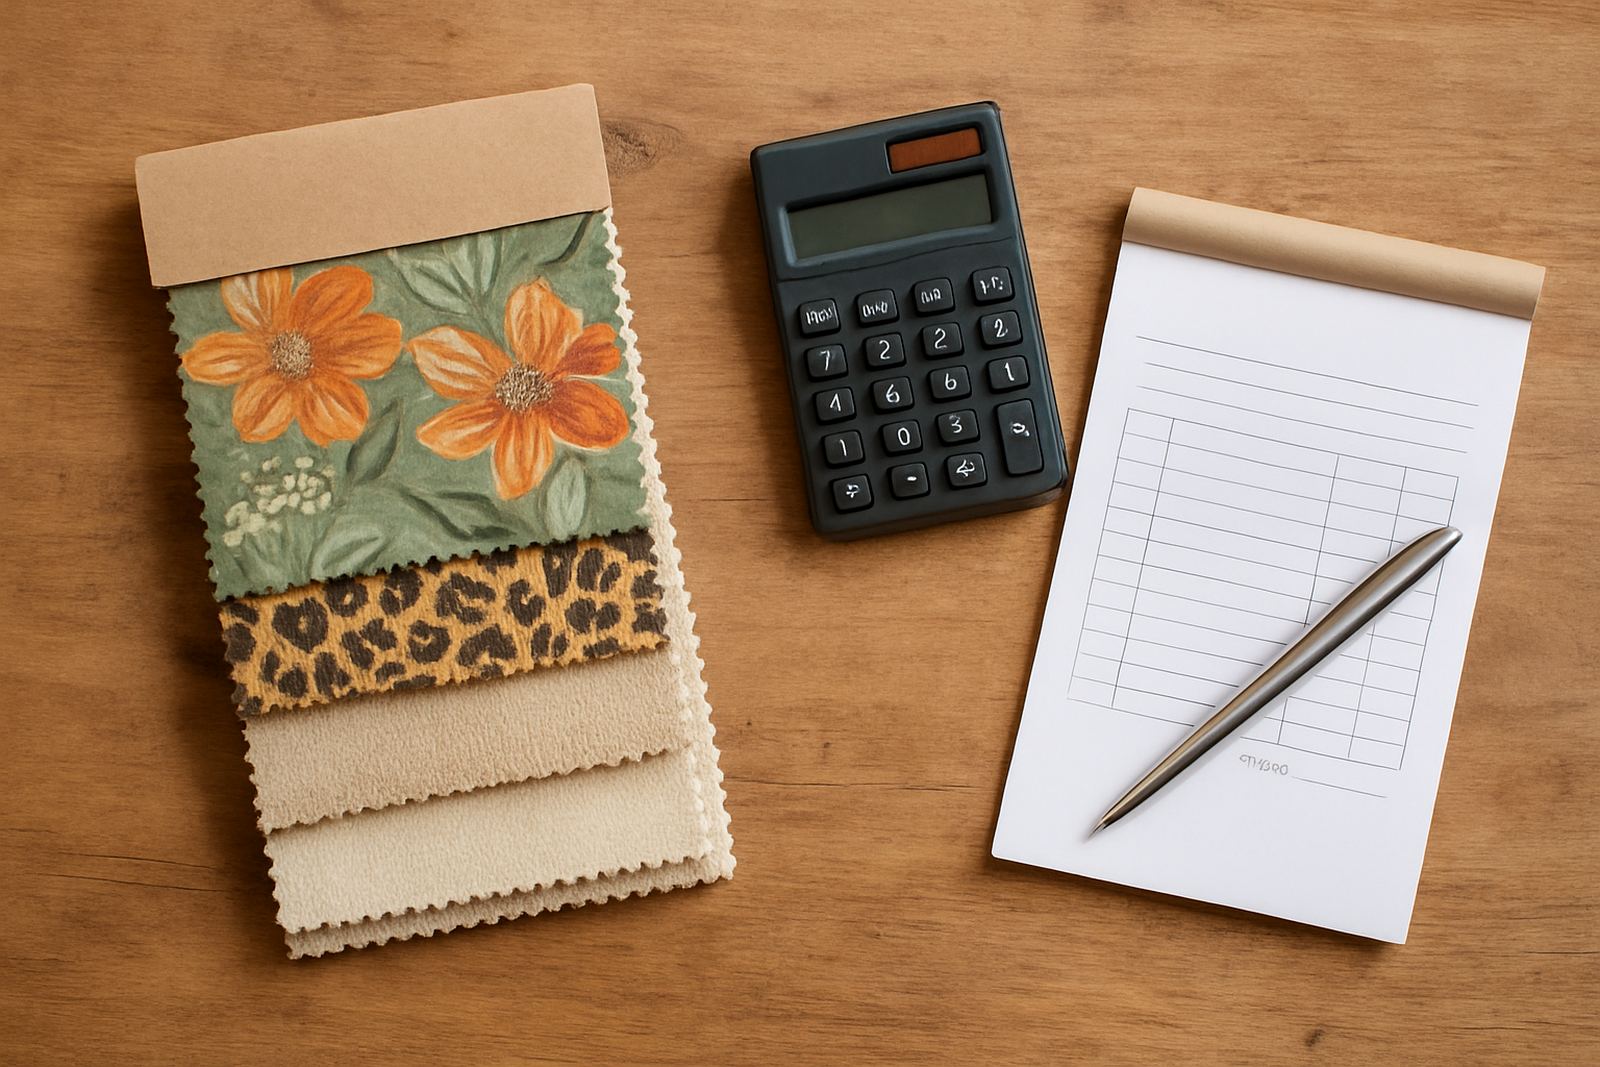
You do not need to use large pieces for every test. Small cut panels, usually enough to show the full repeat or key design area, are often enough to confirm the job. If the fabric is expensive, start with narrow strips or short lengths that still give you a true reading of colour and finish.
Use the same base cloth you plan to buy for the full run. A different weave or coating can change the result completely. A glossy polyester blend, for example, will not behave like a soft cotton shirt panel, and a fabric with moisture or sizing on it can take ink differently. Small changes in the base material can create big differences in the final print.
It also helps to test more than one setting. A good sample session may include:
- One panel with your normal settings
- One panel with a slightly adjusted colour profile
- One panel cured with a different heat press time or temperature
- One panel washed or handled as the finished product will be used
That way you are not guessing which version will work best. You are comparing results side by side and choosing the one that gives you the least risk.
A Germiston example: from one panel to a full order
A small clothing workshop in the East Rand came to us with a print for a summer range. The design had bright colour blocks and fine script, and the owner wanted to launch quickly for a market weekend. Rather than print the full order straight away, we ran a sample panel first on the exact fabric they had sourced.
The first sample showed that one colour was drying slightly duller than expected under the workshop conditions. We adjusted the ink balance and heat settings, then ran a second panel. That second sample matched the design far better and the text held clean edges. The owner approved the sample, and only then did the full production go ahead.
That one extra step saved the business from printing a batch they would have had to discount or rework. It also gave them a clear production record for the next order. In a busy small operation, that kind of control can be the difference between profit and stress.
Why local conditions in South Africa affect sample results
Printing in Johannesburg is not the same as printing in Durban or Cape Town. Dry highveld air, coastal humidity, transport delays and load-shedding can all affect how fabric is stored, how inks behave and how consistently heat is applied. If you skip the sample stage, you are taking on those variables without checking the result first.
For example, fabric kept in a humid storeroom near the coast may feel different from cloth stored in a dry inland warehouse. During load-shedding, temperature recovery on a heat press may also shift if the unit is being switched on and off more often than usual. Sample panels help you see these effects before the customer sees them.
- Check fabric after storage, not only when it arrives
- Keep sample panels in the same room as production fabric
- Note the date, operator and settings used
- Repeat the test if the fabric batch changes
That discipline helps whether you are running a small boutique in Midrand or producing for retailers in Bloemfontein. It keeps surprises out of the order book.
Make sampling part of your normal production routine
Sampling should not be treated as an extra. It is part of the job. Once your team gets used to test panels and strike-offs, you will waste less fabric, spend less time on corrections and reduce the chance of customer complaints. It also gives new operators a safer way to learn the machine and the material before they run a live order.
We often suggest building a simple sampling process into your workflow:
- Confirm the fabric type and end use
- Print a small test panel before each new job
- Check colour, detail and drying before approval
- Keep the approved sample with the job card
- Re-sample when fabric, ink or settings change
For small garment and textile businesses, this habit protects cash flow. It also makes your output more consistent across repeat orders, which is what customers remember. A small piece of fabric can save a large amount of money.