
Why repeat accuracy matters before the first metre prints
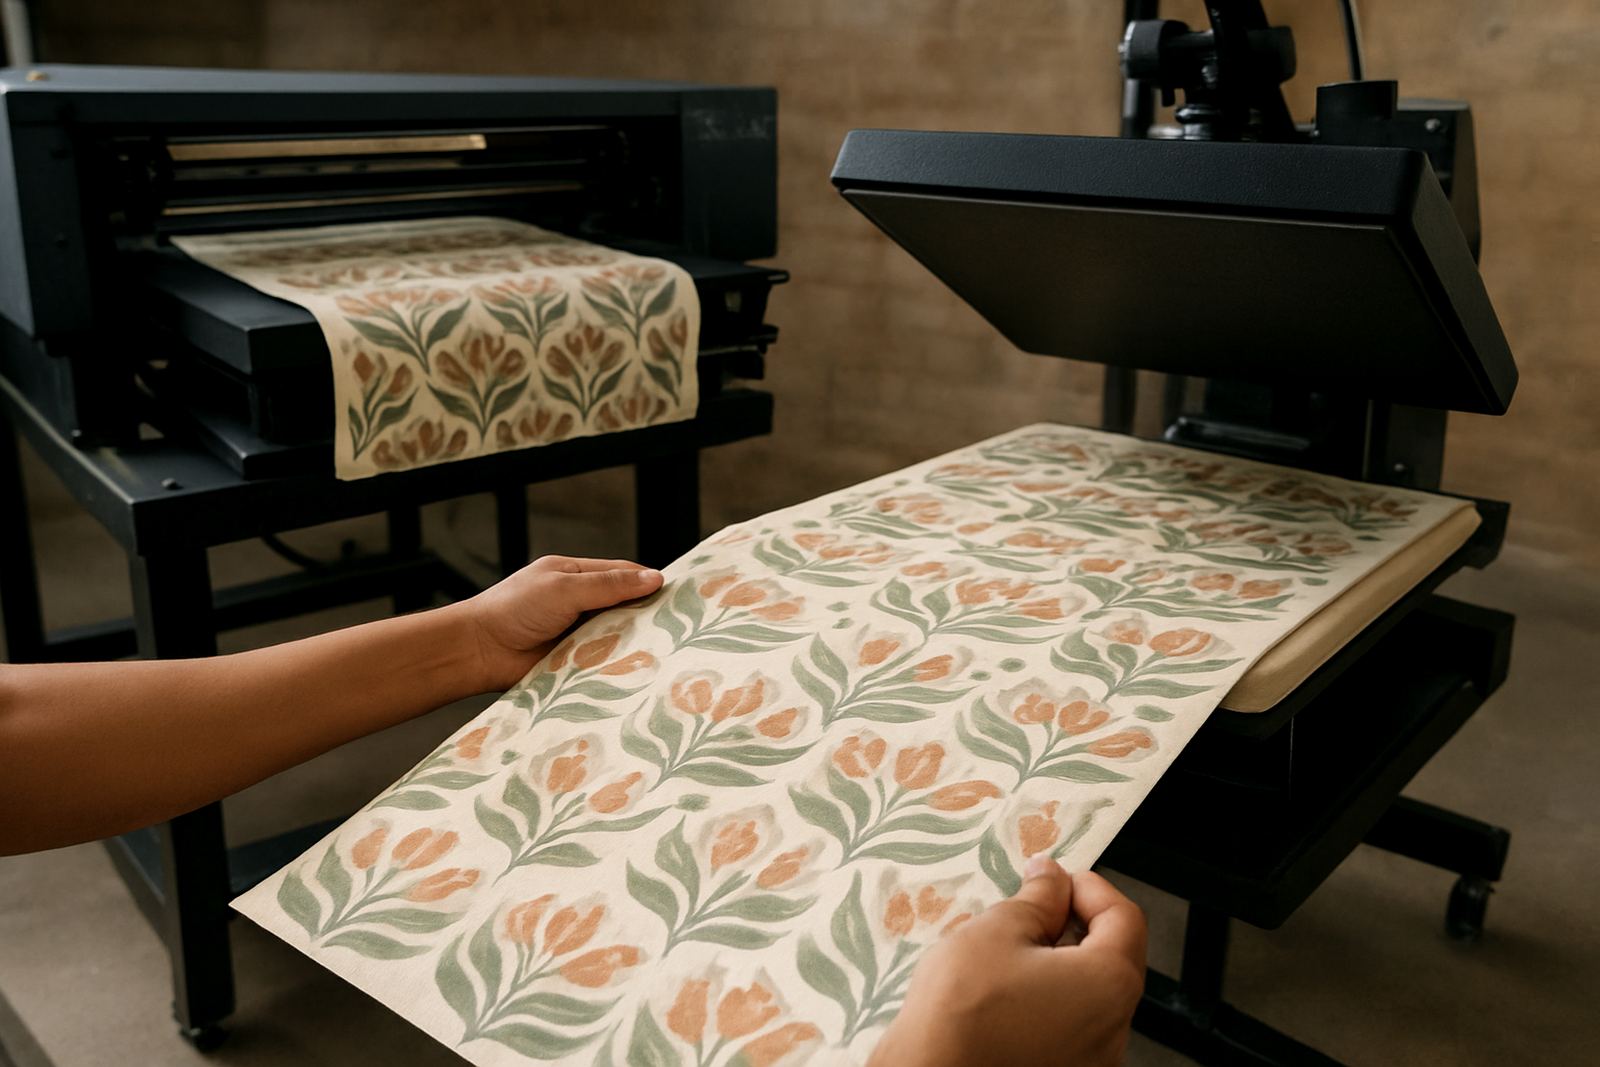
On fabric, a repeat is not just a design choice. It controls how the pattern lines up across the width and length of the roll, and it affects how much waste you get when the garment maker cuts panels, collars or trims. A repeat that looks fine on screen can fail on cloth if the artwork is scaled badly, the tile edges do not meet, or the printer feed is not consistent.
For small textile businesses in Germiston, Johannesburg or Pretoria, the difference can mean a full day of production lost on a 25 metre run. That is why repeat planning should happen before the file goes to print, not after the first test metre is already on the take-up table.
Build the repeat from the final fabric width, not guesswork
Start with the actual print width you will use, including the side margins needed for handling and finishing. If the design needs a half-drop, mirror, or straight grid repeat, set that structure in the layout file first. Do not keep resizing on the fly, because every change can alter how the motif lands at the seam.
- Measure the usable print width on the machine, not the brochure size.
- Set the repeat tile to a clean, exact size in millimetres.
- Leave enough room for selvedge, edge bleed and trimming.
- Check whether the design should repeat straight across or staggered down the length.
A common mistake is trying to fix a repeat by eye. On a floral or geometric print, even a 2 mm shift can be visible once the cloth is sewn into shirts, leggings or home textile pieces.
Keep colour and line detail stable across the repeat tile
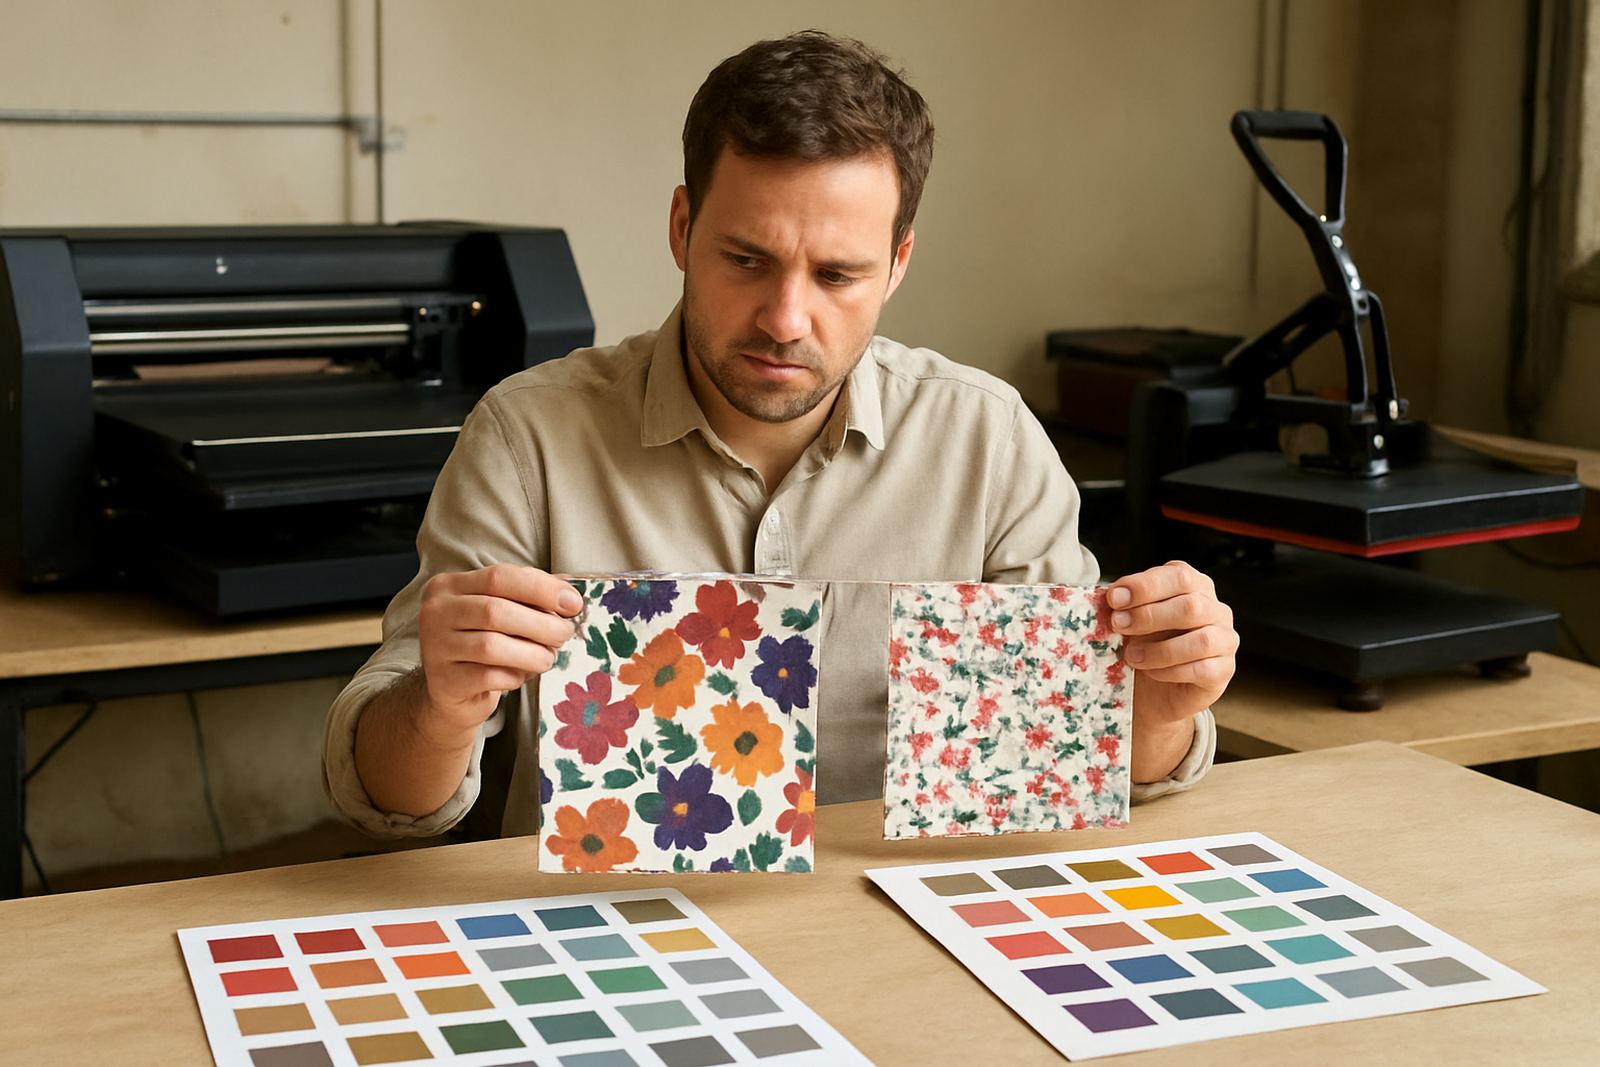
When a repeat includes fine lines, text, or small artwork details, consistency matters as much as alignment. Dark blocks can show banding if the ink laydown changes, and pale backgrounds can reveal a small join if the profile is not right. For direct-to-fabric inkjet work, the aim is to keep the same colour response from the first tile to the last, especially on cotton blends and polyester fabrics that take ink differently.
Run a short test strip before a long production job. Check the join under daylight, not just under workshop lights. In a humid coastal area like Durban, fabric can also shift slightly as it absorbs moisture, so a pattern that looks perfect in the morning may move a touch by afternoon.
- Use one colour profile for the same fabric type and pre-treatment.
- Check that blacks stay neutral and do not turn brown or blue at the join.
- Inspect line weight, small text, and border continuity across the repeat.
- Keep the fabric stored flat and covered while waiting to print.
Match feed, tension and drying to the repeat length
Even a perfect file will not print well if the machine feed is inconsistent. Repeat accuracy depends on how evenly the fabric moves through the printer and how the material is supported during printing and drying. If the fabric stretches, sags or slips, the repeat can drift over several metres. That is why operator setup matters as much as artwork setup.
Check the feed path, roller pressure and tension before every production run. If the job is on a longer repeat, say 600 mm or 900 mm, watch the first few metres closely. A small feed error at the start can become a visible pattern shift by the end of the roll, and then the cutter has to work around it.
Load-shedding can also affect production rhythm. If a job stops mid-run, mark the exact point and restart with care. Never assume the fabric has stayed in the same position if the machine has been off for a while.
Set up the artwork so the repeat is easy to proof
Good repeat files are built for proofing, not just for the final print. Name the file clearly, keep one master version, and make sure the tile edges are obvious when you zoom in. If the design has a directional element, mark the top edge so the fabric cutter and sewing team know how it should run.
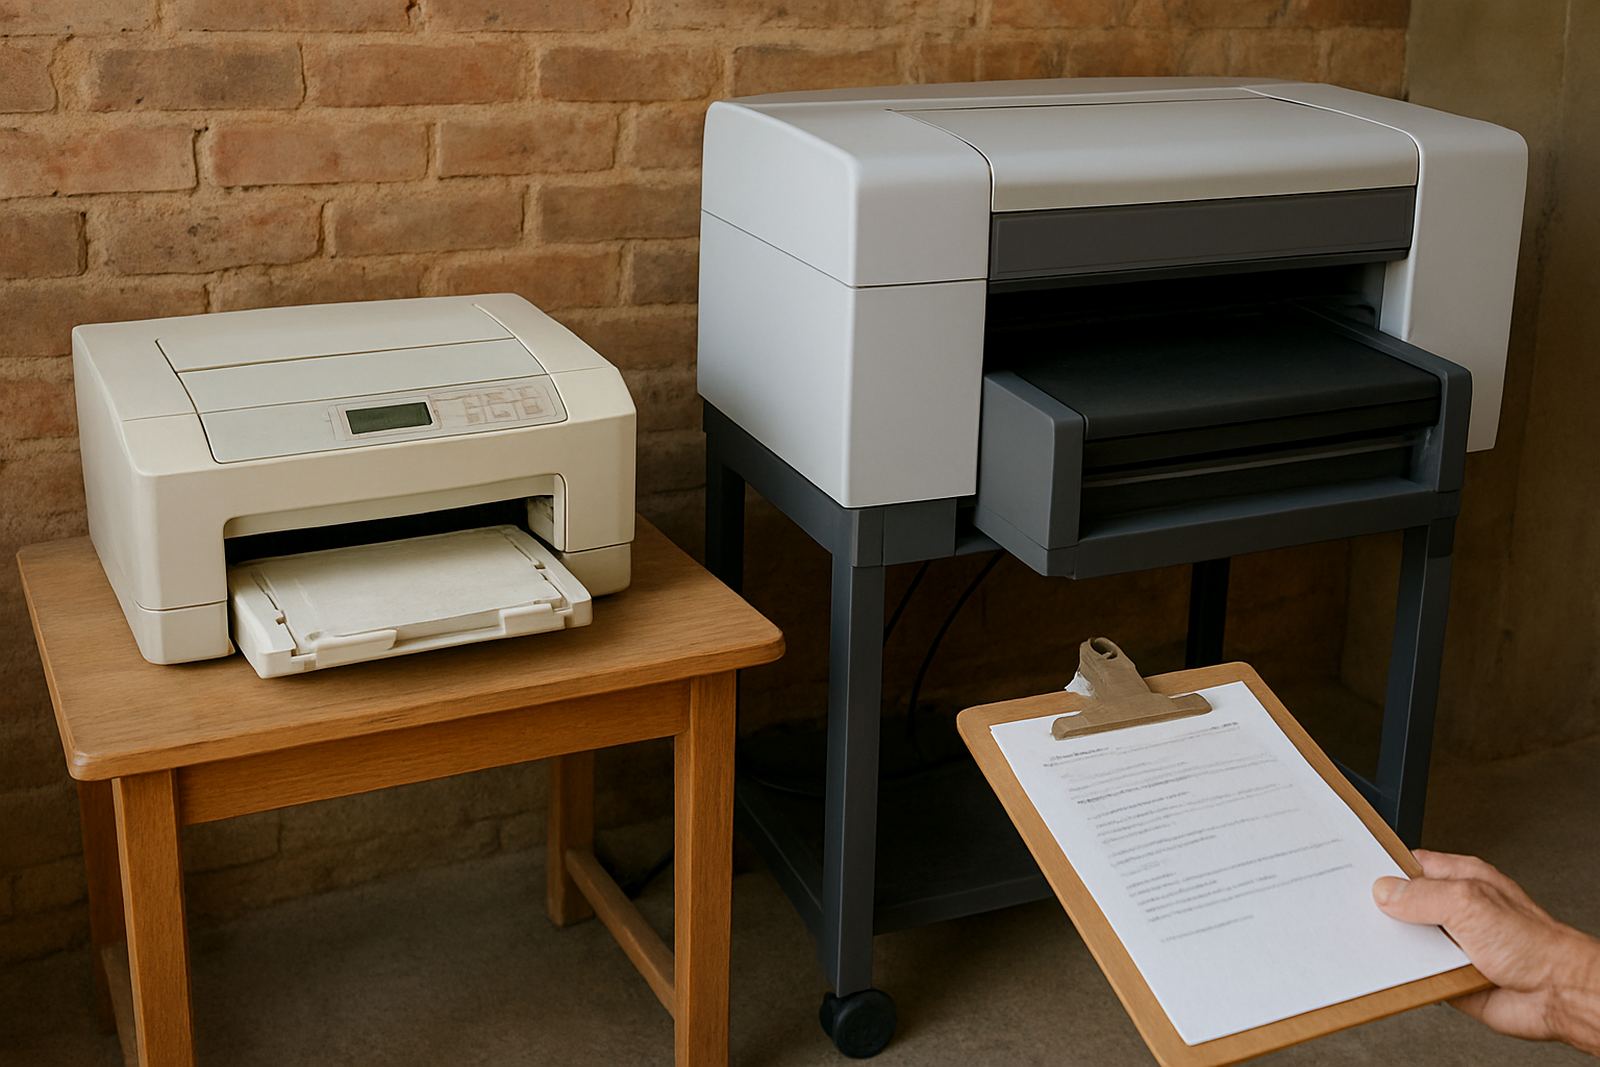
For local businesses doing short runs for boutiques in Johannesburg or custom orders in Bloemfontein, it helps to keep a simple proof sheet with the repeat size, fabric type, ink set and any special notes. That way the same job can be repeated later without reworking the setup from scratch.
- Save one master file with the repeat locked.
- Include repeat size, fabric width and print direction on the job ticket.
- Print a small proof section before full production.
- Note any customer changes so the next run matches the approved sample.
Use the first production run to catch small errors early
The first full run is the best time to find problems. Lay out at least one full repeat cycle and inspect it against the screen file and the cut plan. Check for stepping, edging errors, colour drift and any faint line where tiles meet. If the repeat is on a large garment panel print, fold the fabric and see whether the motif still aligns where the seams will sit.
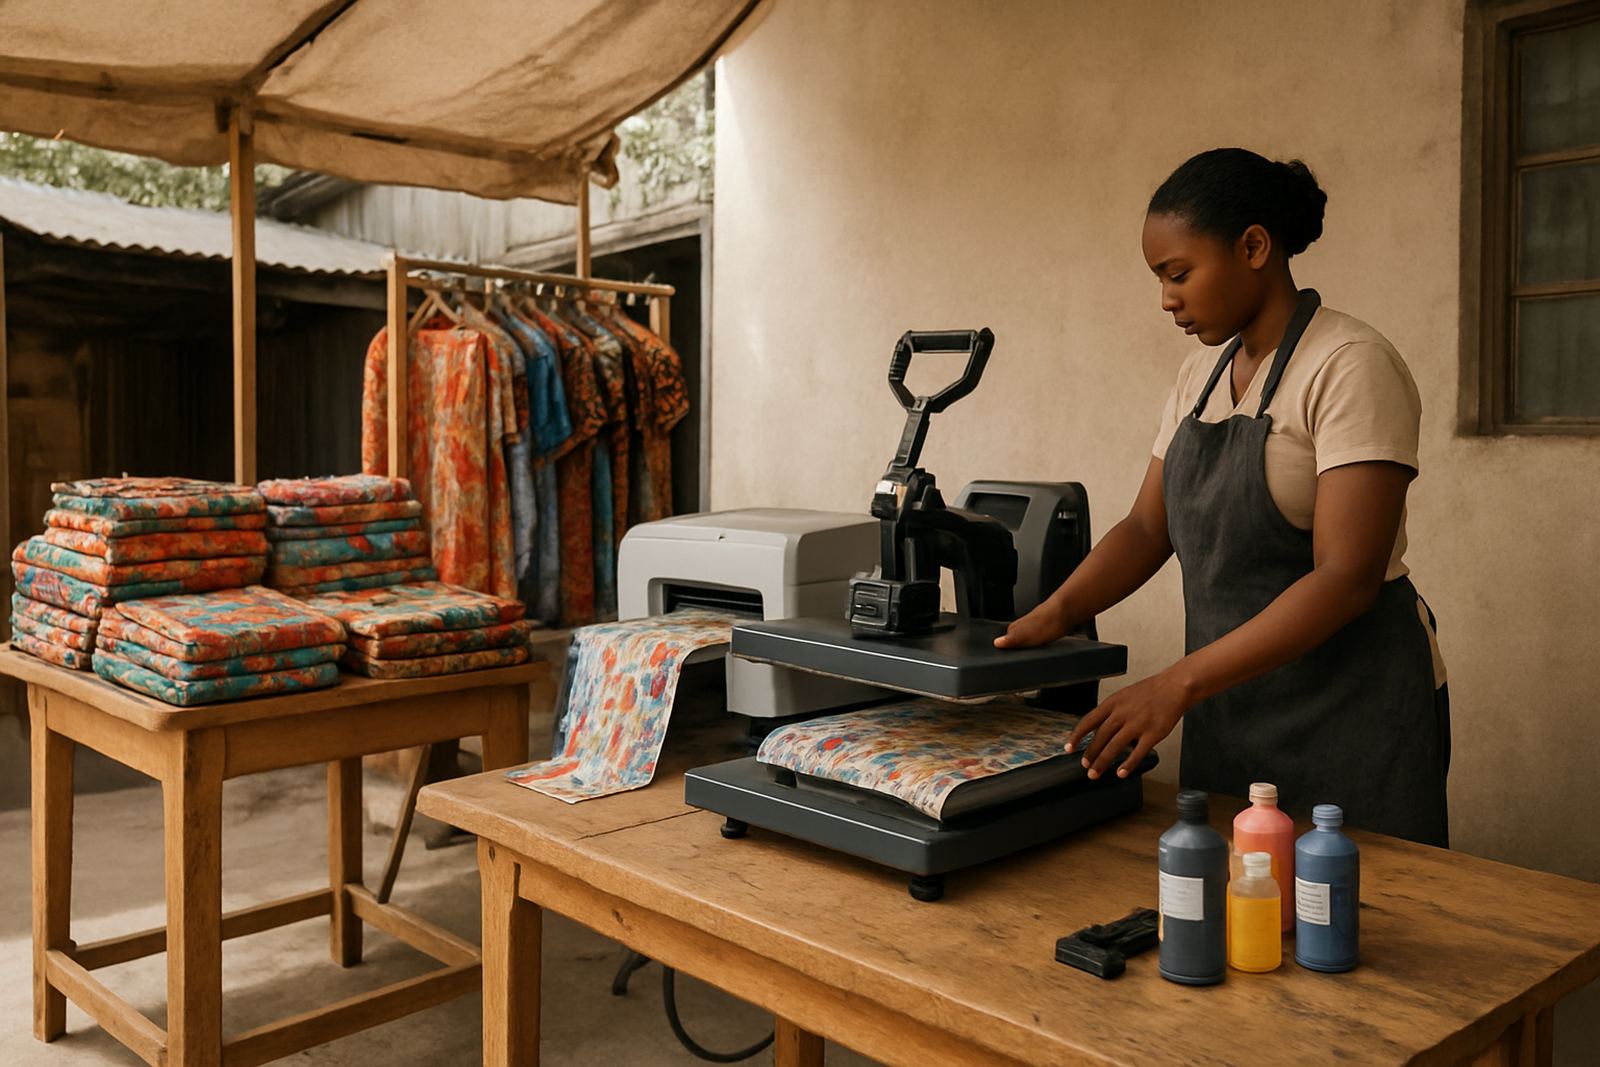
In Wadeville and the wider Germiston area, many small businesses print for same week garment orders. That means there is little room for rework. A 10 metre test that costs a bit of time can save a much bigger loss later. It is better to pause and fix a setup issue than carry a fault through the whole batch.
Keep notes from every job: the fabric type, the repeat measurement, drying time and any changes made after the test. Over time, those notes become the quickest way to repeat a successful setup with fewer mistakes.
A practical repeat setup routine for South African production
A repeat pattern should be treated like a production setting, not just a design decision. The people doing the print, the colour check and the cutting all need the same reference. When the setup is clear, the pattern lands where it should, the cloth wastes less and the finished garments look neater on the rack.
For example, a small boutique in Midrand printing a 30 metre run of fashion fabric can avoid costly joins by checking the repeat tile, confirming fabric width and running a short proof before full production. If the printer is already profiled for that cloth and the operator knows the feed settings, the job moves faster and the repeat stays true across the roll.
That kind of repeat control is what turns a good design into workable fabric production. It saves time, keeps colours consistent, and makes it easier to deliver the same result again next month without starting from zero.