Start With the Garment, Not the Artwork
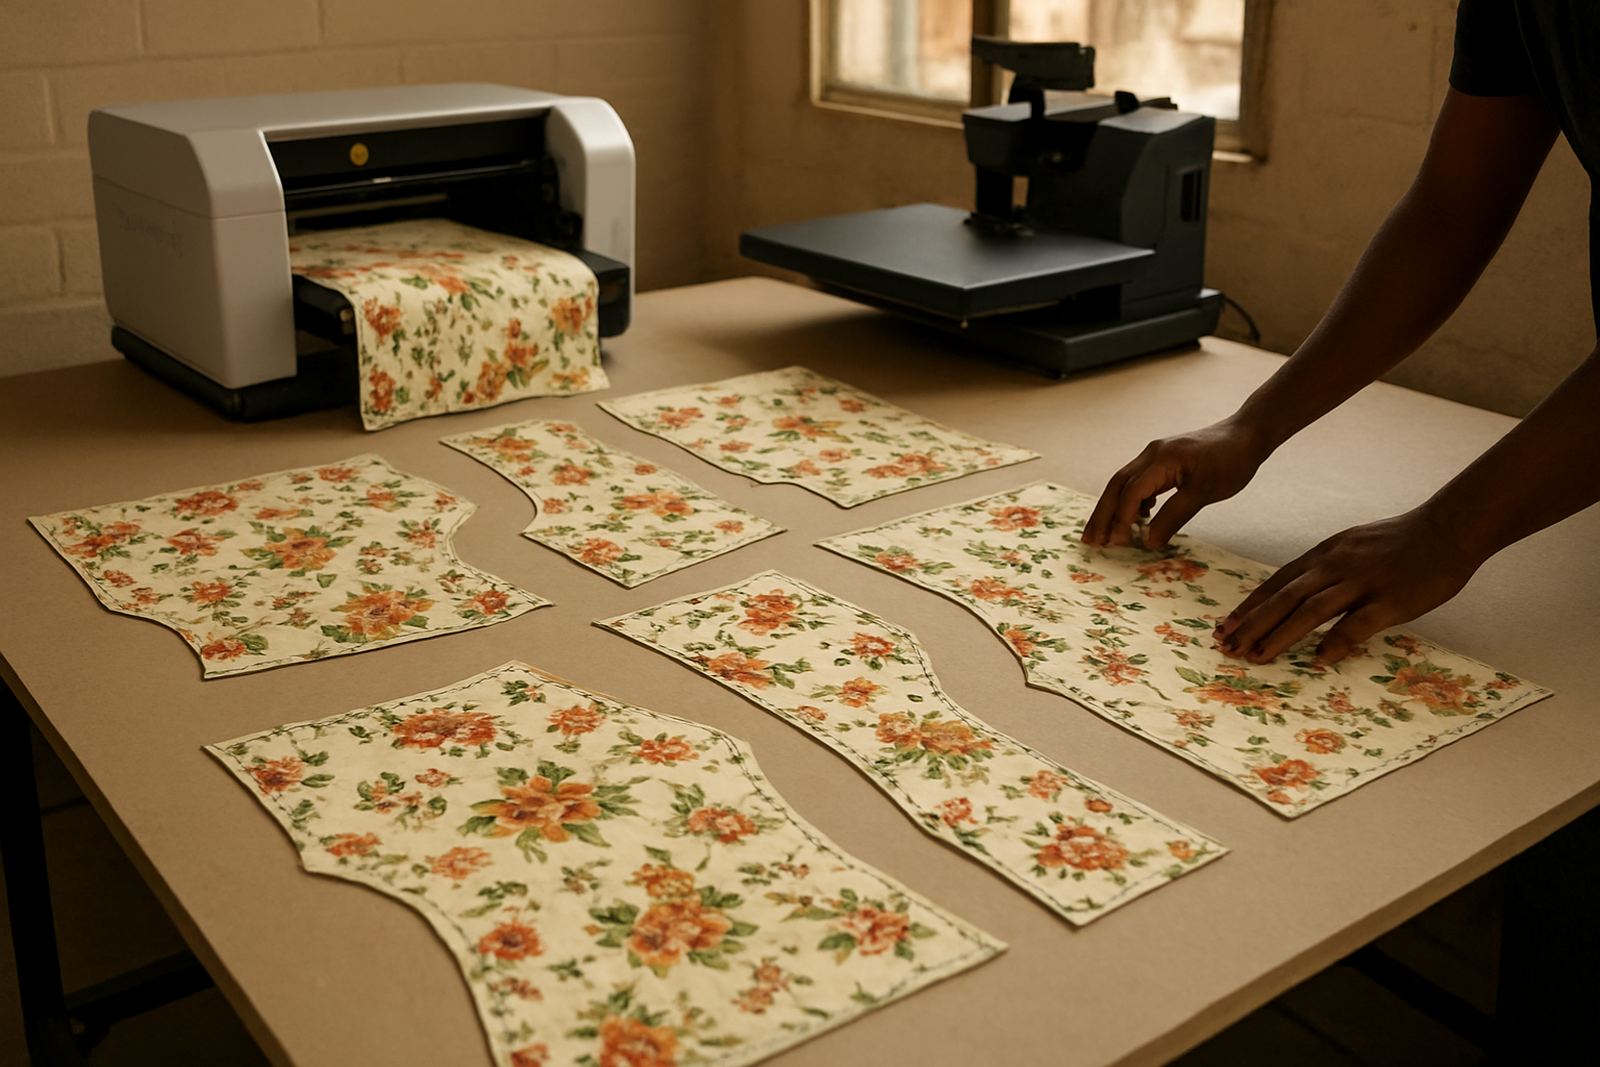
The biggest mistake is designing the print first and only thinking about the garment later. For panel prints, the seam lines, grain direction, fold lines and neckline shape should guide the artwork from the start. If the print is meant to wrap across the chest, sleeve or side panel, the cut pattern has to be marked clearly so the operator knows where each image lands.
On cut-and-sew work, even a clean A4 concept can go wrong if it is scaled without checking the real panel sizes. Measure the garment size range you plan to make, then allow for seam allowance and a little movement during pressing. A print that looks perfect on a small sample may sit too high or too low once it is cut and stitched into a full production run.
Build In Registration Marks and Safe Zones
Registration marks are not just for large factories. Small shops in Germiston, Pretoria or Durban use them to keep panel prints aligned when working with polyester, cotton blends or stretch fabric. Marks help when matching left and right fronts, sleeves, cuffs and yokes. They also make life easier if the same job has to be reprinted later.
Keep important details inside a safe zone. Text, faces, logos and fine linework should stay clear of seam edges, zip allowances and fold areas. A good rule is to allow extra space around anything that must remain visible after stitching. This is especially useful when a garment moves through a heat press and the fabric contracts a little under pressure and heat.
- Mark the actual cut line, not just the final print outline.
- Leave extra room near seams, hems and collars.
- Use a clear left and right reference on mirrored panels.
- Test the full layout on paper before printing fabric.
Match the Print Method to the Fabric and Batch Size
For small garment businesses, the right print method depends on the fabric type, the number of panels and how often the design changes. Direct-to-fabric inkjet printing is useful when you need sharp detail, bright colour and short runs without holding too much stock. It suits designers who want to print custom panel sets for a few dozen garments, then adjust the artwork for the next order.
Heat pressing is still part of the process for many small operations, especially when fixing transfer work or setting certain decoration methods. Whatever method you use, test how the fabric responds to heat, humidity and washing. Coastal areas like Durban can bring extra moisture into storage rooms, while a dry Johannesburg workshop may behave differently. The same print can look slightly different if the fabric is damp or has been stored poorly before production. That is why a sample run is neccesary before a full batch.
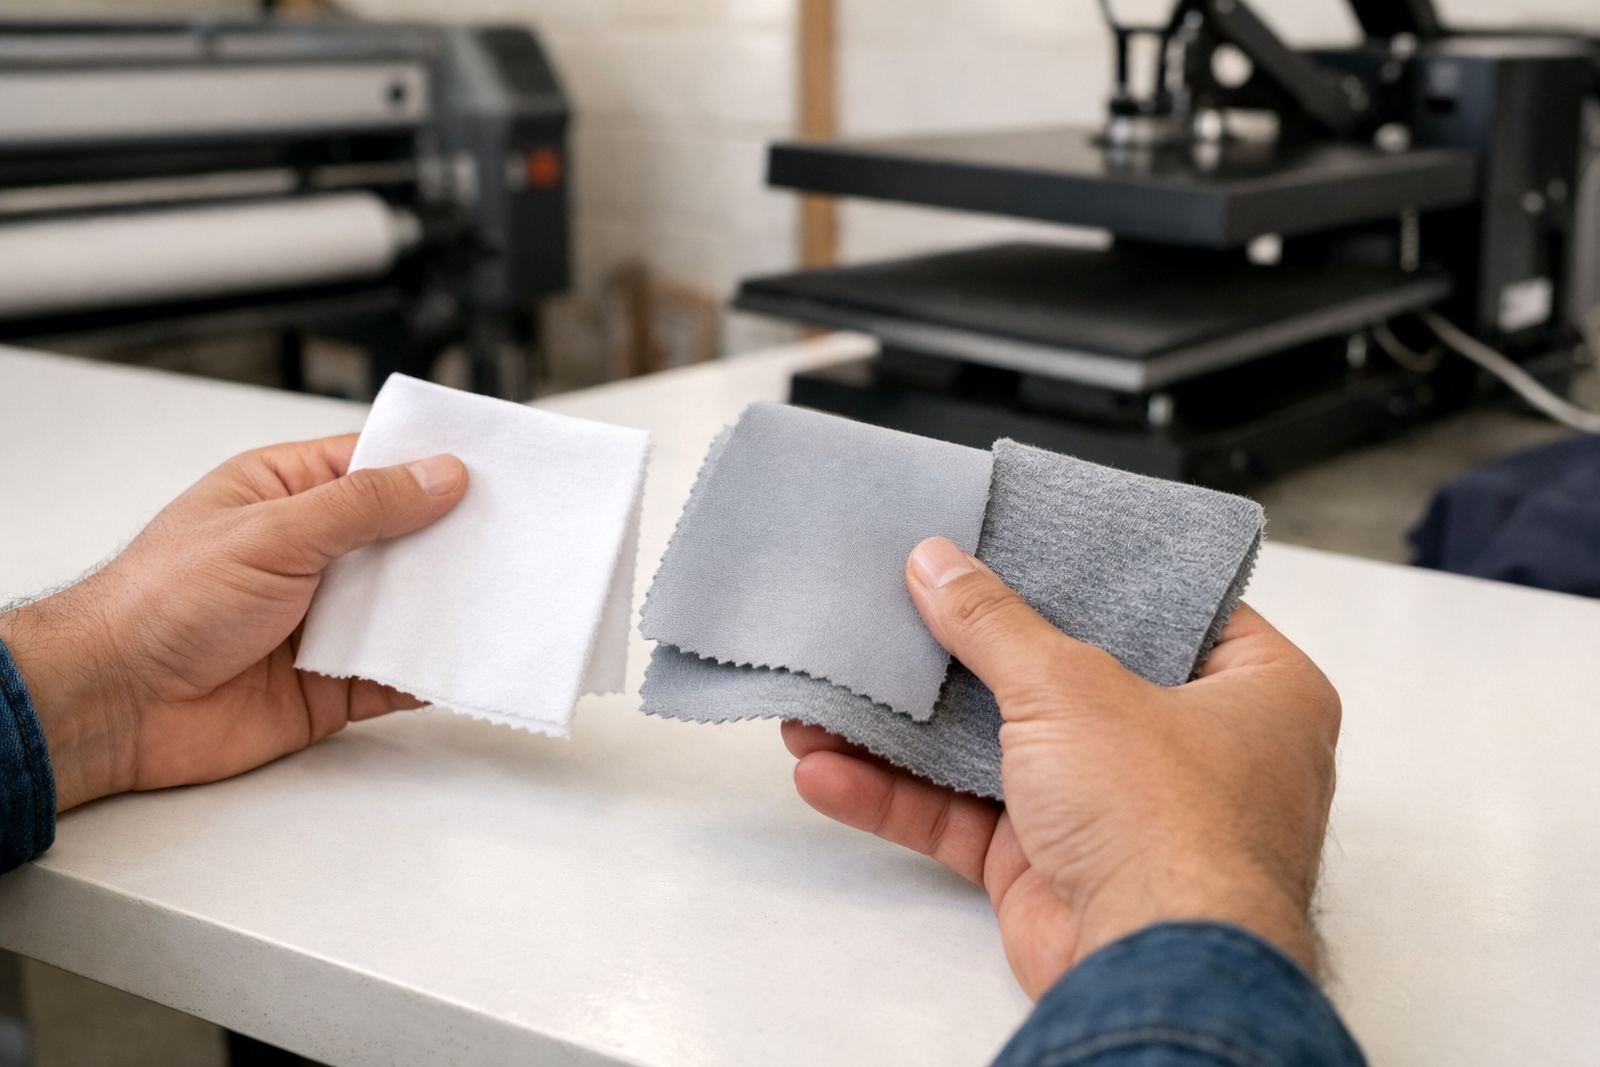
- Use sample swatches to check colour and scale.
- Keep fabric stored flat and dry before printing.
- Watch for stretch recovery on knit fabrics.
- Allow for wash shrinkage on natural fibres.
Set Up the Pressing and Curing Process Carefully
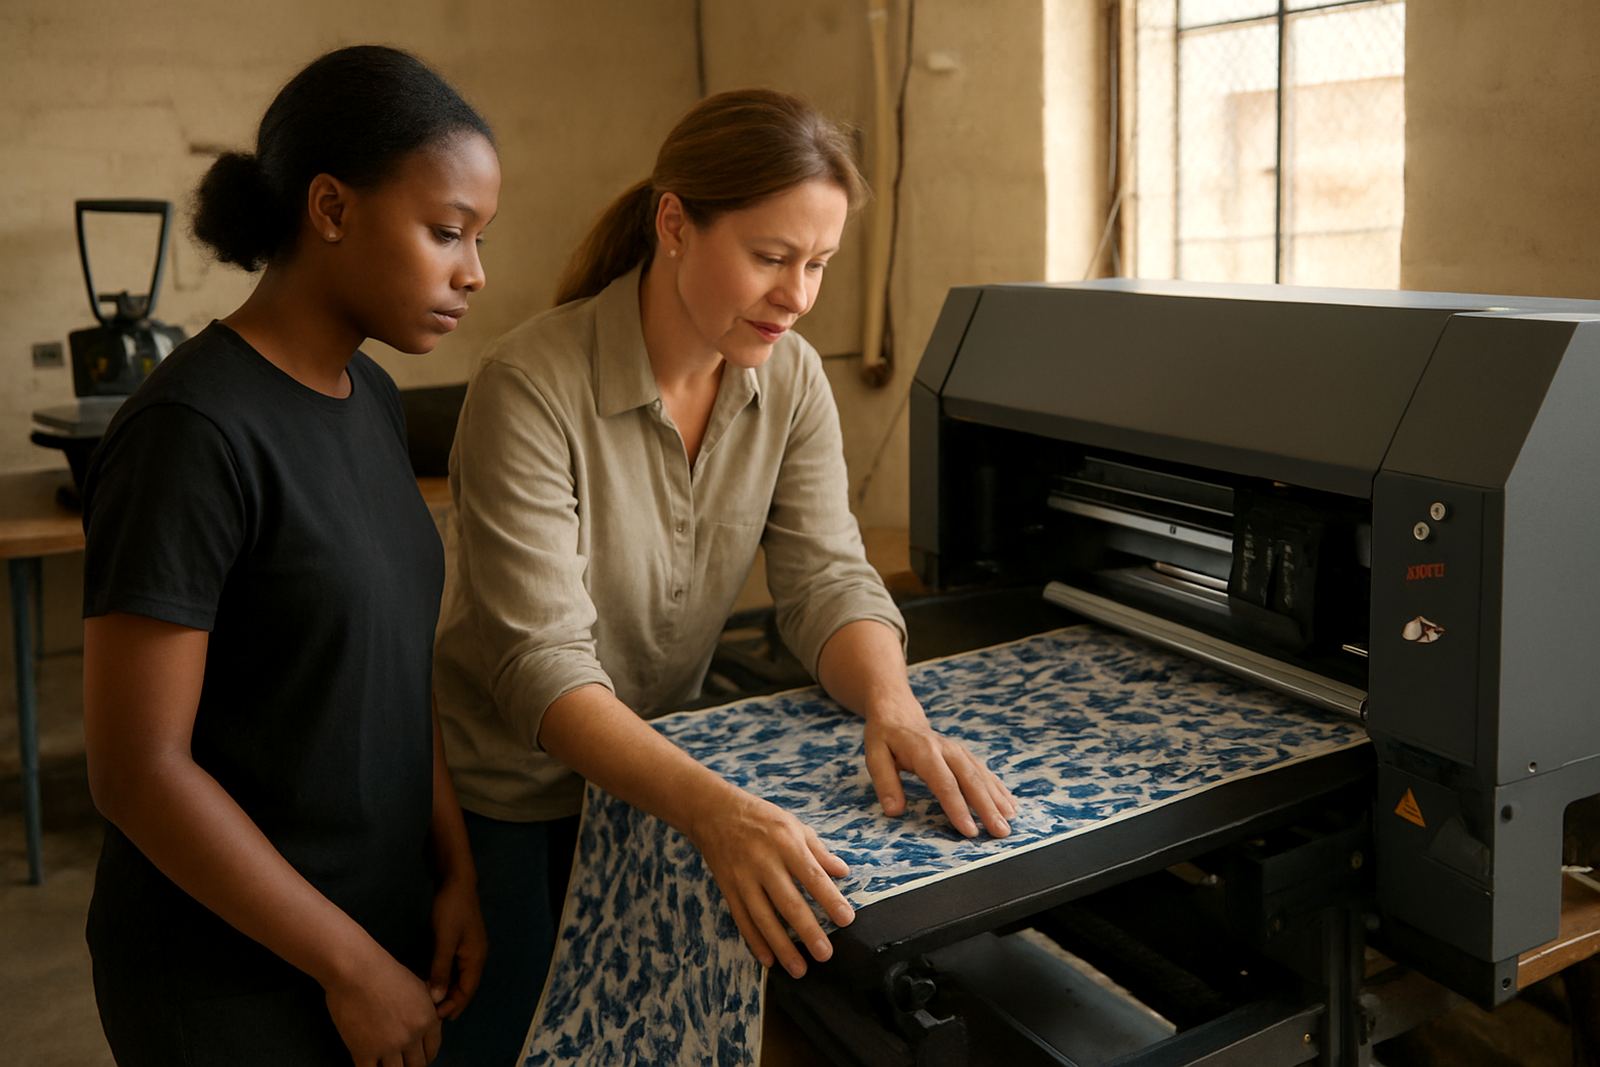
Placement prints are only as good as the finishing step. If the heat press is uneven, the design may shift, ghost or leave a dull patch. Set a consistent temperature, pressure and dwell time for the fabric you are working with. Do not guess. Keep a log of settings for each fabric type so your team can repeat good results on the next order.
For small factories and studios, a simple workflow helps prevent waste. Print, dry, press if needed, then inspect each panel before cutting. If the artwork has a strong border or a precise shape, check it against the pattern piece while it is still flat. Once a panel is stitched, a small offset becomes much harder to fix. Local businesses in Boksburg and Midrand often find this step saves more fabric than any other change.
Keep Colour Consistent Across Repeats
When a client reorders the same style, colour drift is one of the quickest ways to lose trust. A red on one batch and a slightly duller red on the next batch can look like a quality problem even if the garment construction is sound. Colour profiling helps keep repeat orders close to the original approval sample, especially when the job moves between different printers, fabrics or workshops.
Use a named standard for each approved job and store the file with the fabric type, print method and finish settings. If you are working for schools, boutiques or promotional clothing clients, this record becomes very useful. It also helps when the same panel print has to run again after a few months and the original operator is not on site.
- Approve colour on the same fabric that will go into production.
- Save the print setting, ink set and finishing details.
- Check under daylight and workshop light before sign-off.
- Keep a small reference sample for future reorders.
Plan for Repairs, Servicing and Production Delays
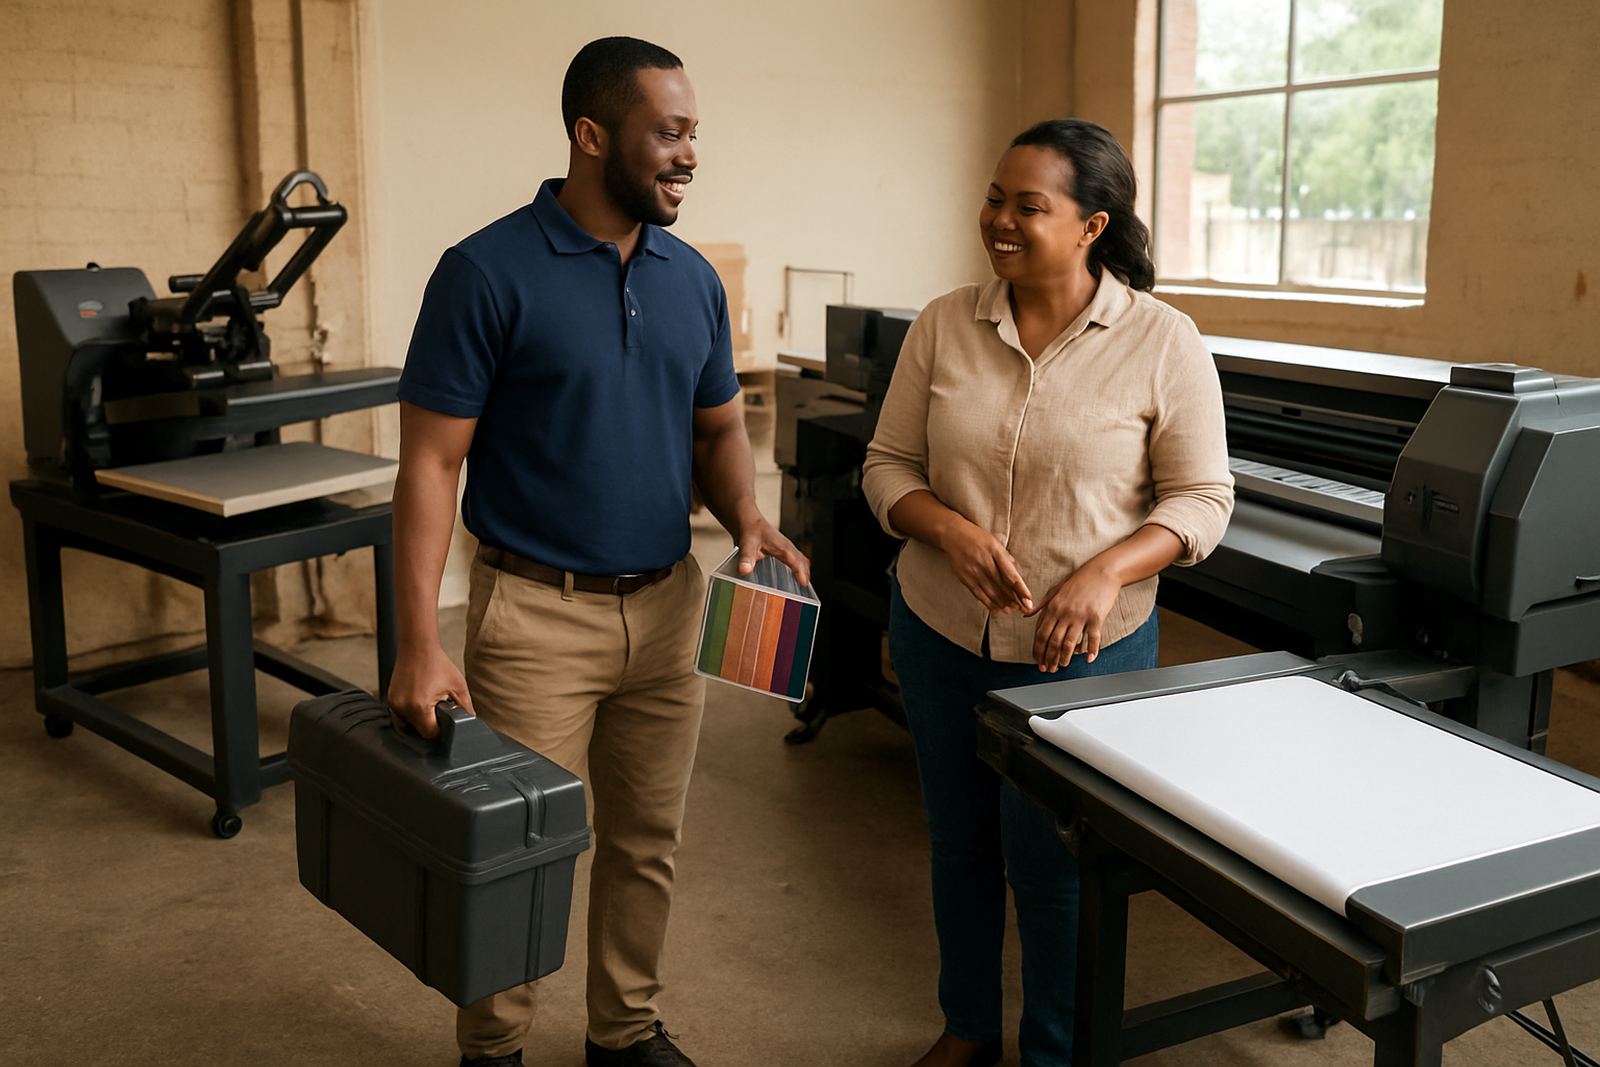
Small garment businesses cannot afford long downtime. If a printer or press stops in the middle of a run, the rest of the job can shift from profitable to difficult very quickly. Preventive servicing, clean ink systems and regular printhead cleaning are not optional when you depend on panel work. They help reduce blocked nozzles, banding and colour inconsistency.
It also helps to have a clear response plan for load-shedding, especially when drying and curing are part of the process. Back-up power, a tidy workspace and labelled parts can keep a workshop moving when the grid is unstable. If a machine is being relocated, support during move-in and re-setting can prevent avoidable damage. A careful installation in Wadeville is one thing, but the real test is whether the same setup still runs well after a job has travelled to Cape Town, Bloemfontein or Pretoria.
A Local Example From a Small Cut-and-Sew Shop
A small clothing business in Germiston wanted placement prints for front panels and sleeve detail on a new streetwear range. The first sample looked sharp on screen but the graphic sat too high once the panels were cut and stitched. The team adjusted the pattern file, added clearer registration marks, and moved the artwork down by a few millimetres on each size. The second sample lined up properly across the chest and the sleeves matched from left to right.
That kind of result comes from practical planning, not luck. When the print, pattern and finishing settings are all checked together, the customer gets a cleaner garment and the workshop wastes less material. For small South African businesses, that can make the difference between a tricky order and one that comes back again.