
Start with the machine flow, not the furniture
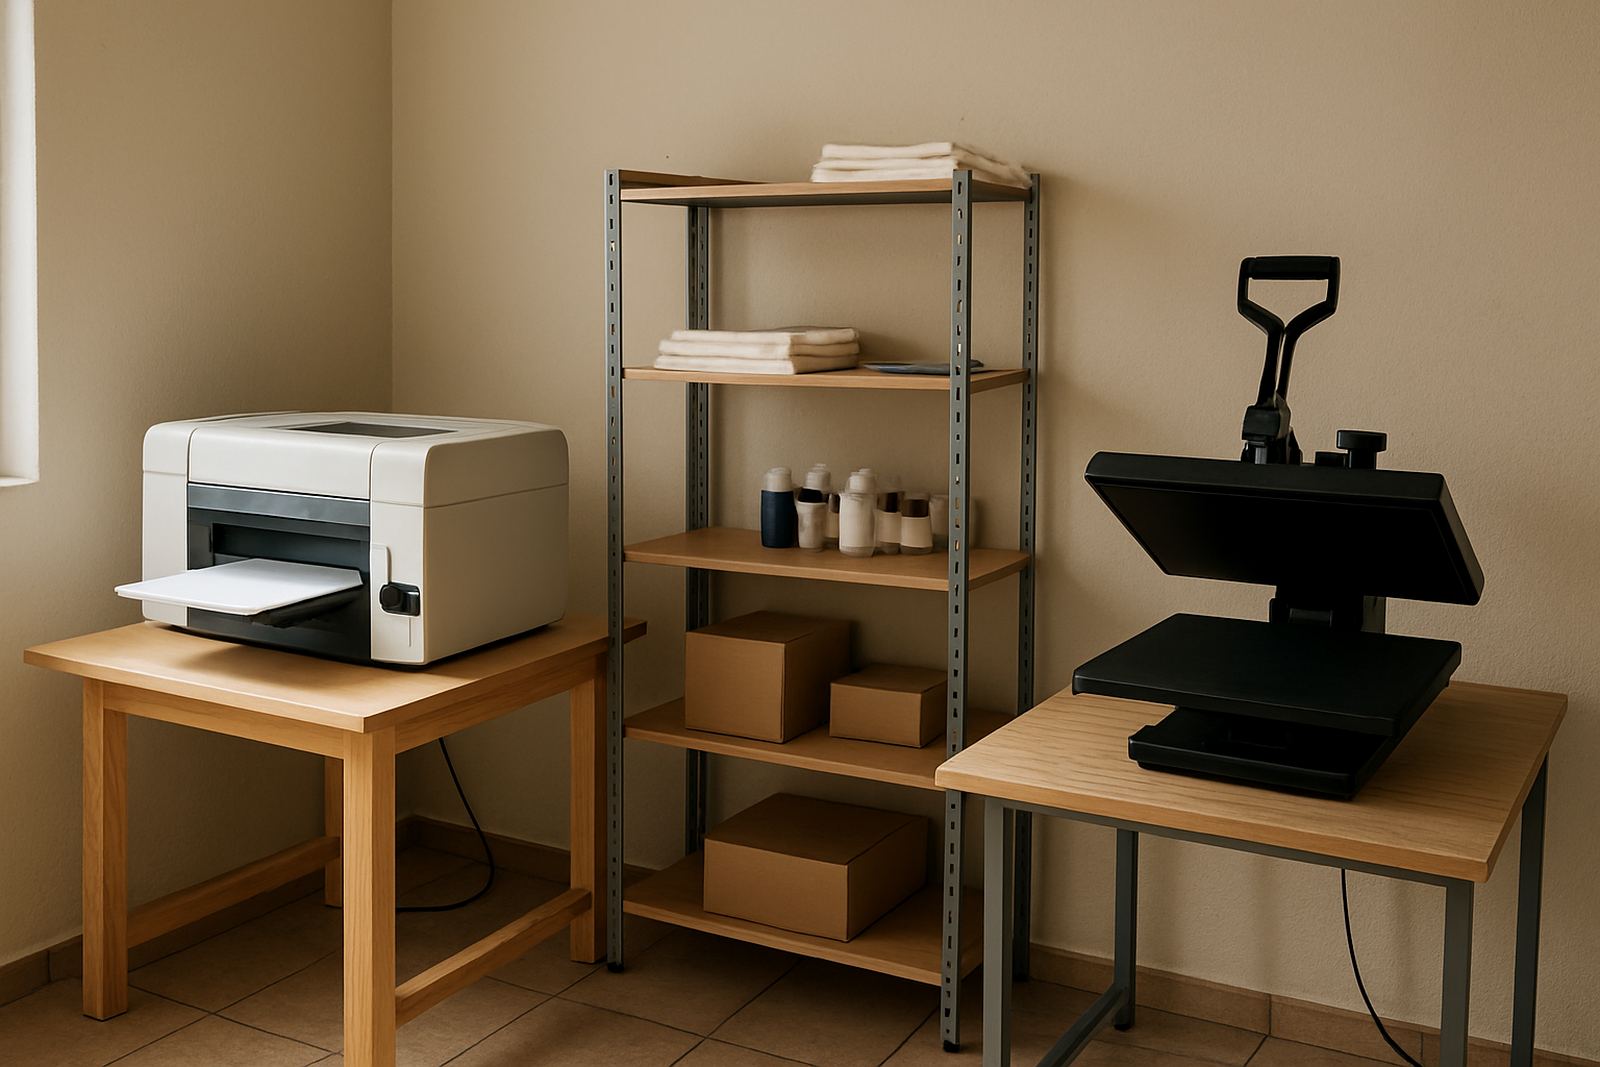
When space is tight, map the work in the order it happens. A good home studio layout should move from receiving stock, to pre-treatment or prep, to printing, drying or pressing, then to packing without crossing paths. If a printer sits where people must squeeze past it, you lose time and increase the chance of knocks, spills and misprints.
For a small room in Germiston, Soweto or a garage in Pretoria, leave enough space around the main machine for loading, maintenance and cleaning. Even a compact setup needs clear access at the front and back. Plan for the size of the printer, the heat press, a working table, storage shelves and a bin for trims or rejects. It sounds simple but many home studios become cramped because each item was placed as soon as it arrived.
Keep the clean side and messy side apart
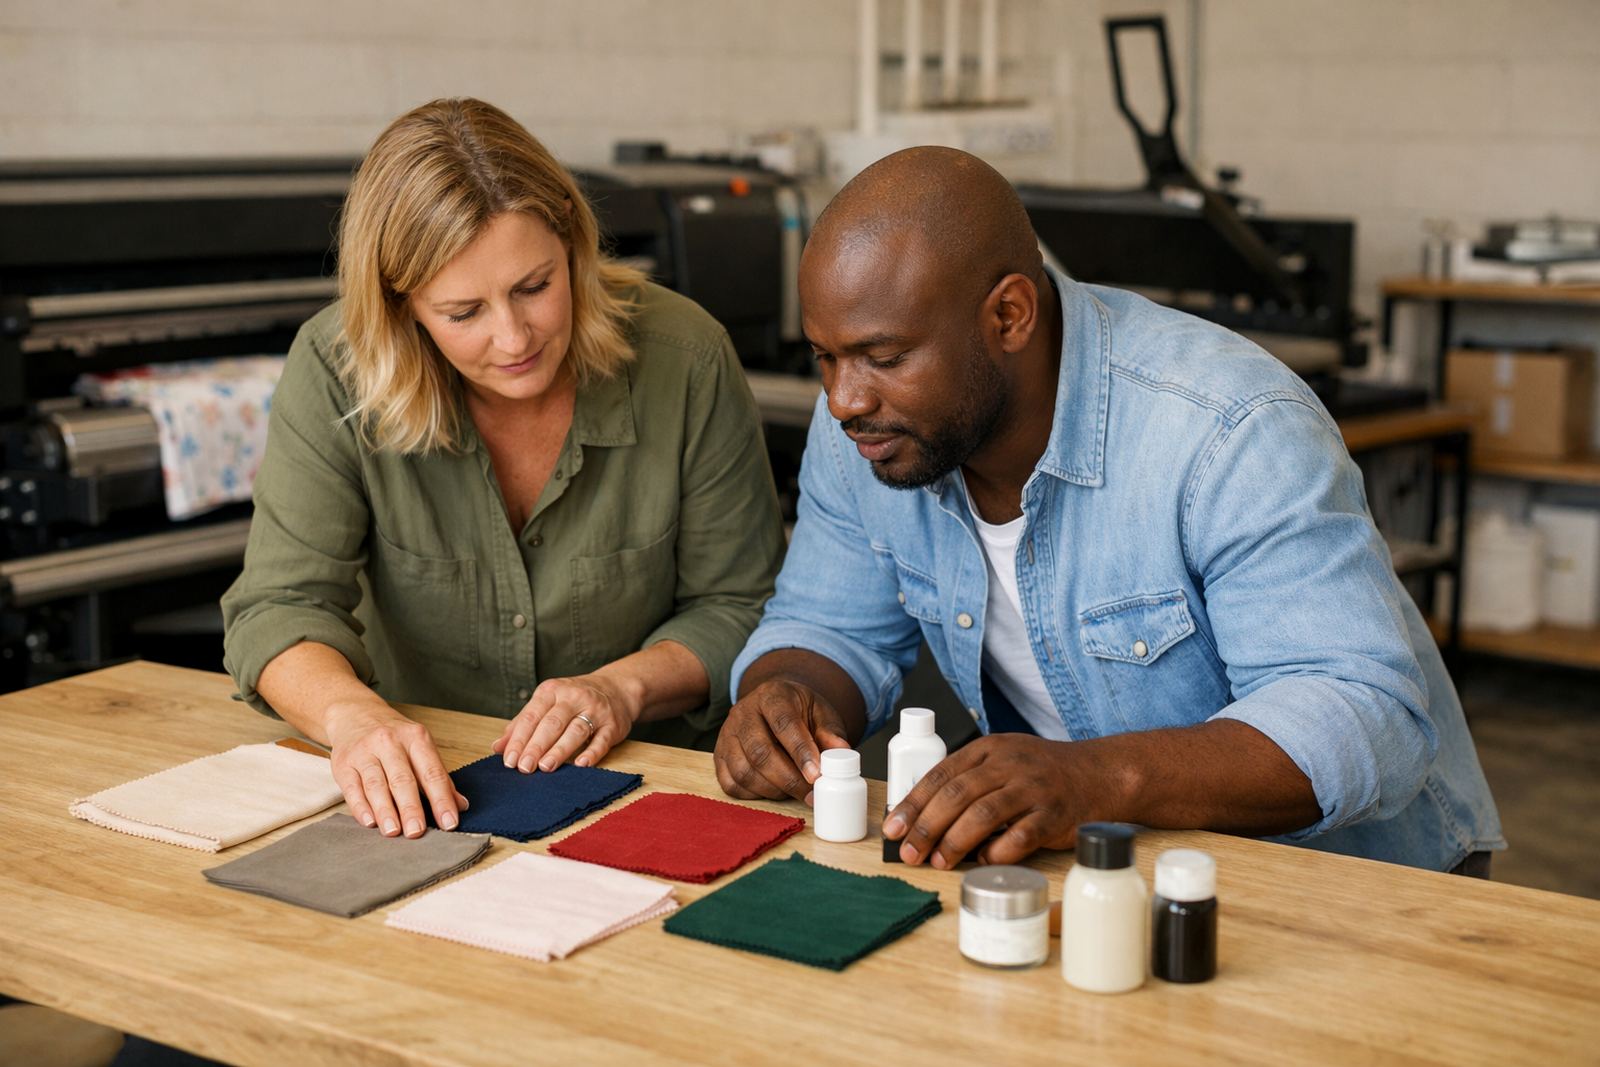
Print rooms work better when clean materials stay separate from wet inks, heat and dust. Keep garments, rolls and finished orders on one side of the room. Put ink bottles, cleaning cloths, spare cartridges and waste containers on the other side. If you handle cotton and polyester in the same place, label everything clearly so there is no mix-up during busy periods.
- Store blank garments in covered plastic tubs or sealed cartons.
- Keep inks off the floor and away from direct sun.
- Use one shelf for finished work only, not for tools or packaging scraps.
- Wipe the work surface at the start and end of each shift.
In coastal areas such as Durban and Cape Town, humidity can affect drying times and storage. If you are close to the sea, use closed shelving and keep fabric off damp concrete floors. In winter, a small dehumidifier can help prevent curling paper, slow drying and moisture damage to packaging.
Plan for power cuts before you print your first order
Load-shedding changes the way a home studio should be set up. If your printers and heat press stop in the middle of a run, you can waste ink, garments and time. Put essential equipment on a separate circuit where possible and avoid sharing one overloaded plug point across too many devices. Extension leads should be properly rated and kept tidy, not bundled under a table.
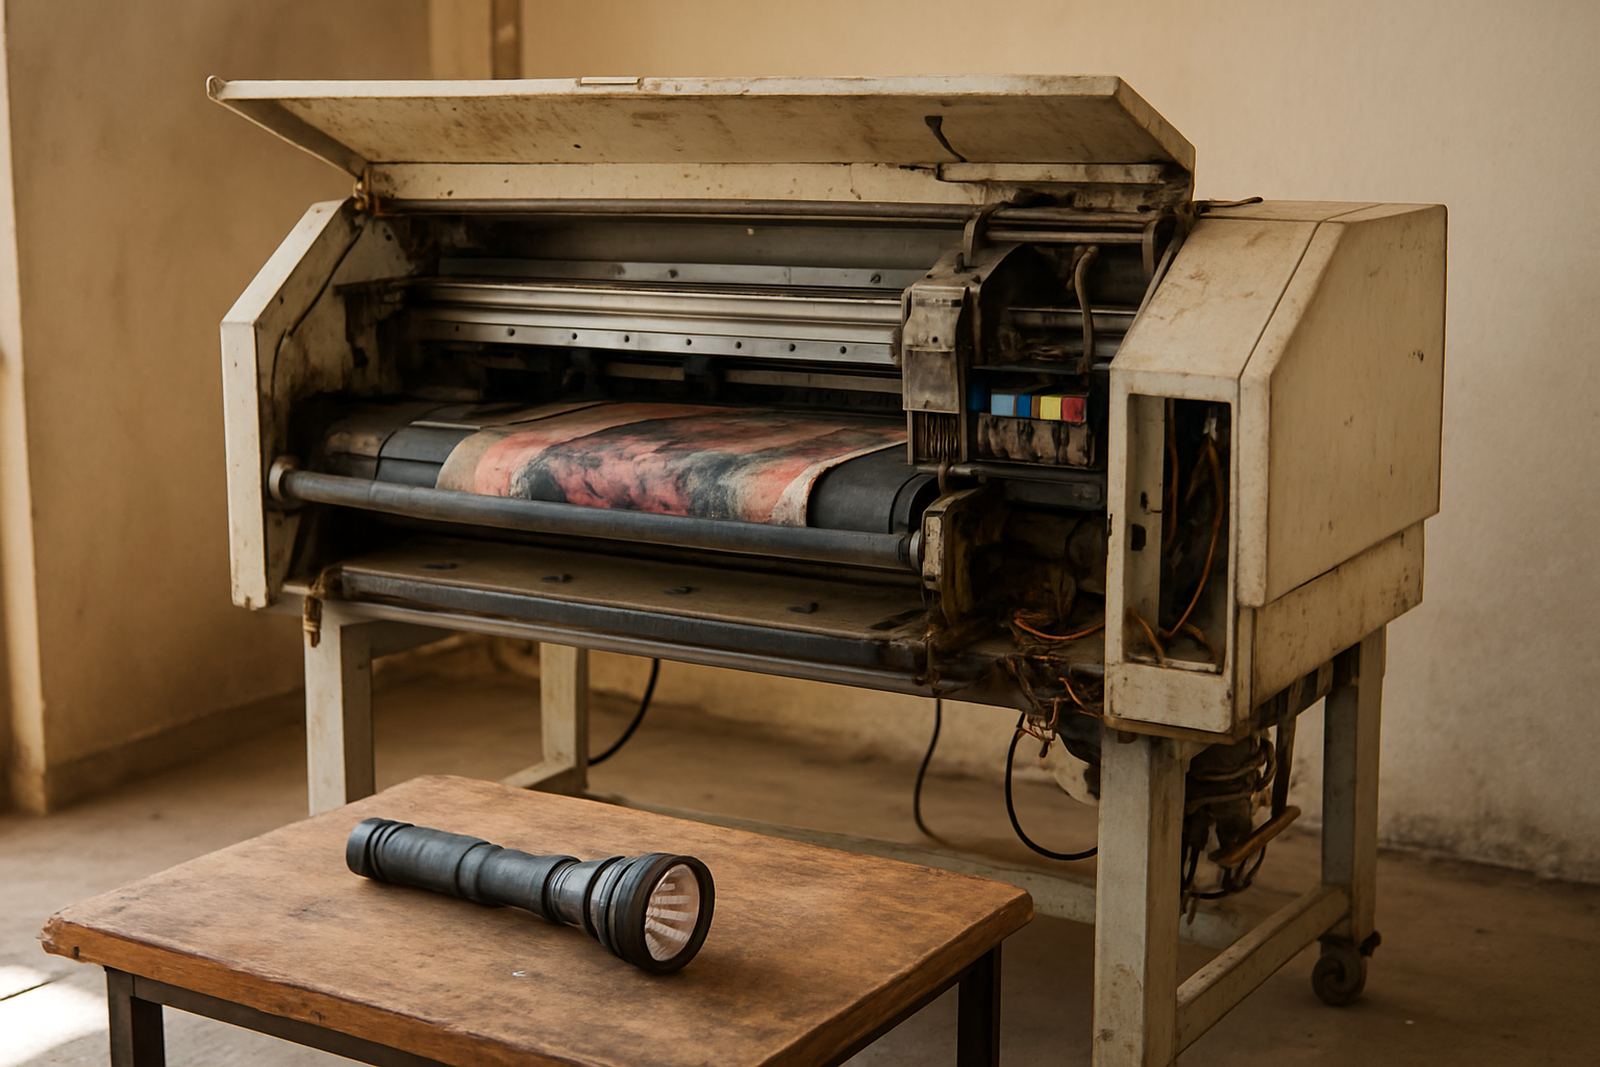
Keep a backup lamp or rechargeable light ready so you can check nozzles, alignment and press settings when the power drops. If you use a generator or inverter, position it outside or in a well ventilated area. Heat and fumes are not something to ignore in a small room. It is also wise to keep a simple written shutdown order near the machine so nobody forgets which step comes first during a power cut.
- Test your backup power with the actual machine load, not just a light bulb.
- Protect sensitive equipment from surges when electricity returns.
- Keep cords out of walkways and away from heat plates.
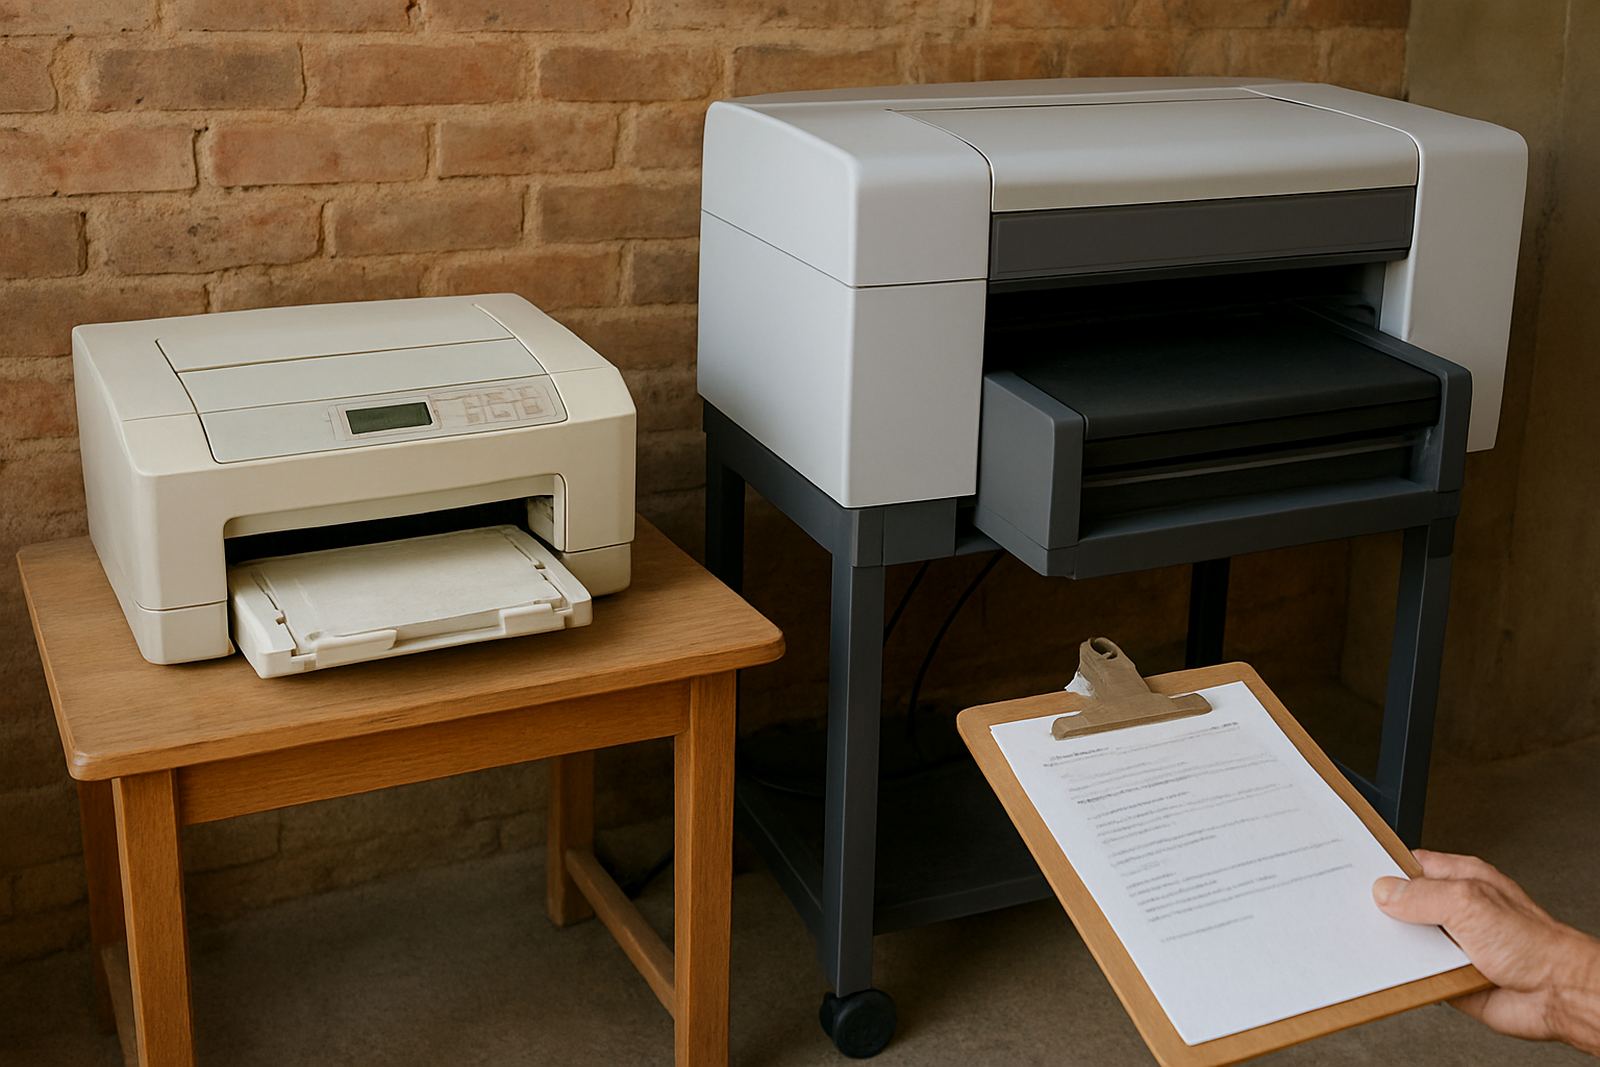
- Have a torch and a printed emergency checklist in the studio.
Use vertical storage to free up floor space
In a home-based print studio, the floor must stay open for movement. The easiest way to gain space is to store upwards. Use wall shelves, tall cupboards or steel racking for inks, tools and packaging. A narrow room can hold a surprising amount if you keep the heavier items low and the light items higher up. This also makes daily cleaning quicker, which matters when powder, lint and paper offcuts build up fast.
Make sure shelves are fixed properly into the wall and can carry the weight of boxes or containers. If you work from a room in a townhouse or flatlet, check with the body corporate or landlord before drilling into shared walls. In some municipal areas, neighbours may also be sensitive to noise from presses or compressors, so keep loud equipment away from boundary walls where possible.
- Use clear labels on every shelf to save time during rush orders.
- Store current stock at eye level and reserve the top shelf for slow-moving items.
- Keep cleaning supplies in a closed caddy so they do not spill onto garments.
Choose a table height and press position that saves your back
A home studio is often shared with family life, so comfort matters. The press and working table should be set at a height that lets you place garments and transfers without stooping too much. If the table is too low, your shoulders take the strain. If it is too high, you lose control when aligning prints. For repeat work, a steady surface makes a real difference.
Place the heat press where there is room for the lid to open fully and where finished garments can cool safely. Leave enough space beside it for a cooling rack or clean shelf, because hot items should not land on the same surface where fresh blanks are waiting. A small mat on the floor can help if you stand for long periods. It sounds basic, yet in a home studio these details matter every day.
Build a setup that can grow with the business
Most home studios start small, then orders increase once customers see reliable colour and repeatable results. The layout should allow for one more shelf, one more machine or a second work surface later on. Do not fill every corner on day one. Leave a little open space for moving stock in and out, for servicing, and for the day you need to relocate a machine for cleaning or maintenance.
In places like Johannesburg, Midrand or Boksburg, many small textile businesses start in a garage, spare room or backyard room before moving into a larger space. A practical layout helps you stay productive while you are still at home. The right setup also makes machine installation, operator training and routine servicing easier because technicians can reach the equipment without shifting half the room first.
If you are planning a new print room or want to improve an existing one, think about workflow before buying extra furniture. A tidy, well-planned studio saves time, protects equipment and makes it easier to handle orders when the month gets busy.