Start With A Clear Sample Brief
Every sample job should begin with a written brief, even if the order is for only a few metres or a single garment panel. Note the fabric type, width, colour, intended end use, garment size range, finishing method and the exact quantity required. If the client wants a repeat print, include the repeat size and whether the artwork must match seams, collars or pockets.
It also helps to record where the job will be used. A print for beachwear in Durban behaves differently from a fashion capsule for a store in Pretoria, especially when you factor in humidity, washing habits and how the fabric feels after pressing. If the sample is for schoolwear, workwear or corporate items, write that down too so the approval is based on the right use case.
- Artwork file name and version
- Fabric type, weight and width
- Print area in millimetres
- Ink or transfer method being tested
- Target order quantity after approval
Match The Sample To The Real Production Method
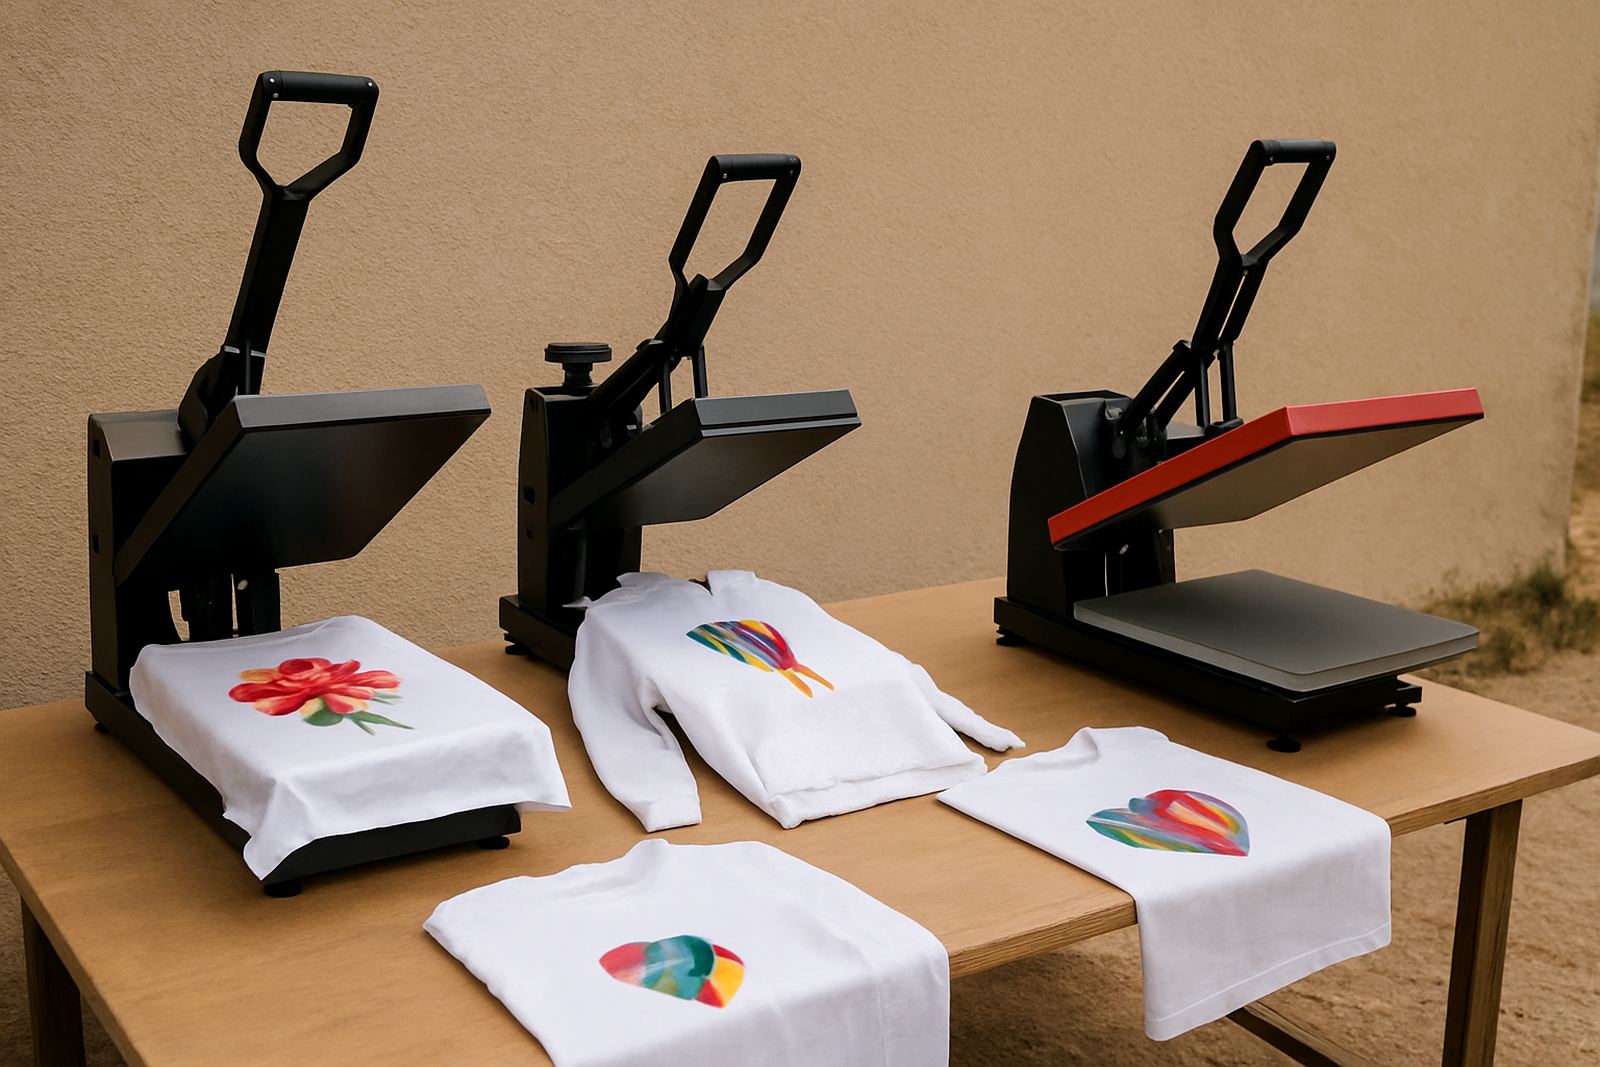
A sample is only useful if it reflects the final production method. If the finished job will be printed on a direct-to-fabric inkjet printer, do not approve a sample produced on a different setup and expect the same colour, hand feel or wash result. The same applies to heat pressing, pre-treatment, curing and post-wash handling. Small changes in heat, pressure or fabric tension can shift the result more than many people expect.
For South African businesses working in warm inland conditions or damp coastal areas, keep a note of the room environment during sampling. Coastal humidity can affect drying time while load-shedding can interrupt curing or pressing cycles. If your production space in Germiston, Johannesburg or elsewhere uses backup power, test the sample under the same conditions you will use for the larger run.
- Use the same fabric batch where possible
- Keep temperature, pressure and dwell time constant
- Record any power interruptions during the run
- Dry and cure samples in the same way as full orders
Set Approval Points Before You Print More
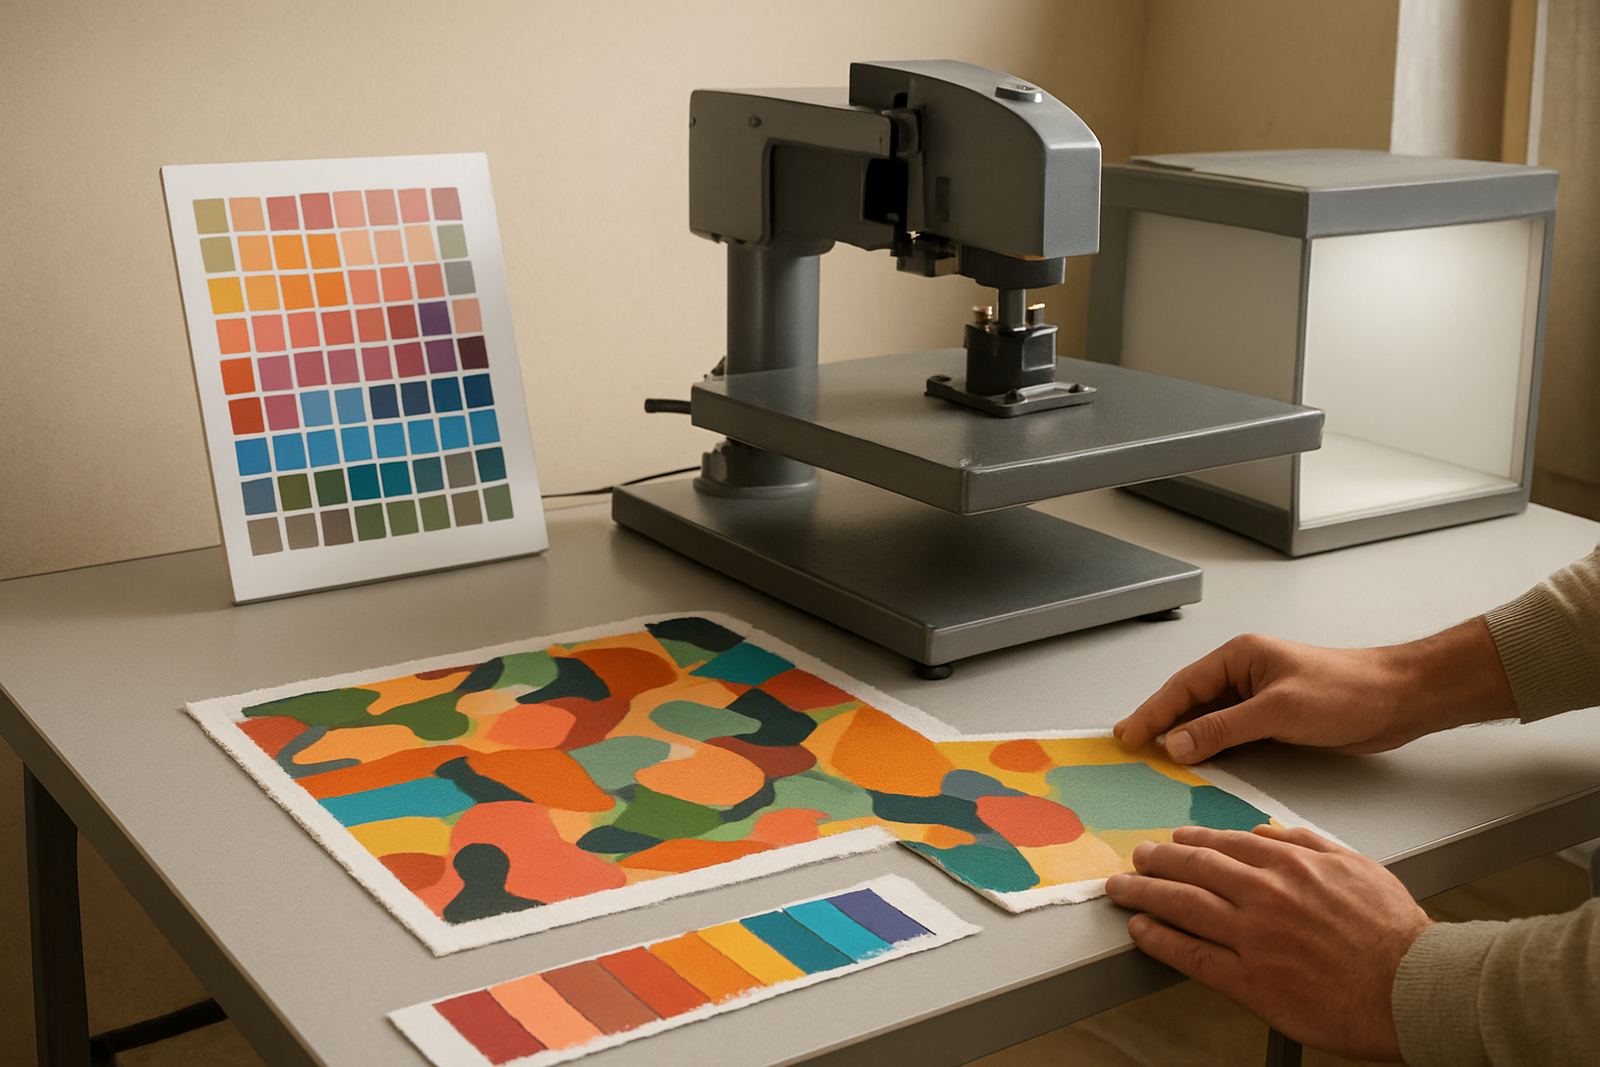
Do not move from sample to bulk production until the approval stage is complete. Decide in advance who signs off on the sample, what they must check and whether approval can happen from a physical swatch or must happen on the finished garment. For some clients, especially boutiques and corporate accounts, approval should cover colour, placement, sizing and finishing after pressing or washing.
It is best to ask for one clear decision: approved, approved with changes, or rejected. That avoids half-approvals that lead to confusion later. If changes are needed, note exactly what must change before the next sample is run. Keep the tone practical and specific, because vague feedback like “make it pop more” is difficult to use in production.
- Who approves the sample
- What must be checked before sign-off
- Whether approval is for colour only or for full production
- Deadline for feedback so the order does not sit waiting
Keep A Proper Sample Record For Every Job
Good records make repeat orders easier and protect you when clients ask for the same result months later. Store the artwork, fabric details, colour notes, machine settings, ink batch, press settings and any test results with the sample. If a client returns with the same design for a different garment, you can compare the old sample to the new requirement instead of starting from scratch.
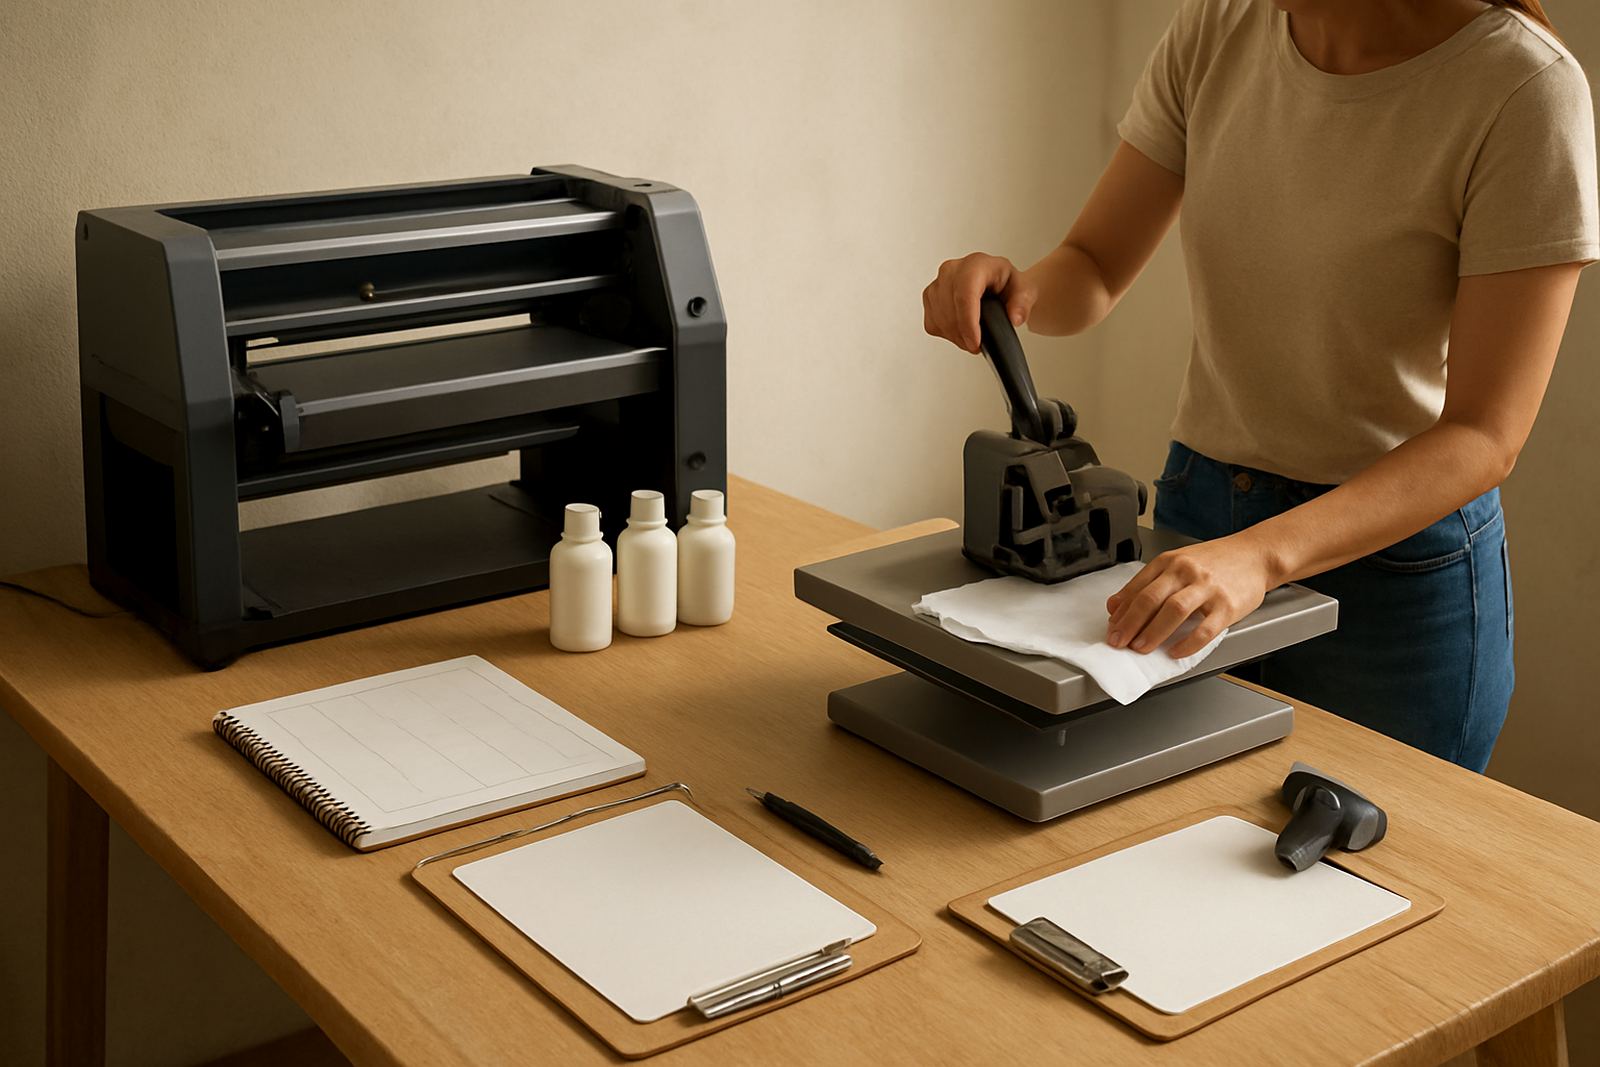
A simple sample record can be kept in a file, spreadsheet or job card system. The important thing is that it is complete and easy to find. Add photos of the sample before and after pressing, and if relevant, after washing. This is especially useful when dealing with bright colours, fine text or detailed logos where a small shift can change the final look quite a bit.
- Job number and client name
- Material batch and supplier details
- Machine settings and operator name
- Photo of the approved sample
- Any notes on wash fastness or stretch behaviour
Use Samples To Check Production Risks Early
Sampling is not only about colour approval. It is also the time to catch problems that would be costly in a larger run. Look for poor registration, ink bleed, shrinkage, transfer marks, curling edges, weak adhesion and any issue that affects finishing. If you are printing garments for retail, check how the sample looks folded, hung and packed because that is how the client will inspect it too.
If you are servicing several towns from Wadeville to Cape Town or Bloemfontein, remember that local conditions can change the outcome. Fabric stored in a hot storeroom may behave differently from fabric that has been kept dry and cool. A sample run should tell you whether the job can go ahead as planned or whether you need to adjust the process first.
- Check print sharpness and fine detail
- Test wash, rub and stretch performance
- Inspect edges, hems and seams after pressing
- Confirm packing appearance before bulk production starts
Plan Reprints, Retests And Small Corrections
Many sample jobs need one or two adjustments before the final sign-off. Build time into your schedule for that, especially when the client wants a launch date or market deadline. If a sample needs a colour shift, layout move or fabric change, do not overwrite the first version. Keep both versions so you can compare them and avoid repeating old mistakes.
When a sample is approved, lock the settings and write down the final version in plain language. That includes the approved file name, machine setup and any special handling instructions for the run. If the order is likely to return later, such as for school uniforms, boutique restocks or promotional garments, this record will save hours on the next job.
A little discipline at sample stage can stop a lot of waste later, and it helps small businesses protect margins when fabric and ink costs are already tight.
A Simple Sampling Checklist Before Full Production
Use this checklist before you commit to a larger run. It helps keep everyone on the same page and reduces the chance of disputes after the order is finished.
- Brief is written and complete
- Artwork version is confirmed
- Fabric and method match the final job
- Sample was produced under normal shop conditions
- Colour and placement were approved in writing
- Record file has photos, settings and notes
- Any retest or correction has been completed
- Bulk production quantity and deadline are confirmed
If you follow this process, sample jobs become a useful control point instead of a guessing game. That is what keeps small garment and textile businesses moving steadily from one order to the next.