
Start with a known fabric and a clean print path
Colour changes quickly when the fabric, ink flow or print path changes. Begin every new job with one fabric type, one ink set and one media width. If you are printing on cotton, polyester, or a blended cloth, treat each as its own setting group and keep those settings saved. A stable starting point saves ink, time and a lot of rework later.
Before a production run, check that the fabric is dry, free from dust and loaded evenly. In humid areas such as Durban or Cape Town, stored rolls can hold moisture and shift colour density from one day to the next. In Gauteng, dust from workrooms and loading bays can sit on the print surface and affect detail. Clean the feed path, make sure the platen is clear and confirm that the printheads are firing evenly across the width.
- Use the same fabric batch for sampling and production
- Store rolls in a dry room, off the floor and away from direct sun
- Remove lint, dust and loose fibres before printing
- Record the fabric name, width, weight and finish for each job
Build a repeatable test print routine
Do not rely on one sample and hope the next batch matches. Use a fixed test print routine every time you start a new design, new fabric or new operator shift. Keep the same test artwork, the same print size and the same viewing light. That gives you a proper comparison instead of guesswork.
A good test print should include solid blocks, skin tones, gradients, fine text and a small logo or motif. Check it under neutral light, not under a yellow workshop tube or bright sunlight near a window. If the colour looks correct indoors but goes dull outside, you may be seeing metamerism, which is common when lighting changes. Write down the result and adjust only one setting at a time. Changing too many things at once makes the cause harder to find.
- Print the same test file at the start of each production day
- Use one lighting spot for colour checks
- Adjust ink density, speed or pass count one step at a time
- Keep a dated sample board for approved colours
Calibrate for temperature, humidity and power interruptions
South African workshops do not always run in perfect conditions. Summer heat in Johannesburg, winter chill in Bloemfontein and coastal moisture in Durban can all affect drying, dot spread and colour depth. If the room temperature swings a lot, the same file can print slightly lighter or darker from one shift to the next.
Keep the print room as stable as possible. Close doors when dust blows through, avoid placing the printer beside open windows and allow media to acclimatise in the room before use. During load-shedding, allow the machine to cool and settle before restarting. A sudden power return can leave the ink system unsettled, so check nozzle performance and run a small test strip before resuming production. If you use a backup power setup, make sure it supports the machine properly and does not cause voltage dips. Cheap power protection can cost more later.
- Let fabric and ink sit in the print room before use
- Restart with a nozzle check after any power interruption
- Keep the room clean and as temperature-stable as possible
- Allow drying time to match the day’s heat and humidity
Control colour through the RIP settings and profiles
Good colour control depends on matching the file, the ink and the fabric profile. If the image is prepared for coated paper or another material, it will not behave the same on fabric. Use the correct profile for the cloth and the ink set, then keep the file preparation consistent. Designers often change artwork settings between jobs, which can undo careful calibration.
Check the blacks, neutrals and brand colours first. A grey that leans blue may mean your balance is off. A red that looks muddy may need profile adjustment rather than more ink. When you find a good setting, save it clearly with the fabric name, ink type and pass count. If more than one operator uses the machine, make sure everyone follows the same naming system. That avoids confusion on busy days.
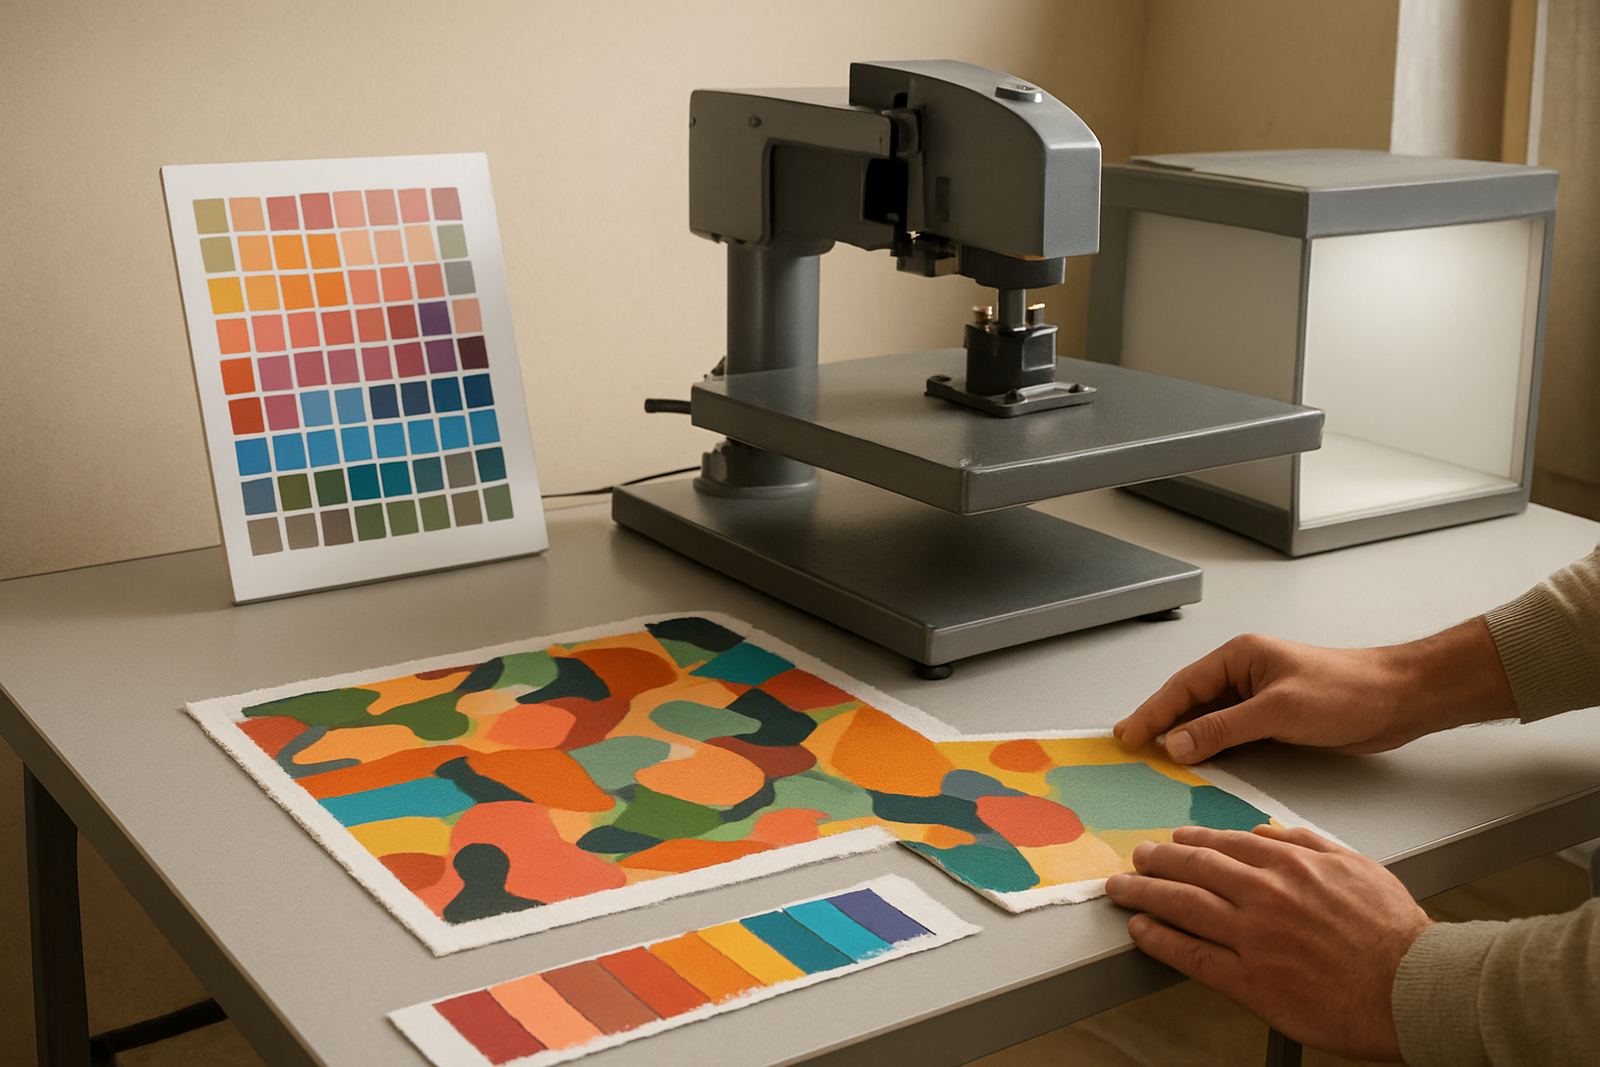
Keep a colour reference sheet for your most common shades. It does not need to be fancy, just practical enough to show what approved colour looks like on your cloth.
Watch the drying, curing and finishing stage
Colour does not end at print time. Drying and finishing can change the final look a great deal, especially on textile work that is pressed, steamed or heat-set after printing. If the fabric is under-dried, colours can look dull or shift after handling. If it is overheated, fine detail can soften and some tones may deepen more than expected.
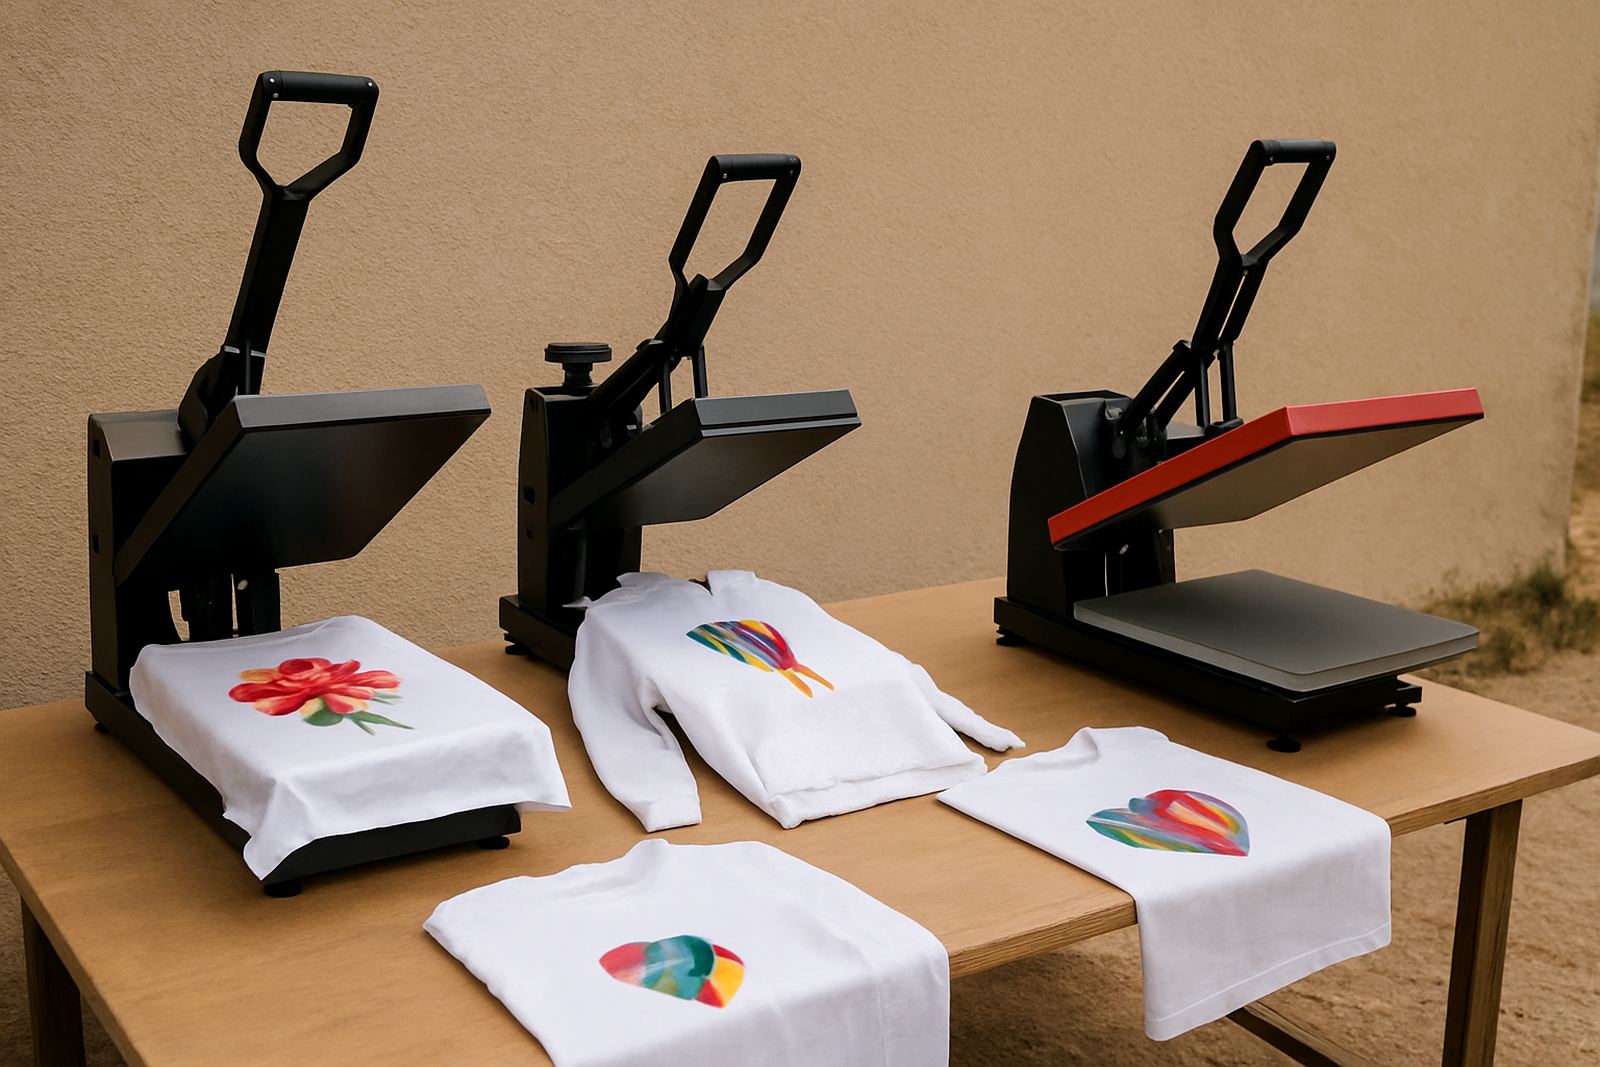
Use the same drying method for every repeat order. If the cloth is being heat pressed, keep pressure and dwell time consistent. If the fabric is moved too soon after printing, you may get smudging or a patchy finish. In small workshops, it helps to assign one person to check whether a run is fully dry before it goes to cutting, sewing or packing. A few minutes saved at the dryer can cost you an entire batch later.
- Keep drying time consistent from sample to production
- Do not stack warm prints before they are fully cured
- Use the same press time, pressure and temperature for repeats
- Check colour again after finishing, not only while wet
Keep a production record that your team can actually use
The best colour control systems are simple enough for the team to follow every day. Create a printed or digital job sheet for each order with the fabric, ink set, profile, machine settings, drying method and approval sample. When a client comes back three months later, that record should tell you exactly how the order was made. It saves time and helps you quote more accurately too.
Use a short checklist before release to production. The operator should confirm the file version, the fabric roll, the test print approval and the finishing method. If the job is for a boutique in Pretoria, a schoolwear order in Midrand, or a short run for a market trader in Germiston, the same record system should apply. Good notes make repeat work easier and reduce the number of callbacks.
- Keep one job sheet per order
- Attach a signed approval sample where possible
- Record machine settings for future repeats
- Note any issues such as humidity, power loss or nozzle cleaning
When colour slips, fix the cause before the next run
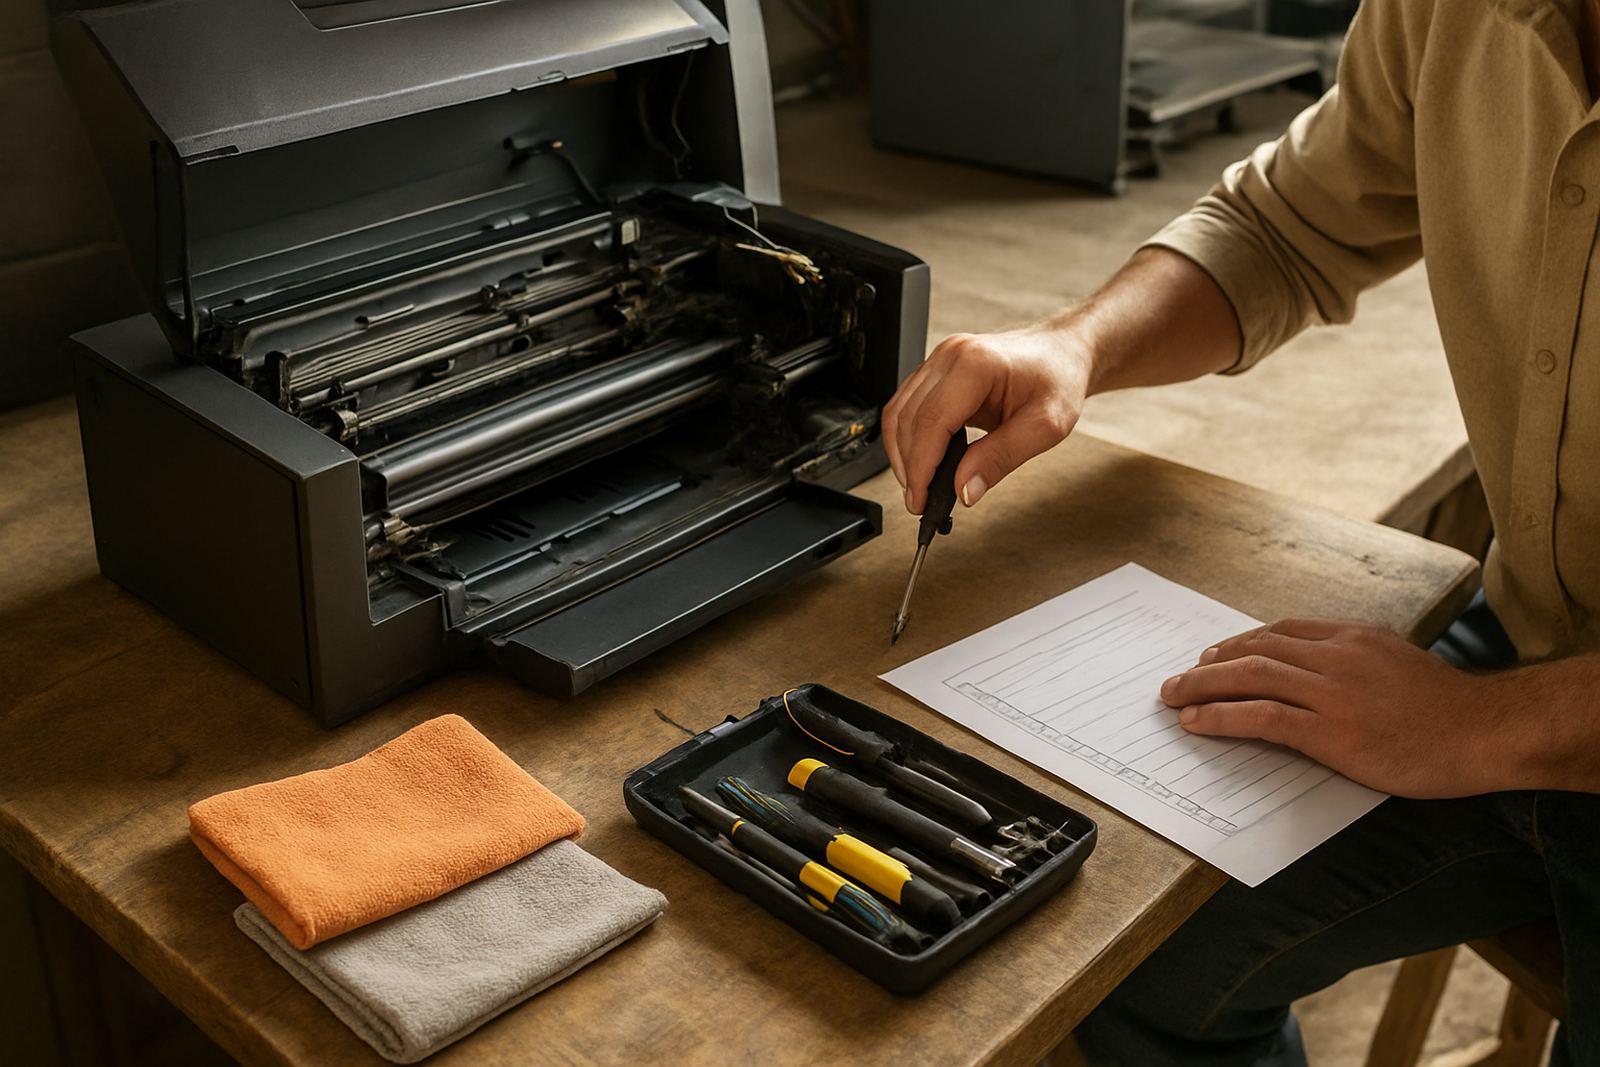
If the colour goes off, do not chase it with random adjustments. First check the obvious causes: blocked nozzles, dirty wipers, low ink levels, worn parts, or a fabric batch that differs from the sample. Then run a short diagnostic print and compare it with your approved reference. If the same issue appears across several jobs, the problem may sit in the machine rather than the artwork.
Small textile businesses often lose money by pushing through a bad run and hoping the client will not notice. That is risky. It is better to stop, correct the cause and restart cleanly. If the fault keeps returning, arrange proper servicing, printhead cleaning or ink system flushing before more material is wasted. Reliable colour comes from routine care, not last-minute fixes.
For businesses in Johannesburg, Pretoria, Durban, Cape Town and Bloemfontein, the right support can keep production moving when deadlines are tight. A steady process now means fewer surprises on the next order.