
Start With the Job Card and the Fabric Roll
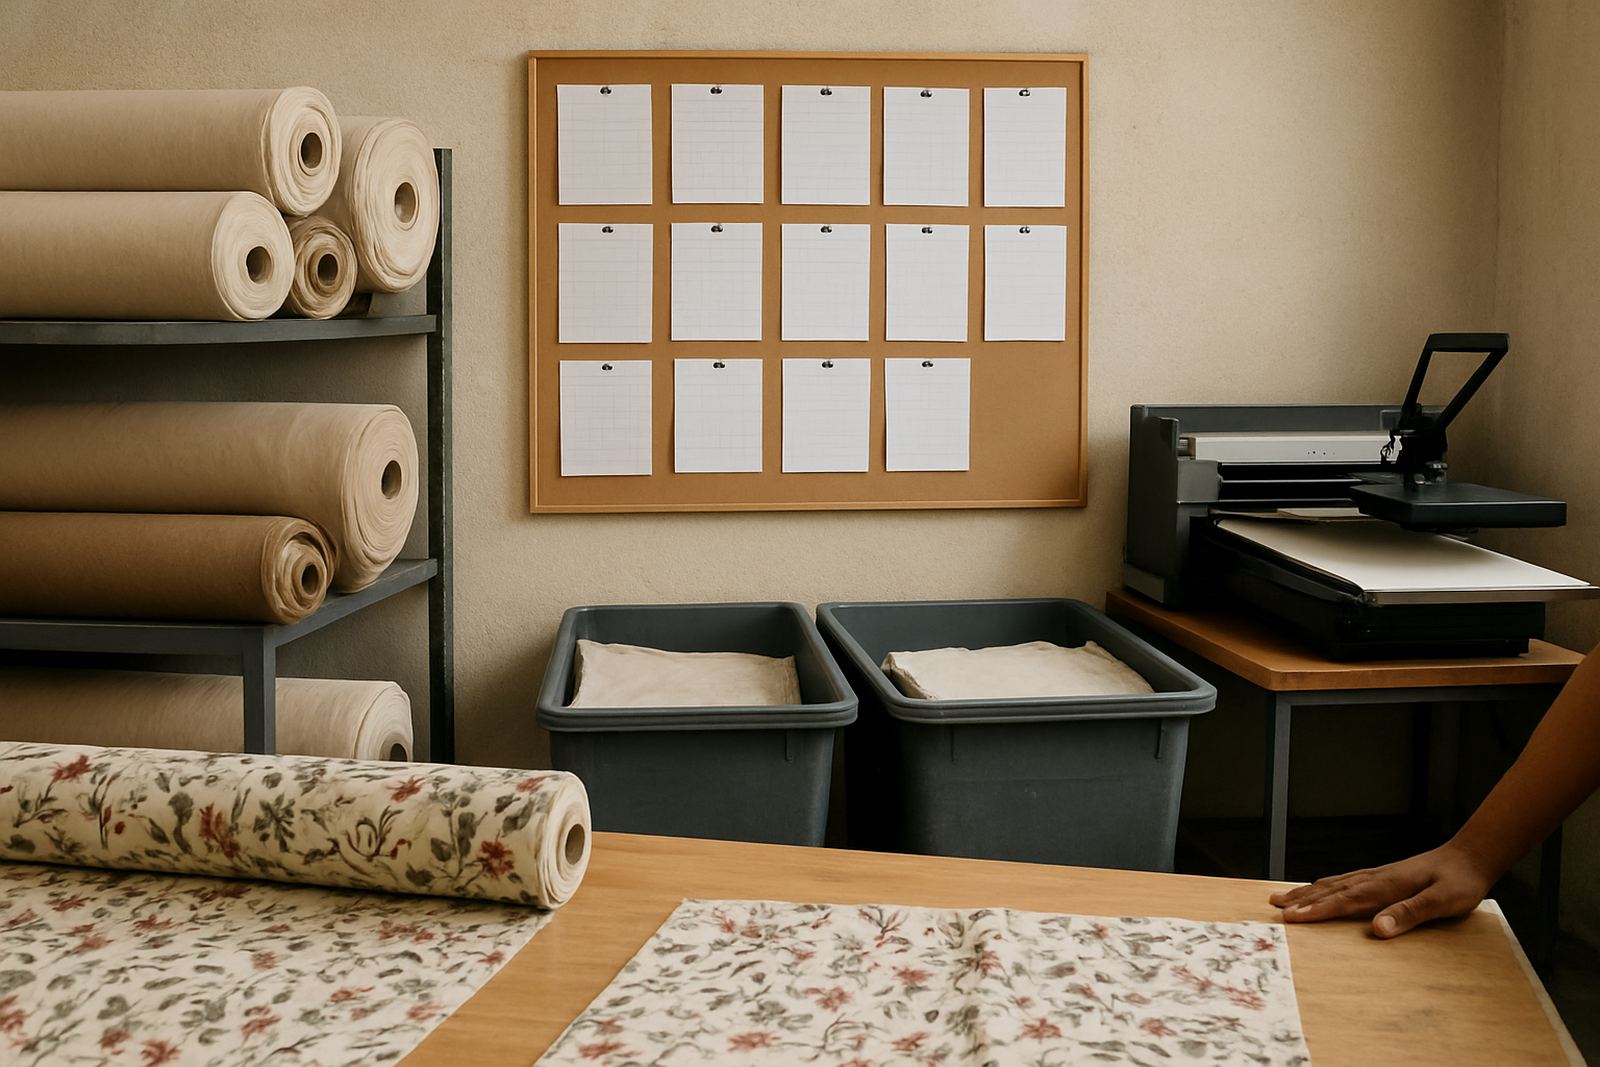
Before any print run, check the job card against the fabric, artwork and order quantity. Confirm the fabric type, width, colour target, print size, cut allowance and finishing method. In a busy workshop in Germiston or Midrand it is easy to mix up repeat jobs, so match the roll label to the approved sample before you load anything.
Inspect the roll for dirt, creases, water marks and edge damage. Keep an eye out for uneven tension, loose weave sections and moisture on the core, especially in coastal areas like Durban where humidity can affect stored stock. If the roll has been standing near an open shutter or cement dust, wipe and recheck it first, because small contamination shows up clearly after printing.
- Job card matches the current order
- Fabric width and length are correct
- Roll is clean, dry and labelled properly
- Approved sample is on hand for comparison
Check Colour, Detail and Repeat Before Full Production
Print a short test strip before you commit to the full metreage. Check skin tones, dark solids, small text, fine lines and repeated motifs under good light, then compare the strip to the approved reference. A colour that looks fine on screen can shift once it lands on fabric, and one slight banding line can ruin a full run.
Look closely for missing nozzles, feathering, overspray and alignment drift. If you are running a long order in Pretoria or Bloemfontein, check the first metres again after the machine has settled into production. This is also the time to confirm that the print stays true across the width, not just in the centre.
- Test strip printed at the actual production settings
- Colour checked under natural and workshop light
- Small text is readable and sharp
- Repeat lines up across the full width
Measure Accuracy Before You Cut
Once the print is approved, measure the actual output before cutting. Confirm repeat length, panel size and seam allowance with a tape measure, not by eye. A 5 mm error can throw off a collar, cuff or border, and once the scissors come out you cannot put that fabric back together again.
Check that marked guides are straight and that panels are square. For sportswear, fashion samples and décor pieces, make sure mirrored pieces really are mirrored. If the fabric has stretched after printing or heat setting, allow for that in your lay plan before you send it to cut.
- Panel measurements match the spec sheet
- Squares and angles are true
- Mirror pieces are correctly matched
- Repeat and seam allowances are confirmed
Pressing and Heat Setting Checks That Save Rework
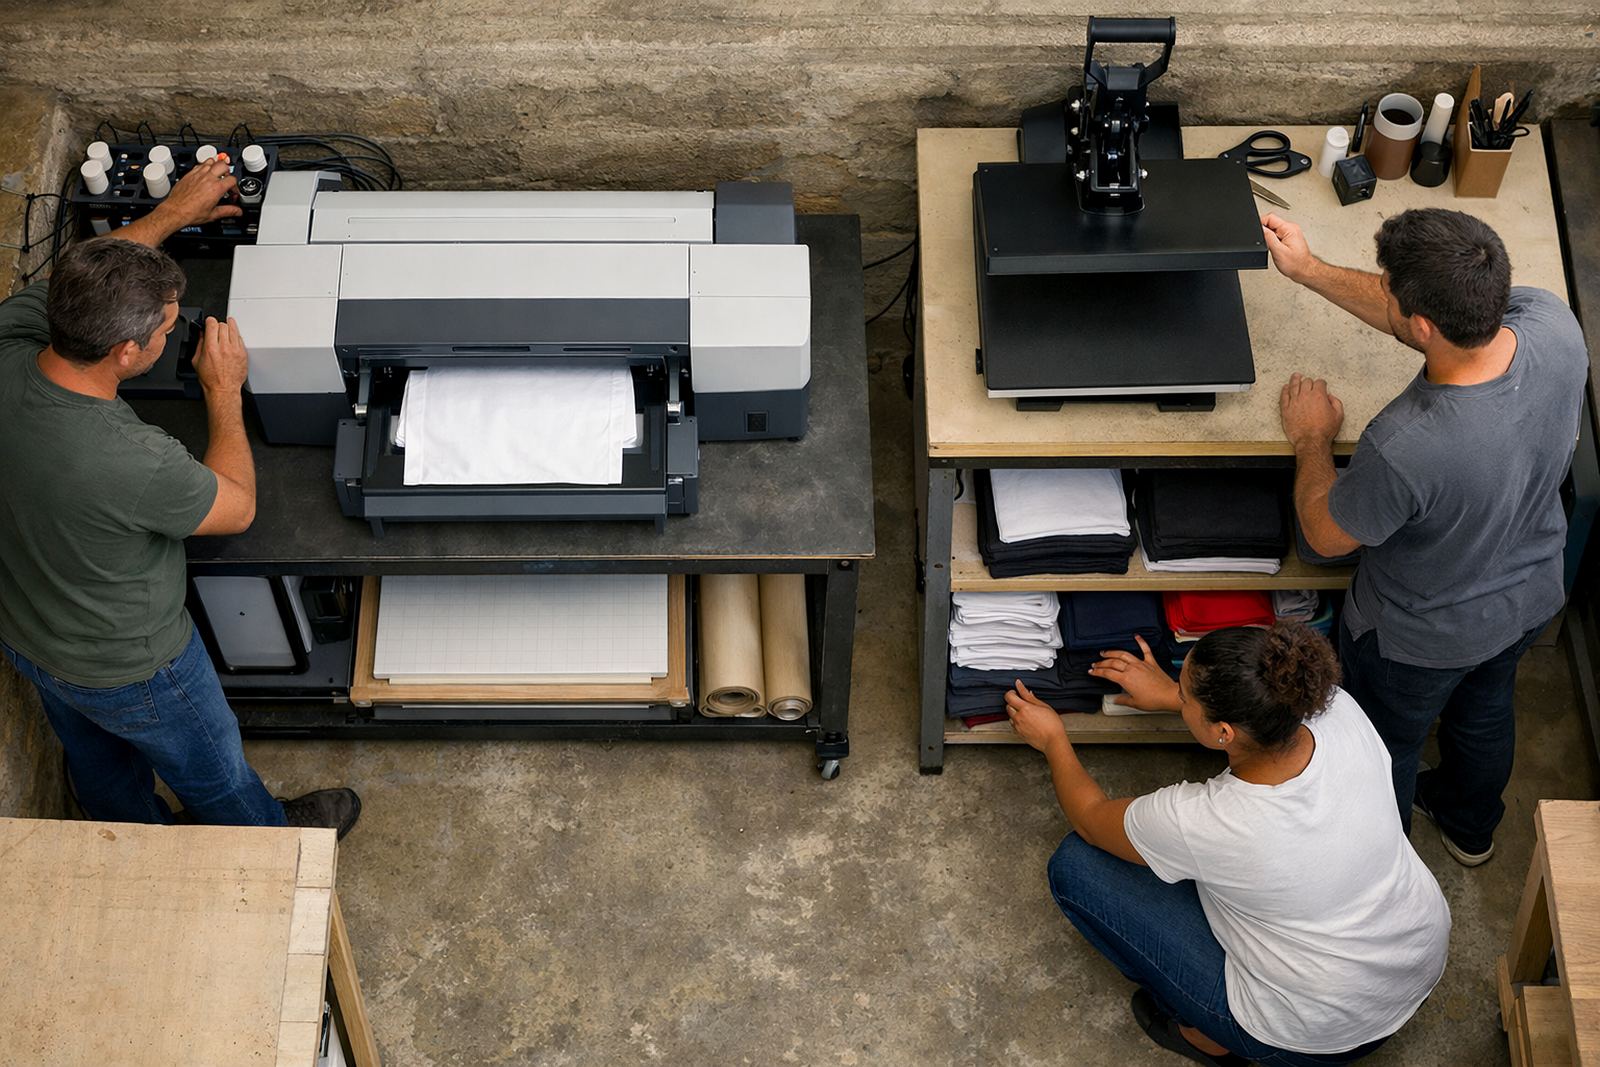
Pressing can fix one problem and create another, so test a sample first. Check temperature, pressure and dwell time on a spare offcut before you run the full batch. Too much heat can flatten colour or mark delicate fabric, while too little can leave the ink undercured and prone to washout.
Keep a record of the settings that work for each fabric type, especially if you use different blends in the same week. In workshops coping with load-shedding, settings can drift after a restart so always recheck the first piece after power returns. If the press leaves marks, the cover is worn or the heat is uneven, stop and sort it out.
- Sample pressed before full batch
- Temperature and time recorded
- No scorching, gloss marks or press lines
- Ink finish passes a quick rub test
Final Inspection Before Packing and Dispatch
Do one last walk-through before packing the order. Separate usable stock from rejects, then inspect each finished piece for stains, loose threads, print smudges, crooked hems and missed details. A clean final check is quicker than handling a complaint after the client has already started cutting or sewing.
Count the quantity again, check labels and group items by size, colour or style as required. Use a simple packing sheet so nothing gets left out. If the order is going to a boutique in Cape Town or a schoolwear customer in Johannesburg, make sure the carton labels match the invoice and the contents inside.
- Every piece checked against the order list
- Stains, marks and loose threads removed
- Correct quantities packed by size or style
- Carton labels and paperwork match
Keep a Workshop Checklist for Daily Control
A quality check only works if the team uses it every day. Put a printed checklist near the printer, press and packing area so the operator and the person signing off can tick off each stage. This helps with training new staff, reduces arguments over faults, and keeps standards steady when orders are rushed.
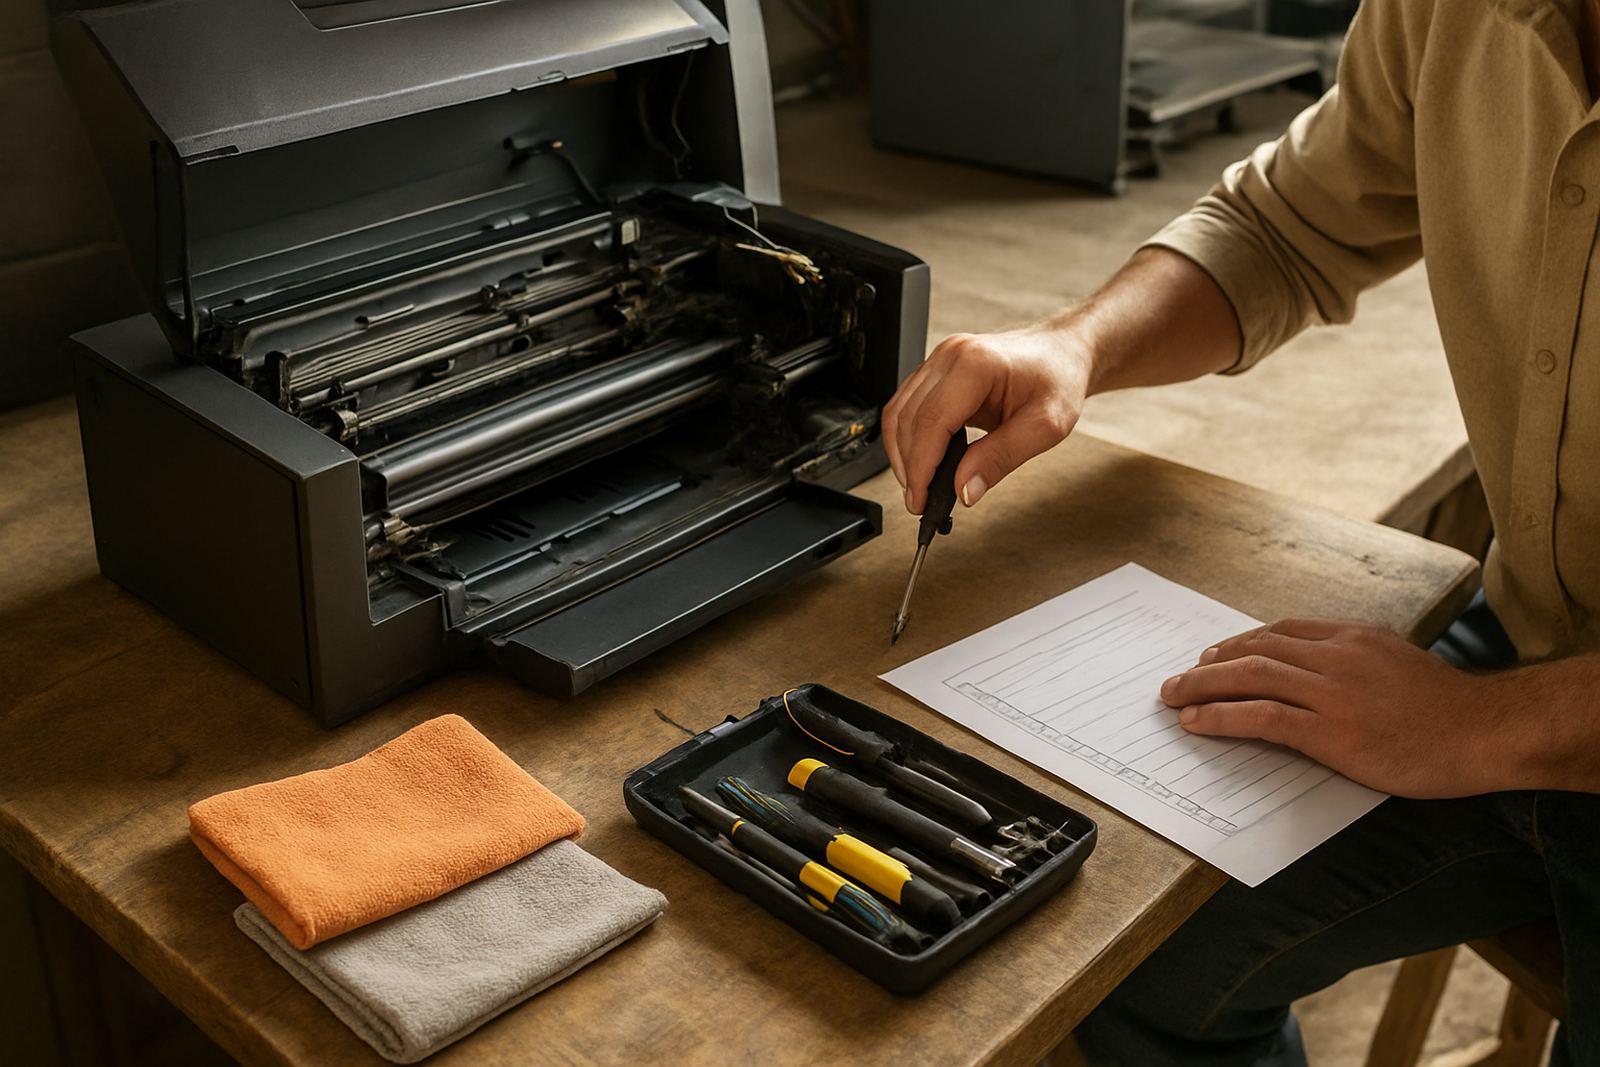
Review your rejects at the end of the week and note the pattern. If the same fault keeps showing up, look at the cause, not just the symptom. That may mean colour profiling, printhead cleaning, ink system flushing or a simple change in storage and handling. For growing teams in Wadeville, Boksburg or Germiston, a clear checklist is one of the cheapest ways to protect margin.
- Daily checklist used at every shift
- Reject reasons recorded and reviewed
- Common faults linked to a fix
- Team knows who signs off the final piece