Start with a true sample, not a guess
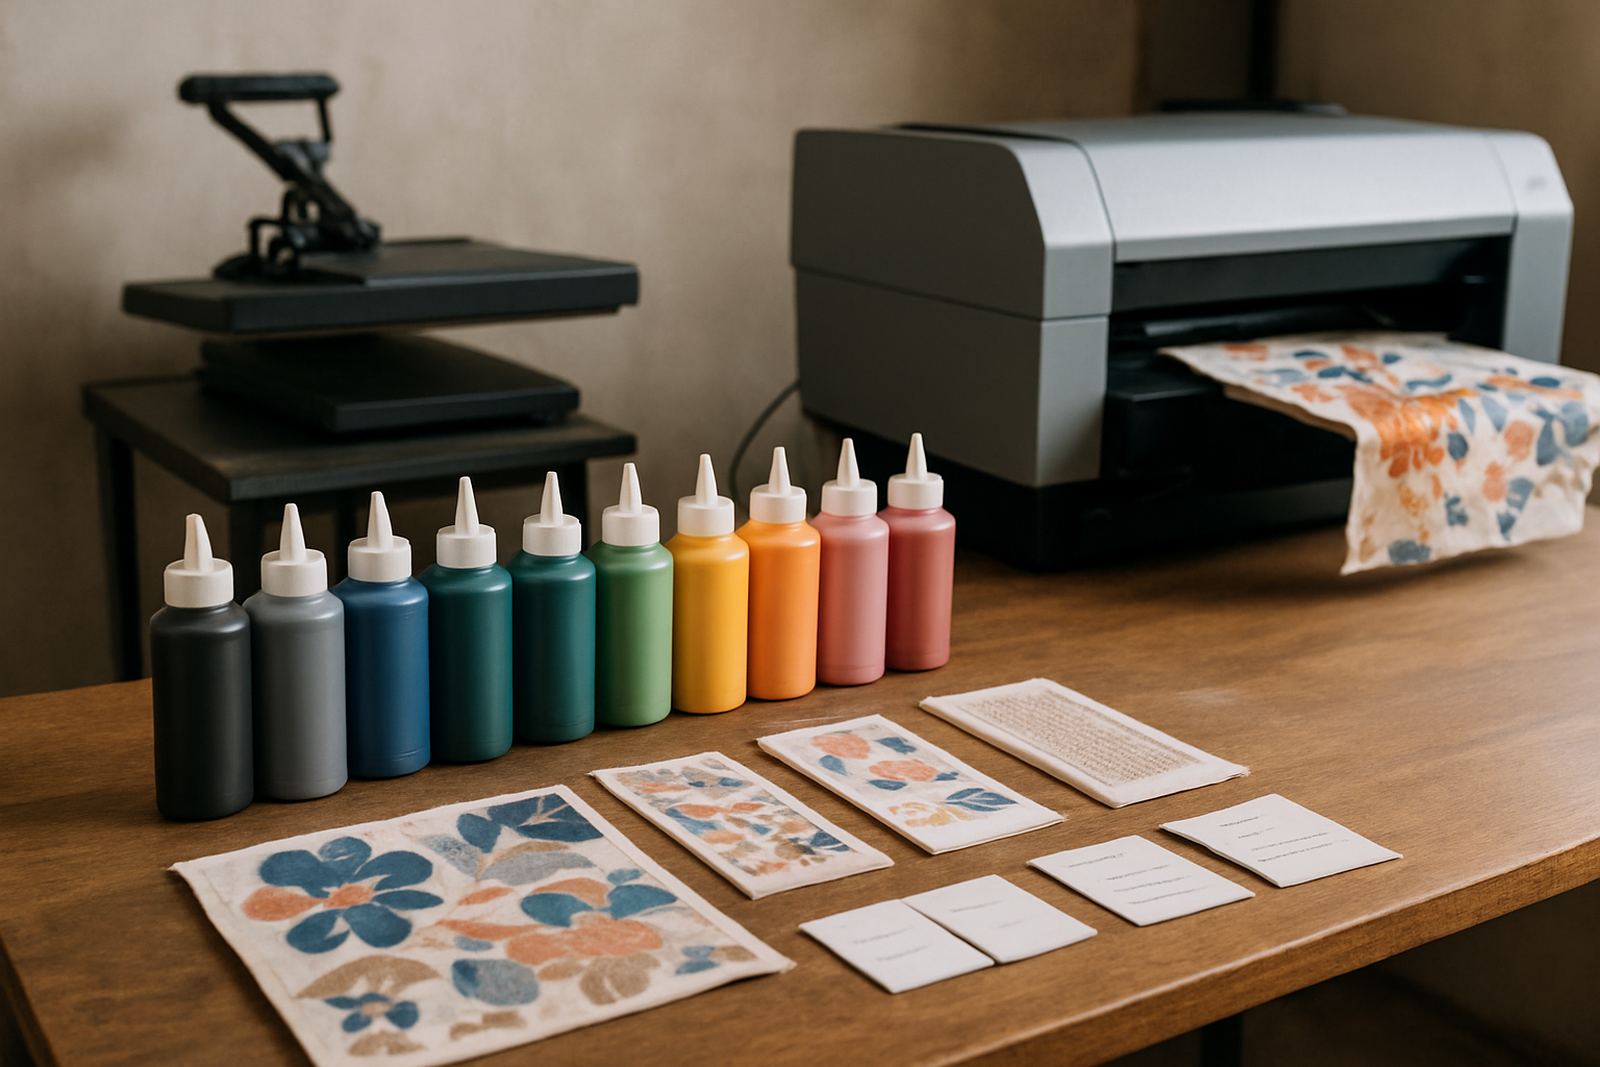
Always test the exact fabric that will be used in the order, not a similar one. Small changes in fibre mix, weave tightness, coating or stretch can change colour, sharpness and drying time. For South African garment shops, this matters even more when you are working across different climates, because a roll that behaves well in Johannesburg may act differently in Durban's humidity or on a hot day in Cape Town.
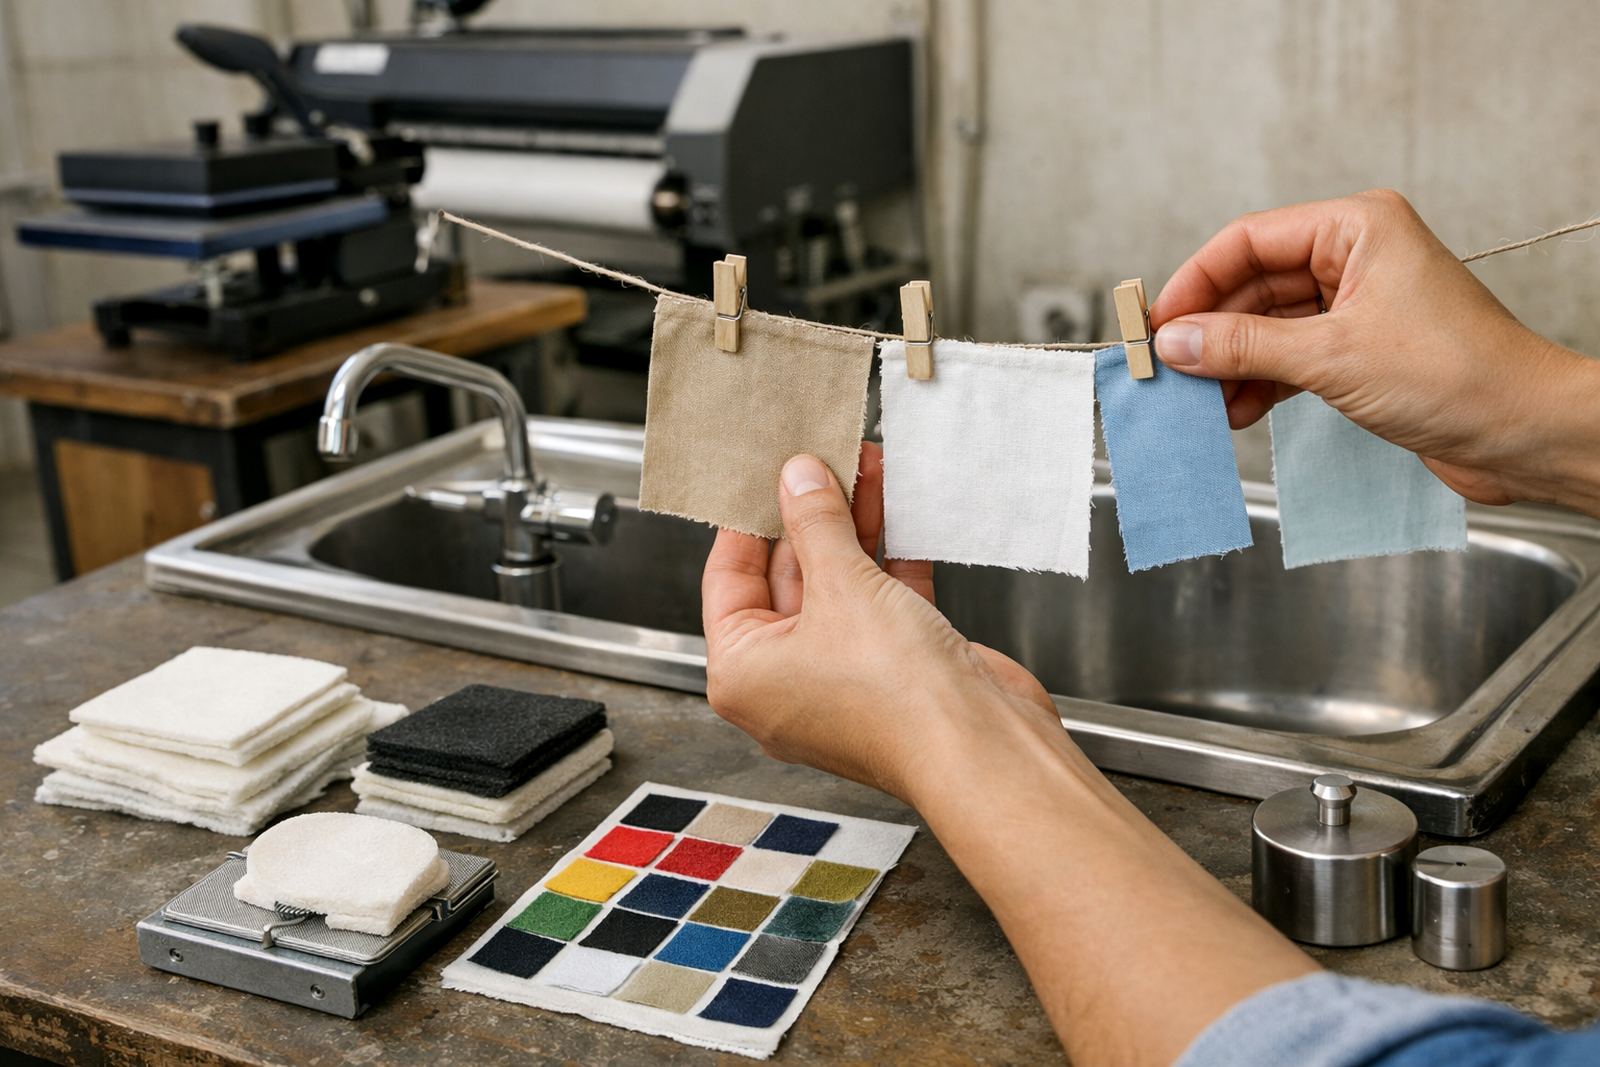
Cut a clean sample at least 30 cm by 30 cm, and label it with the supplier name, fabric content, weight in g/m2, colour and date. Keep the offcut flat and away from dust. If the cloth arrives with a folding crease or mill finish, note that too because it can affect the first print.
Check the fabric before it goes near the printer
Before printing, look closely at the cloth under good light. Check for loose threads, oil marks, stains, slubs and uneven weave. If the fabric is heavily textured, the print may lose detail on raised areas. Stretch fabrics need special attention because they can grow or shrink when heated.
- Rub the sample with a clean white cloth to check for dye transfer.
- Fold and reopen it to see if the weave opens too much.
- Measure shrinkage by marking a 20 cm square and applying the planned pre-treatment or heat setting.
- Record whether the fabric feels stiff, soft, slippery, or coated.
If the cloth is very absorbent, expect softer edges and more ink spread. If it is coated or synthetic, the ink may sit on top and need careful curing. A quick visual check can save a batch from looking patchy after print and wash.
Run a small print strip before full artwork
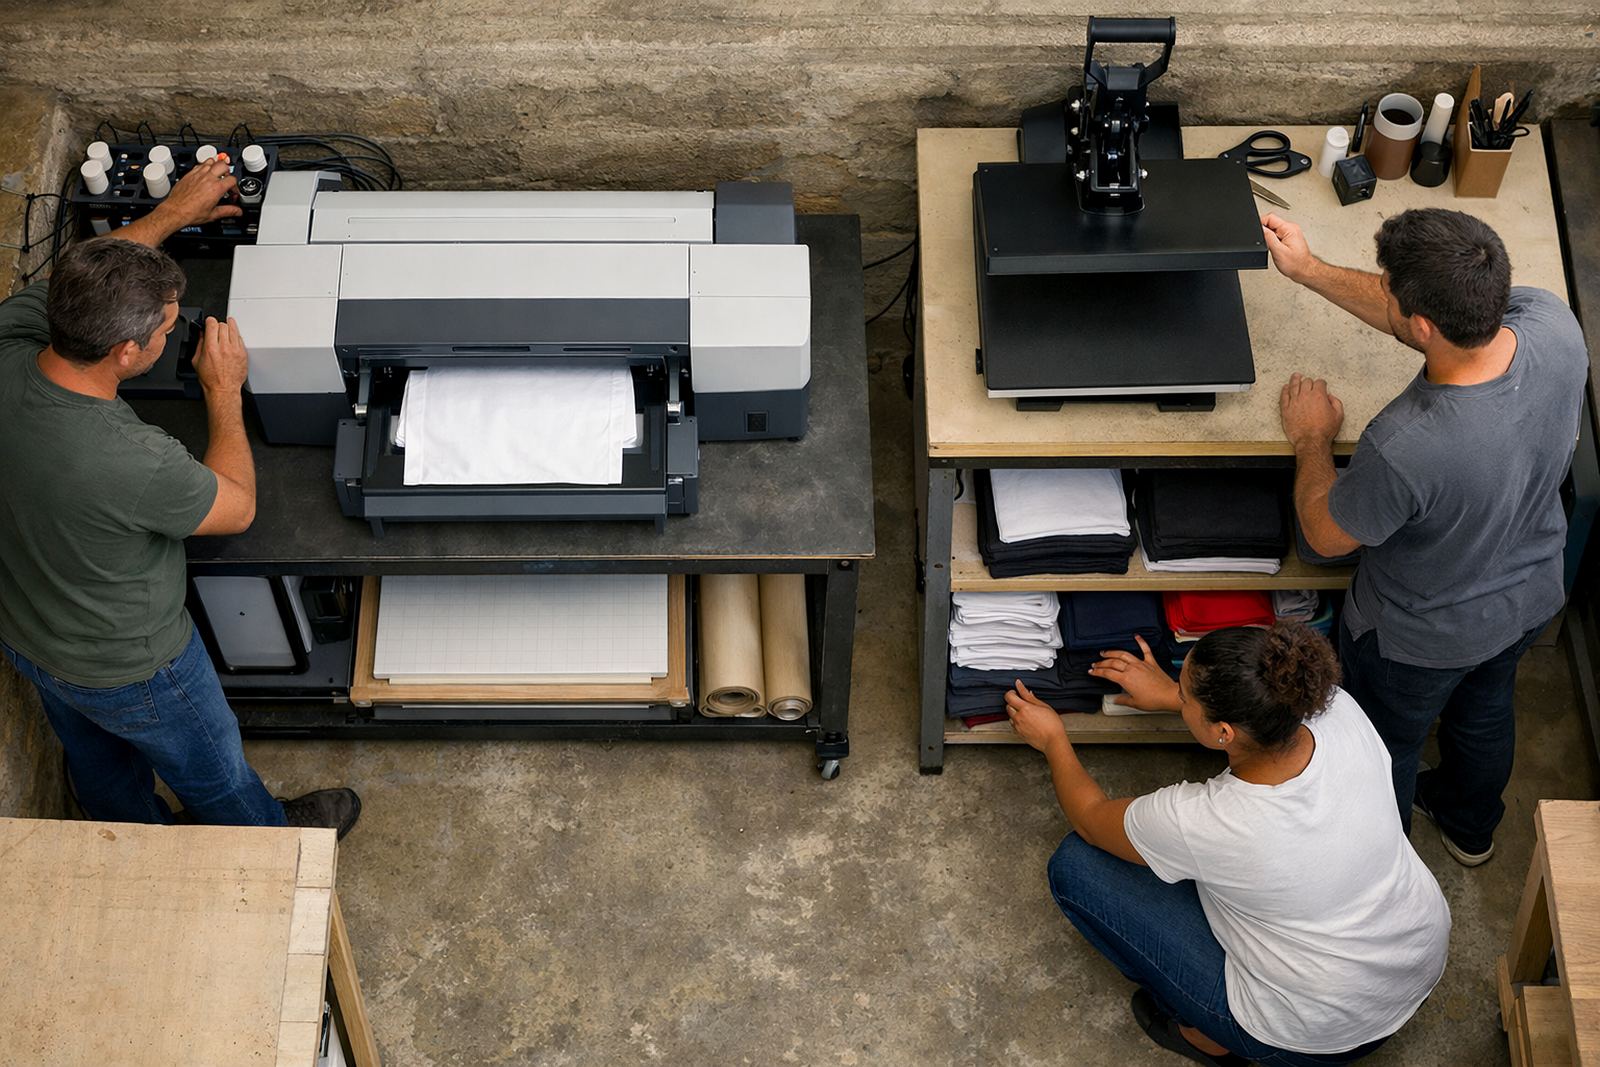
Do not send a full design straight to production. Print a narrow test strip first with solid blocks, fine text, skin tones if relevant, and a gradient. This lets you see detail, saturation and how clean the edges stay on that specific cloth. For small shops, one strip can answer more than a long debate on the production floor.
Use the same ink, heat press settings and drying method that you plan to use for the real job. If you are profiling, keep the same test file and note the pass count, temperature and feed speed. Test both light and dark areas, because some fabrics handle shadows well but flatten bright highlights.
- Check for banding across the width of the print.
- Look for feathering around fine lines and small lettering.
- Compare the print after drying and after pressing.
- Keep one approved sample for the job folder.
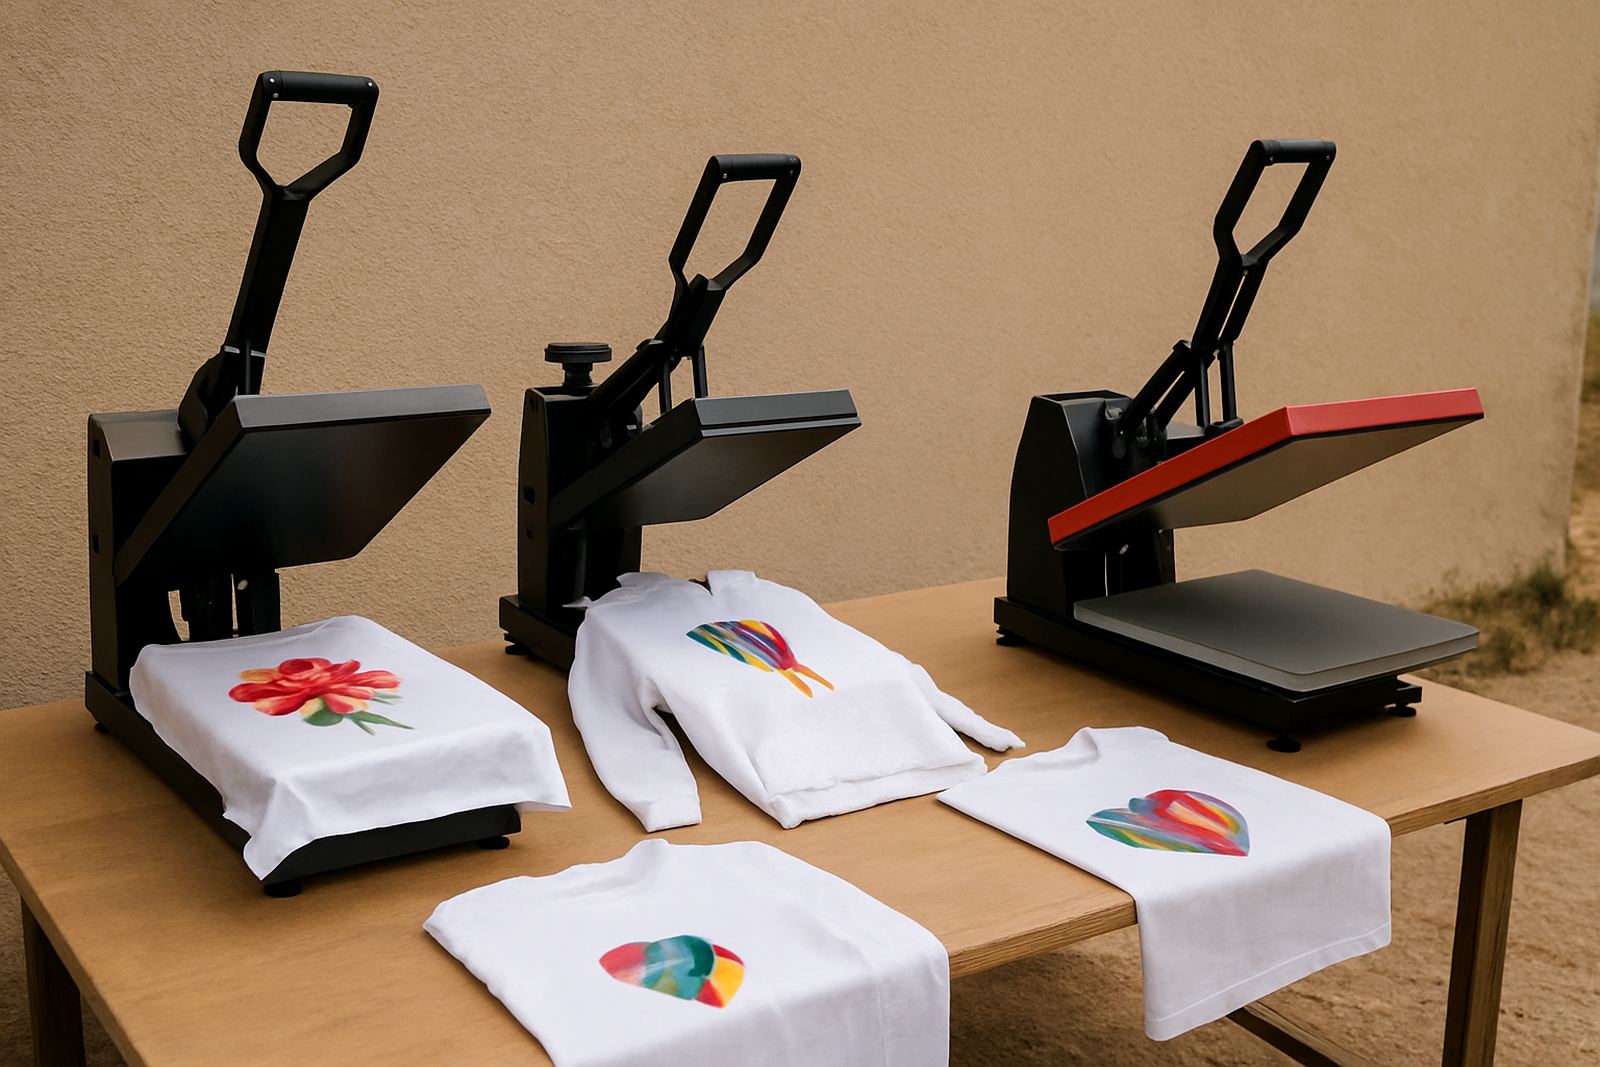
Heat press the sample the same way you will on production
Heat can change a fabric quickly, so test it before a customer order is accepted. Set the press to the exact time, pressure and temperature you plan to use. Watch for scorching, shine marks, shrinkage, adhesive marks if you use transfer steps, or print shift from fabric movement. On some materials, a few seconds too long can alter the finish and make the cloth feel too hard.
If the fabric is used for fashion garments, check how it feels after pressing and whether the print area recovers after cooling. Some textiles look fine hot but change shape once they cool down. A good test should show you the final look, not just the wet print.
Do a wash and wear check before promising quantity
A print that looks good on the table can fail after a wash. If the order is for clothing, towels or home textiles, wash the test piece in the same way the customer will. Use the likely wash temperature, detergent and drying method. If the customer sells into school wear, retail fashion or branded workwear, ask how often the items will be washed and whether tumble drying is expected.
After washing, check colour shift, cracking, bleeding, edge lift and shrinkage. Also check whether the fabric still feels comfortable against the skin. A sample that passes the printer test but fails the wash test should not go into production, no matter how tempting the job looks.
Keep a simple approval record for every fabric
Good records make repeat work faster and reduce mistakes when you get the same cloth again in three months. Create a sample file for each fabric and include the supplier details, print settings, press settings, drying method and wash result. If the job was tested in winter with dry air and later re-ordered in summer with higher humidity, note that too because conditions can change the result.
- Fabric name and content
- Roll width and weight
- Ink set used
- Pre-treatment or coating used
- Printer settings and pass count
- Press temperature, time and pressure
- Final verdict: approved, approved with limits, or reject
When a client asks for the same result again, you will know exactly what worked. That saves setup time and avoids guessing, which is where many production errors begin.