The Randburg brief and what had to work
The client was a small maker-focused textile room in Randburg, serving walk-in customers and online orders for scarves, gift items and custom homeware. The space needed to handle short runs, changing designs and a steady flow of repeat products without turning into a complicated production floor. They wanted crisp detail on light and dark fabrics, stable colour from batch to batch and a simple process that a small team could run confidently.
The brief was straightforward but very specific. The equipment had to fit into a compact room, run on normal South African power conditions and keep working through load-shedding interruptions without wasting fabric or ink. There was also a storage issue, since rolls, blanks and finished stock had to live in the same room. The client needed a setup that was tidy, quick to learn and reliable enough for daily use. They did not want a machine that looked impressive but was difficult to keep going.
We planned the project around short production cycles, easy cleaning and clear training. That meant fewer handovers between tasks, simple colour management and a setup that could be maintained locally. The result was a room that supports creative work and actual output, not just sample printing.
Equipment and setup supplied for small-batch textile work
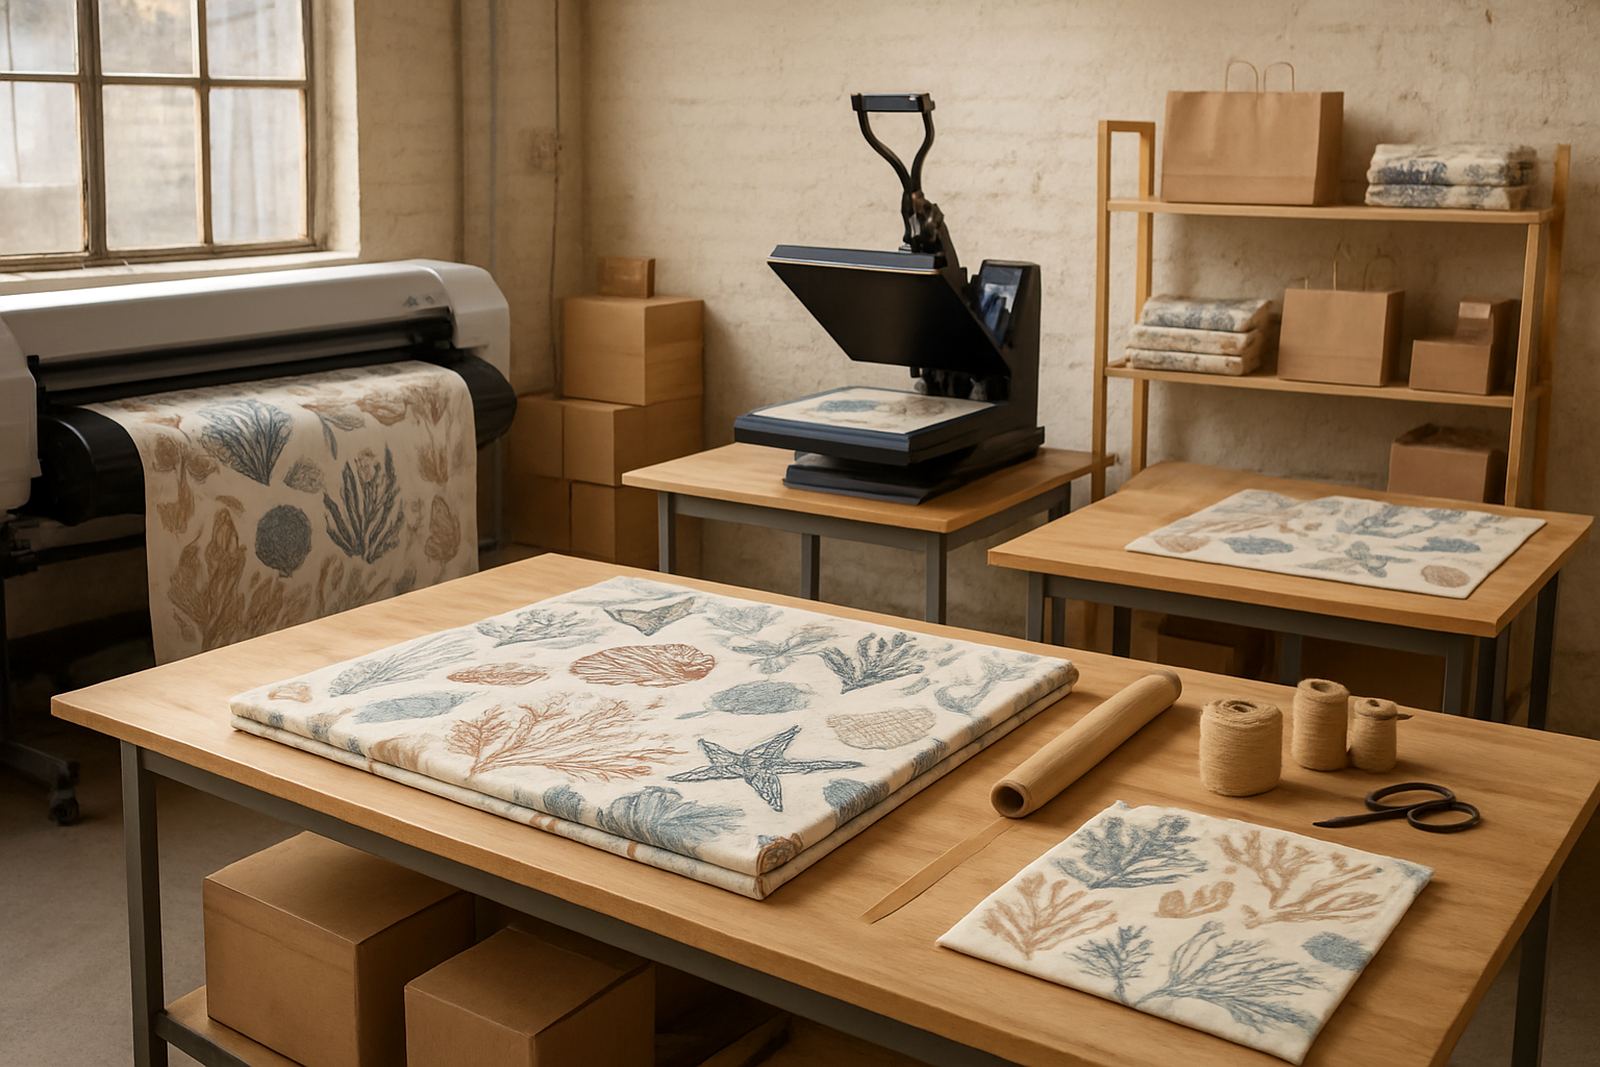
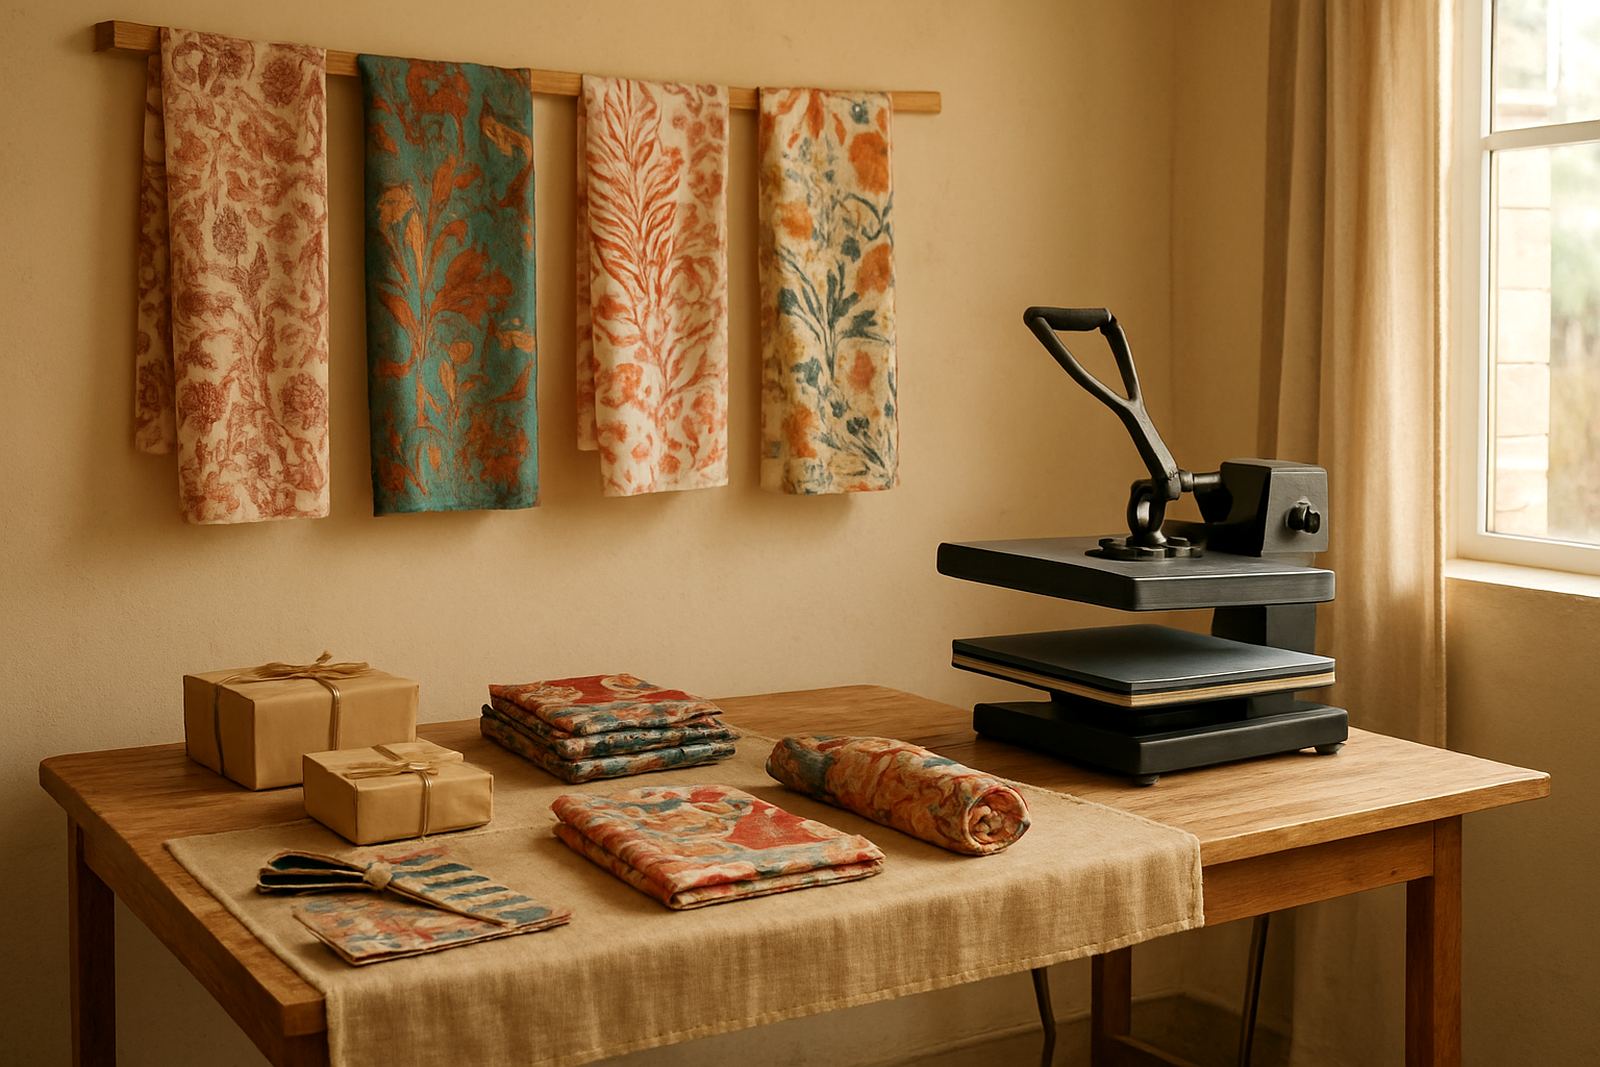
We supplied a direct-to-fabric inkjet printer, a matching heat press, inks suited to fabric work and the setup needed to get the room into production. The printer was configured for fine detail and bright colour reproduction, which matters on patterned scarves, branding pieces and small homeware items where small text and clean edges have to stay sharp. We also set out a basic workflow for printing, drying, pressing and finishing so the team could move from one job to the next without confusion.
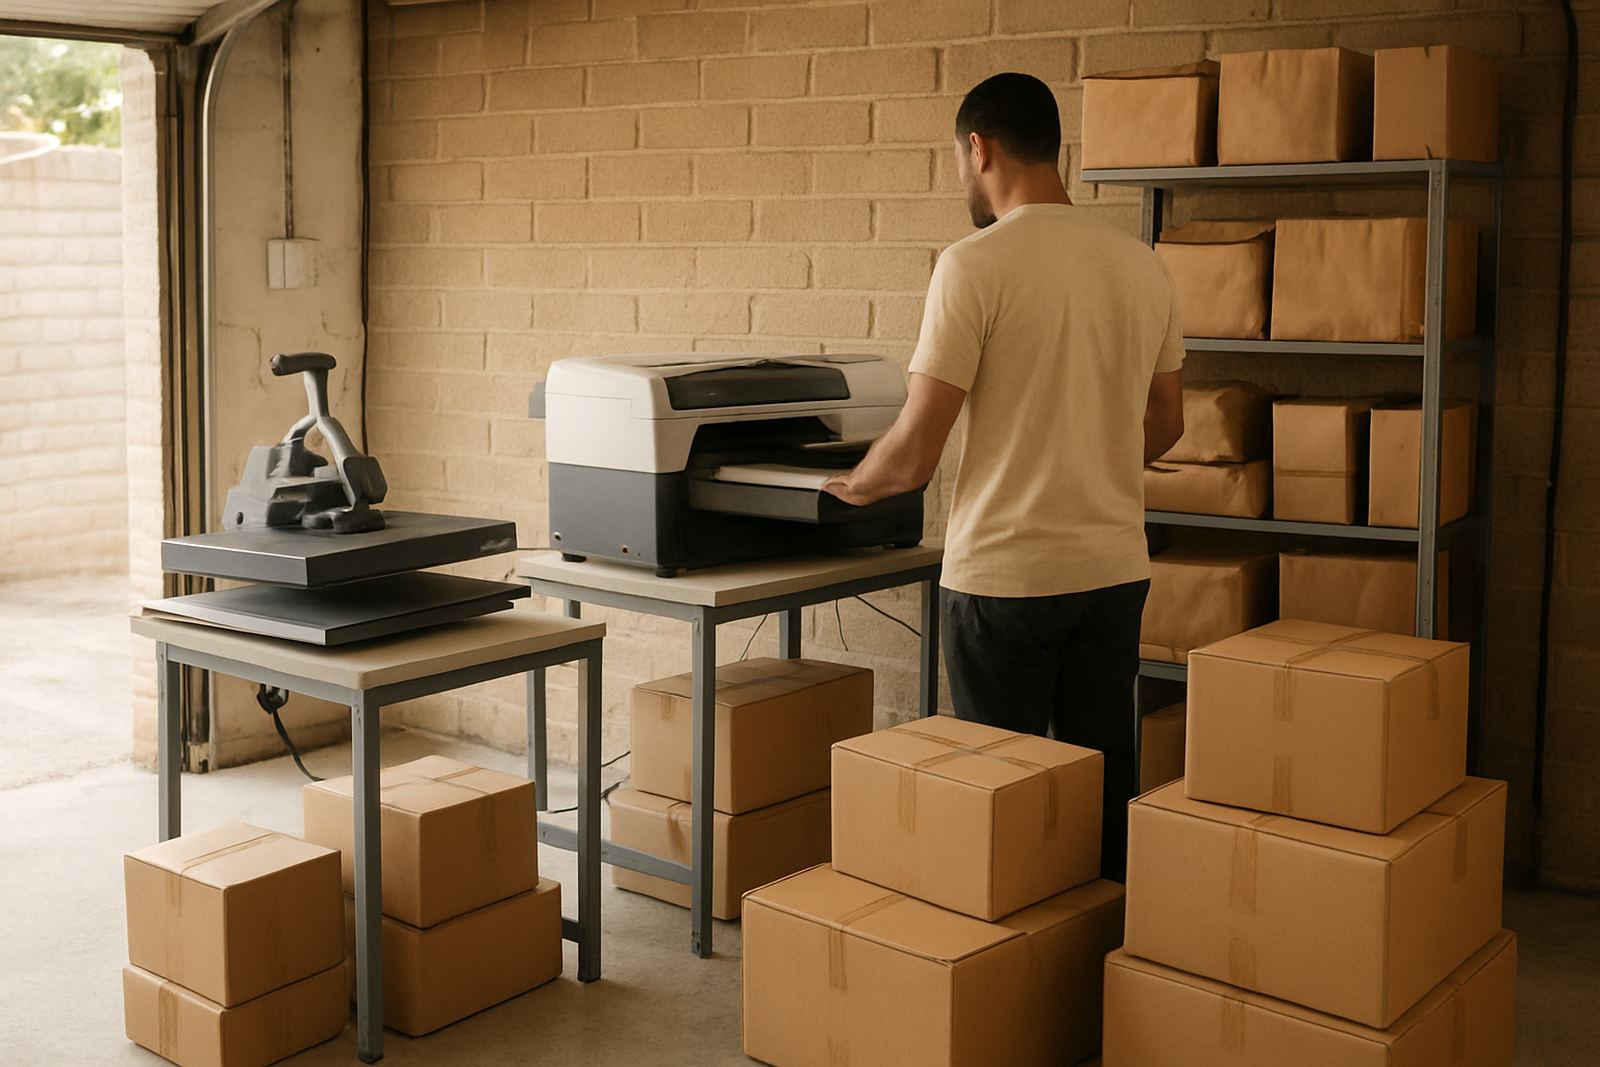
The room was arranged to keep handling simple and to reduce spoilage. The heat press sat close to the printer so transfer and finishing steps could happen fast, while the ink and media storage was placed away from sunlight and moisture. That mattered in Randburg where dust from open doors and dry winter air can affect materials if they are left unprotected. We also made sure the setup could cope with the normal stop-start pace of a maker business, where one hour may be samples and the next hour may be a batch order.
- Direct-to-fabric inkjet printer for small-batch textile output
- Heat press sized for scarves, gift panels and homeware pieces
- Fabric inks selected for colour clarity and repeatability
- Layout guidance for storage, curing and finishing flow
- Basic production notes for day-to-day use by a small team
What made the room tricky, and how we handled it
The main challenge was space. The client had a compact room with limited wall space, no spare storage area and only enough table room for one active production lane at a time. That meant every item had to earn its place. We could not treat the room like a factory and we certainly could not leave materials scattered around. The layout had to support movement, but also keep the work clean enough for premium gift items.
Another constraint was power stability. The business needed to keep moving through outages and voltage changes, so we planned the workflow around safe shut-down steps and restart procedures. We also paid attention to fabric handling because some of the products were light decorative pieces and others were small homeware items that needed a neat finish with no stray ink marks. The team wanted a process that would not cause unnecessary waste when a rush order came in late in the day, which is when mistakes usually happen.
We also kept municipal and practical issues in mind. In a small workshop, noise, heat and stock movement can become a problem if the work area is not organised properly. The final arrangement made it easier to keep the space orderly, dry and usable every day. It was a simple room, but it had to work hard.
Installation, training and colour control in one rollout
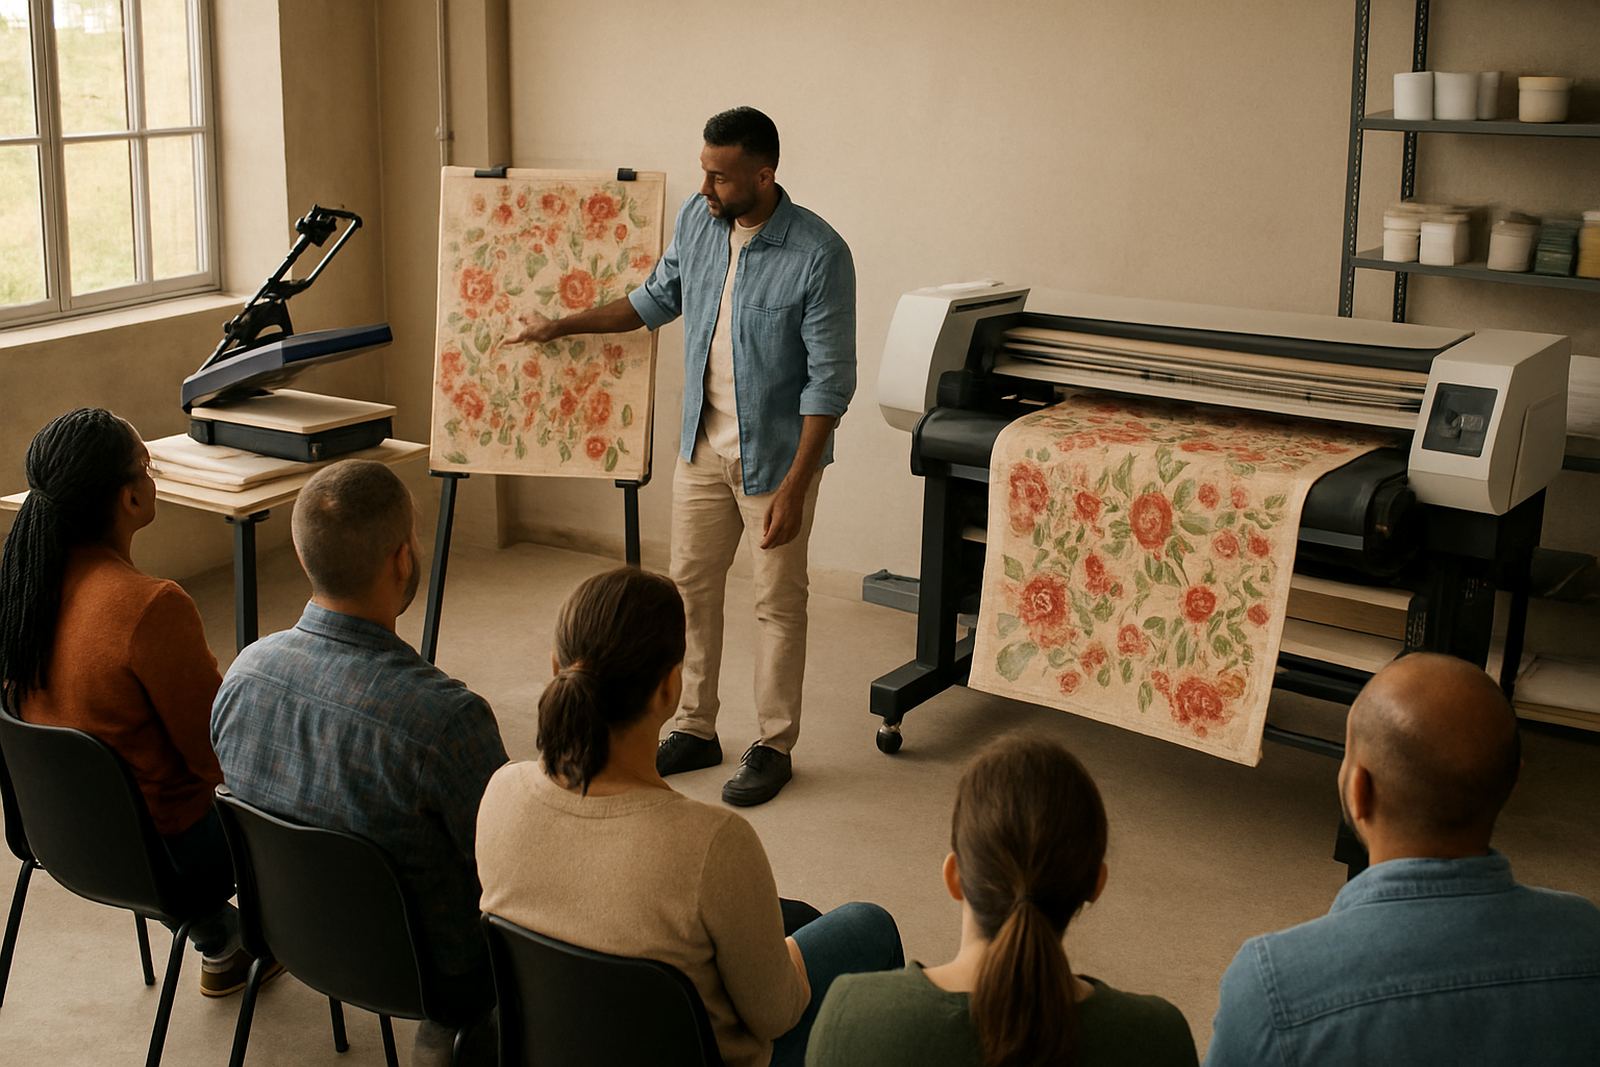
The project was completed over three weeks from first site check to final handover. In week one we confirmed the room dimensions, discussed product types and planned the work flow. In week two we completed installation, placed the equipment and tested the print path with different fabric samples. In week three we carried out operator training, colour profiling and practical production checks using the client’s own designs.
The training focused on ordinary use rather than theory. The team was shown how to prepare jobs, check media feed, manage cure settings and handle routine cleaning. We also covered safe start-up and shut-down after load-shedding, because a workshop that stops and starts needs clear habits. One of the most useful parts was colour control, since scarf and homeware buyers notice if one run is warmer or cooler than the next. After profiling, the team could repeat colours with far more confidence.
- Site survey and room planning: 1 week
- Installation and testing: 1 week
- Training, profiling and sign-off: 1 week
- Total project time: 3 weeks
Results for scarves, gifts and homeware production
Once the room was running, the client could produce short runs without waiting for outside suppliers. That meant faster turnaround on customised scarves, branded gift items and homeware pieces for seasonal orders. The print quality gave them a better finish on fine pattern work and the consistent colour helped with repeat orders from the same customers. For a small maker business, that kind of reliability matters because customers often come back expecting the same tone and detail as before.
The setup also helped the client keep waste down. Because the team understood the process and had a clean workflow, fewer pieces were spoiled during printing or finishing. That saved money on fabric and reduced the stress that comes with reprints. The room became easier to manage on busy days too, with less scrambling for materials and fewer stoppages while someone checked how to do a step. The business could now handle more work in-house instead of depending on outside production windows.
From a practical point of view, the biggest gain was control. They had control over timing, colours and the final look of each piece. For a Randburg maker space, that is often the difference between a hobby room and a proper income-generating workshop.
What we would repeat on the next maker-space project
If we were doing this kind of project again, we would keep the same approach: small footprint, clear workflow and training that matches the actual product range. That means starting with the end products first, not the machine list. Scarves and homeware need different handling from posters or signage, so the room should be planned around the fabric, the finishing step and the amount of stock on hand. We would also keep colour profiling as a standard part of handover, not something left for later.
The other thing we would repeat is the focus on maintenance from day one. A small textile room works best when cleaning, flushing and basic checks are part of the normal routine. That protects the printhead, keeps the ink system stable and avoids unnecessary downtime. For a team with limited space and a full order book, a few minutes of good maintenance saves hours later on. It sounds simple, but it keeps the business moving and helps the room pay for itself faster.
- Plan the room around the actual products being made
- Keep finishing, storage and print flow close together
- Build maintenance into the weekly routine
- Train the whole team, not just one operator
Key facts
| Project location | Randburg, Johannesburg |
|---|---|
| Client type | Maker-focused textile room |
| Key products | Scarves, gift items and custom homeware |
| Equipment supplied | Direct-to-fabric inkjet printer, heat press, inks and setup support |
| Timeline | 3 weeks |
| Support included | Installation, training, colour profiling and workflow guidance |